Wireless Network Connection
49
You can send images to your projector, as well as monitor and control your
projector, over a network.
To perform these operations, you need to do the following first:
• Install the Epson 802.11a/b/g/n wireless LAN module onto the projector.
• Set up your projector and computer using the projector's Network menus.
• Download and install the following network software from the following
Web site.
• Epson iProjection (Windows/Mac) software allows you to hold interactive
meetings by projecting the user's computer screen over a network. See the
Epson iProjection Operation Guide (Windows/Mac)
for instructions.
• Epson iProjection (iOS/Android) app allows you to project from iOS,
Android, or Chromebook devices.
You can download Epson iProjection for free from the App Store or
Google Play. Any fees incurred when communicating with the App Store
or Google Play are the responsibility of the customer.
g
g
Related Links
• "Installing the Wireless LAN Module"
• "Selecting Wireless Network Settings Manually"
• "Selecting Wireless Network Settings in Windows"
• "Selecting Wireless Network Settings in Mac"
• "Setting Up Wireless Network Security"
• "Using a QR Code to Connect a Mobile Device"
Installing the Wireless LAN Module
To use the projector over a wireless network, install the Epson 802.11a/b/g/n
wireless LAN module. Do not install any other type of wireless LAN module.
Attention
Never remove the module while its indicator is blue or flashing, or while you are
projecting wirelessly. This could damage the module or lose data.
a
Turn off the projector and unplug the power cord.
b
Connect the wireless LAN module to the USB-A port.
Selecting Wireless Network Settings Manually
Before you can project from your wireless network, you need to select
network settings for the projector.
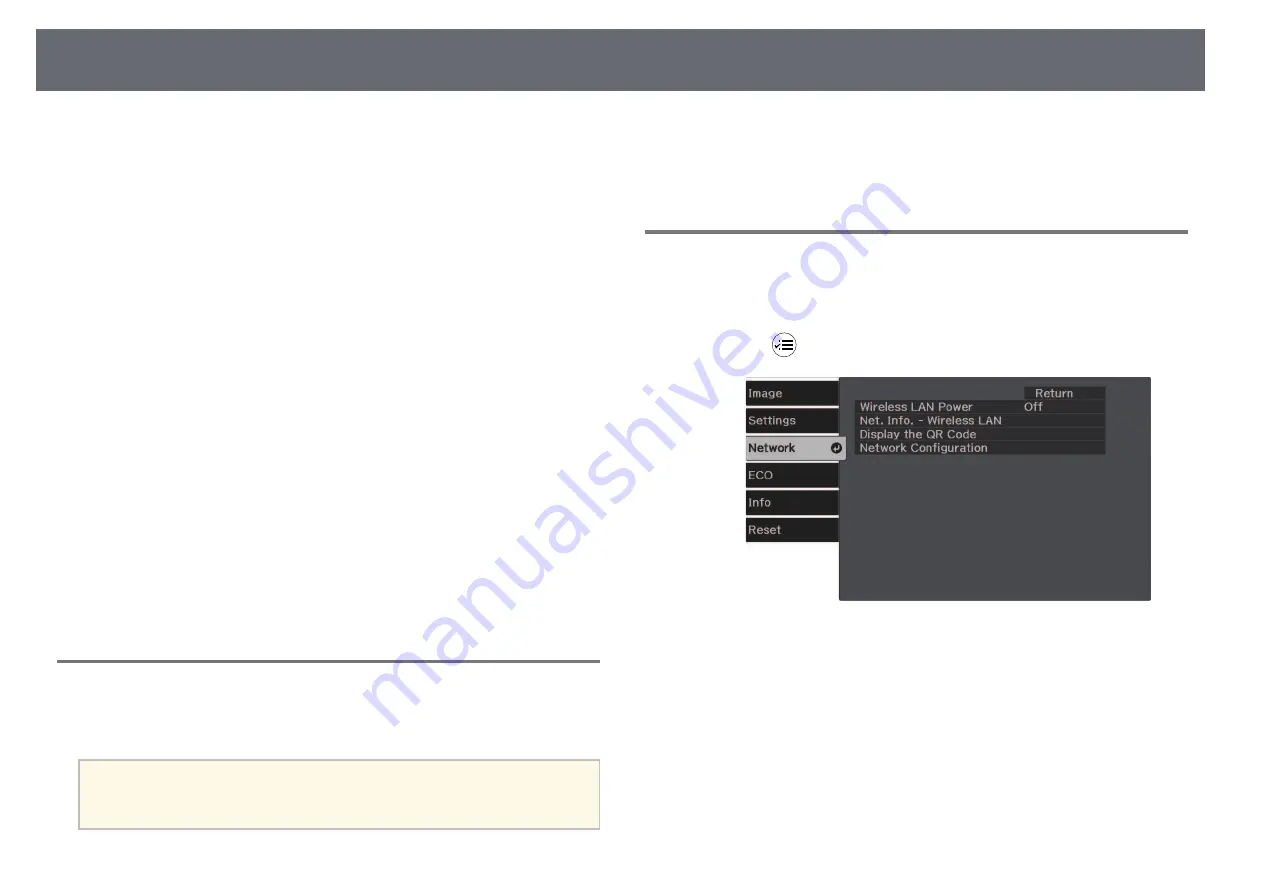
a
Press the
button, select the Network menu, and press [Enter].
b
Select On as the Wireless LAN Power setting.
c
Select Network Configuration and press [Enter].


