179
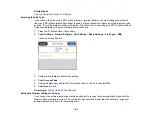
Setting Up Contacts Using the Product Control Panel
You can set up your contacts and contact groups using the control panel on your product.
Creating a Contact or Group
Editing or Deleting a Contact or Group
Parent topic:
Setting Up Contacts and Contact Groups
Creating a Contact or Group
You can create a list of contacts to save frequently used fax numbers and group contacts to easily send
faxes to multiple recipients.
Note:
You can create up to 100 contacts and contact groups combined.
1.
Press the
home button, if necessary.
2.
Select
Fax
>
Contacts
.
3.
Select
Add Entry
.
4.
Select
Add Contact
or
Add Group
.
Note:
You must create a contact before a group can be created.
5.
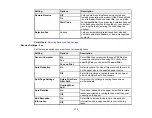
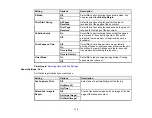
Select each field as necessary and enter the information for your contact or group.
Note:
If necessary, enter an outside line access code (such as
9
) at the beginning of the fax number.
If the access code has been set up in the
Line Type
setting, enter the
#
pound sign instead of the
code.
6.
Select
OK
to store the entry.
Parent topic:
Setting Up Contacts Using the Product Control Panel
Editing or Deleting a Contact or Group
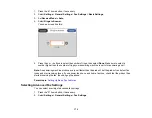
You can edit or delete any of the contacts or groups on your list.
1.
Press the
home button, if necessary.
2.
Select
Fax
>
Contacts
.
3.
Select the
icon next to the contact you want to edit or delete.
Содержание C11CK60201
Страница 1: ...WF 2960 User s Guide ...
Страница 2: ......
Страница 13: ...13 WF 2960 User s Guide Welcome to the WF 2960 User s Guide For a printable PDF copy of this guide click here ...
Страница 17: ...17 Product Parts Inside 1 Document cover 2 Scanner glass 3 Control panel 4 Front cover ...
Страница 52: ...52 Parent topic Changing or Updating Network Connections Related references Status Icon Information ...
Страница 109: ...109 10 Select the Layout tab 11 Select the orientation of your document as the Orientation setting ...
Страница 134: ...134 You see an Epson Scan 2 window like this ...
Страница 136: ...136 You see an Epson Scan 2 window like this ...
Страница 150: ...150 You see a screen like this 2 Click the Save Settings tab ...
Страница 155: ...155 You see this window ...
Страница 267: ...267 2 Squeeze the tabs and remove the rear cover 3 Carefully remove any jammed paper from inside the product ...
Страница 269: ...269 3 Open the ADF cover 4 Carefully remove any jammed pages from beneath the ADF ...

