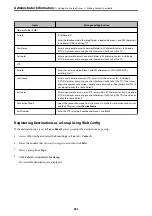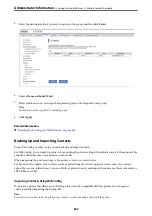
6.
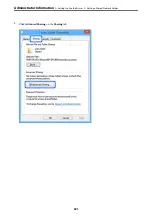
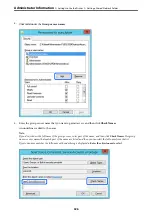
Click
Browse
on
Import
.
7.
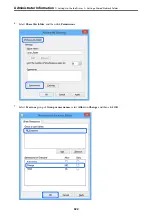
Select the file you want to import and then click
Open
.
When you select the binary file, in
Password
enter the password you set when exporting the file.
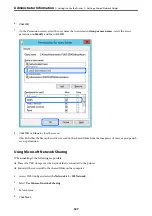
8.
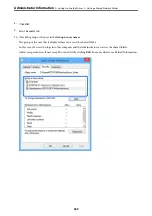
Click
Import
.
The confirmation screen is displayed.
9.
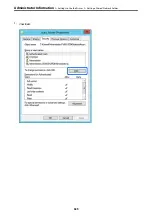
Click
OK
.
The validation result is displayed.
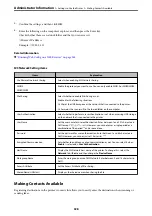
❏
Edit the information read
Click when you want to edit the information individually.
❏
Read more file
Click when you want to import multiple files.
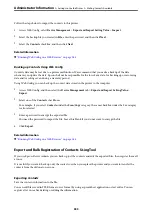
10. Click
Import
, and then click
OK
on the import completion screen.
Return to the device's property screen.
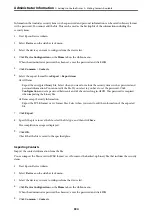
11. Click
Transmit
.
12. Click
OK
on the confirmation message.
The settings are sent to the printer.
13. On the sending completion screen, click
OK
.
The printer's information is updated.
Open the contacts from Web Config or printer's control panel, and then check that the contact is updated.
Preparing to Scan
Scanning using the control panel
The scan to network folder function and the scan to mail function using the printer’s control panel, as well as the
transfer of scan results to mail, folders, etc. are performed by executing a job from the computer.
>
>
335
Содержание C11CH68401
Страница 1: ...User s Guide Printing Copying Scanning Faxing Maintaining the Printer Solving Problems NPD6169 00 EN ...
Страница 17: ...Part Names and Functions Front 18 Inside 20 Rear 21 ...
Страница 29: ...Loading Paper Paper Handling Precautions 30 Paper Size and Type Settings 30 Loading Paper 31 ...
Страница 34: ...Placing Originals Placing Originals 35 Originals that are not Supported by the ADF 36 ...
Страница 76: ...Copying Available Copying Methods 77 Basic Menu Options for Copying 82 Advanced Menu Options for Copying 82 ...
Страница 325: ...3 Click Edit Administrator Information Settings to Use the Printer Setting a Shared Network Folder 325 ...
Страница 369: ...Where to Get Help Technical Support Web Site 370 Contacting Epson Support 370 ...

