124
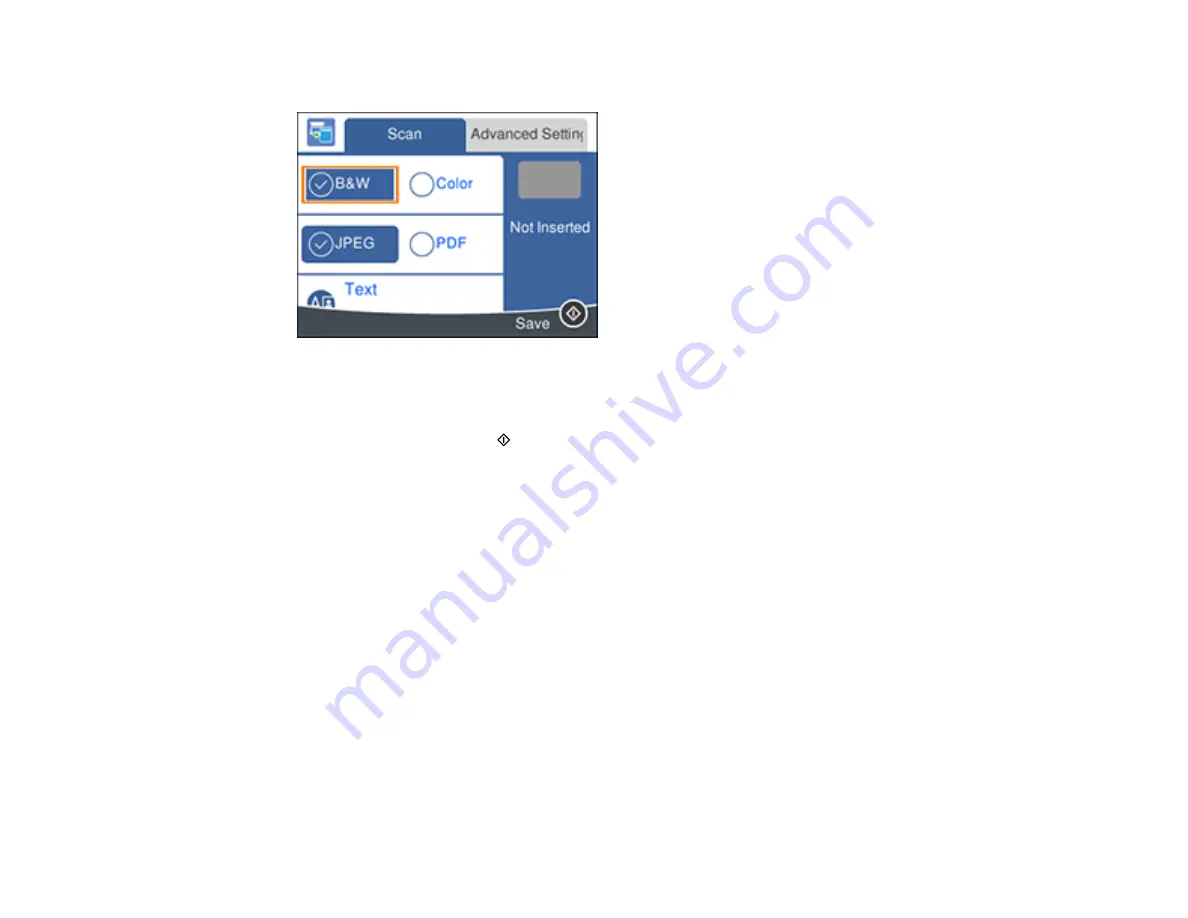
You see a screen like this:
6.
Change any of the displayed settings on the
Scan
tab as necessary.
7.
Select the
Advanced Settings
tab to view and change additional scan settings, if necessary.
8.
On the
Scan
tab, press the
start button to start scanning.
Your product scans your original and saves the scanned file to a memory device.
Parent topic:
Starting a Scan Using the Product Control Panel
Related references
Control Panel Scanning Options
Related topics
Using Memory Cards with Your Product
Scanning to a Connected Computer
You can scan an original and save it to a connected computer using your product's control panel. The
computer must be connected using a USB cable or connected to the same network as your product.
You can save the scanned file as a JPEG or PDF file, or attach it to an email. You can also set up
custom scan settings using Event Manager and automatically scan using those settings on your product
control panel.
Note:
Be sure you have installed Epson Scan 2 and Event Manager on your computer before scanning
to your computer.
Содержание C11CG29501
Страница 1: ...XP 5100 User s Guide ...
Страница 2: ......
Страница 12: ......
Страница 13: ...13 XP 5100 User s Guide Welcome to the XP 5100 User s Guide For a printable PDF copy of this guide click here ...
Страница 26: ...26 Product Parts Inside 1 Document cover 2 Scanner glass 3 Control panel 4 Front cover ...
Страница 102: ...102 10 Select the Layout tab 11 Select the orientation of your document as the Orientation setting ...
Страница 133: ...133 You see an Epson Scan 2 window like this ...
Страница 135: ...135 You see this window ...
Страница 201: ...201 You see a window like this 4 Click Print ...