220
• Do not look into the laser diffusion ports on the back of the Touch Unit. The laser can damage your
eyes. Extra care should be taken when children are present.
• Do not allow the laser light from the Touch Unit to pass through or be reflected by any optical devices,
such as a magnifying glass or mirror. This could cause personal injury or fire.
• Do not view the laser light from the Touch Unit using an optical device such as an eye loupe,
magnifying glass, or microscope, especially within 2.75 inches (70 mm) of the laser diffusion ports.
This could damage your eyes.
• Unplug the projector from the electrical outlet and refer all repairs to qualified service personnel if any
problems occur with the Touch Unit. Continued use of the Touch Unit may result in fire or accidents,
and can also damage your eyes.
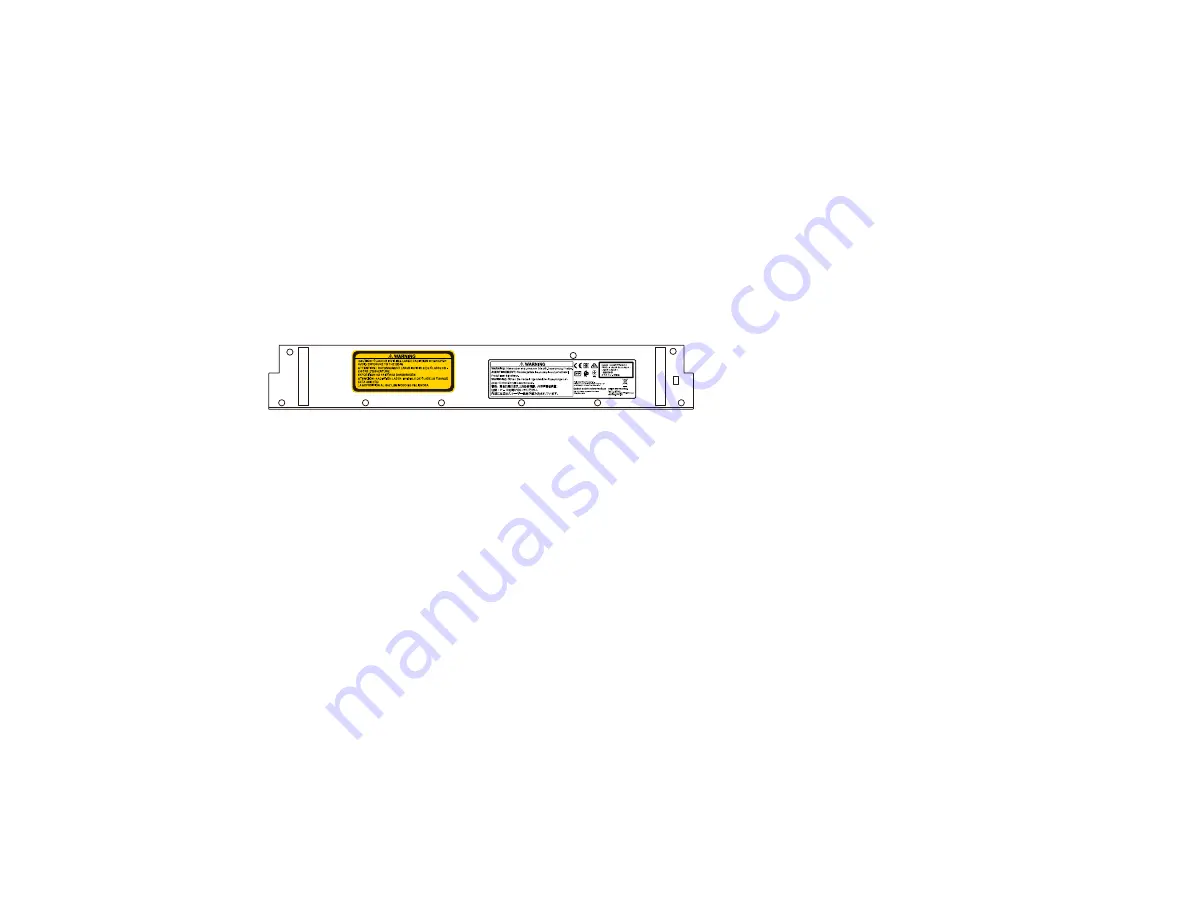
The Touch Unit is a Class 1 laser product that complies with IEC/EN60825-1:2007. The labels indicating
the Class 3B laser product and warnings are located in the following area on the Touch Unit:
Parent topic:
Using Finger Touch Interactivity
Calibrating for Finger Touch Interactivity
Finger touch calibration coordinates the positioning of your finger with the location of the cursor.
Note:
Make sure you have calibrated the pens, installed the Touch Unit, performed angle adjustment,
and turned the Touch Unit on before calibrating for finger touch interactivity. See the online
Installation
Guide
for Touch Unit installation and angle adjustment information.
Содержание BrightLink 1480Fi
Страница 1: ...BrightLink 1480Fi 1485Fi User s Guide ...
Страница 2: ......
Страница 28: ...28 Projector Parts Remote Control 1 Power button 2 HDMI button cycles through connected HDMI sources ...
Страница 98: ...98 You see the Epson Web Control screen 3 Select Crestron Connected ...
Страница 129: ...129 6 Move the focus lever and adjust the focus using the center reference point of the projected screen ...
Страница 144: ...144 3 Select the Operation menu and press Enter ...
Страница 165: ...165 1 Press the Menu button on the remote or control panel select the Multi Projection menu and press Enter ...
Страница 200: ...200 5 Select the Schedule menu and press Enter 6 Select Add New and press Enter You see a screen like this ...
Страница 204: ...204 Parent topic Scheduling Projector Events ...
Страница 316: ...316 3 Open the air filter cover 4 Pull the air filter out of the projector ...
Страница 325: ...325 1 Twist off the tip of the pen to remove it 2 Remove the soft tip ...
Страница 326: ...326 3 Insert the new tip 4 Twist on the pen tip Parent topic Maintaining and Transporting the Projector ...
Страница 370: ...370 Top Side ...
Страница 386: ...386 Copyright Attribution 2019 Epson America Inc 10 19 CPD 57752 Parent topic Copyright Notice ...


