Using EPSON Photo!3
2-1
R4C4410
Rev. C
A5 size
PHT3.FM
2/14/00
Pass 3
R
Proof Sign-off:
BLE H.Kato E.Omori
F.Fujimori
SEI M.Kauppi
2
Chapter 2
Using EPSON Photo!3
Now that EPSON Photo!3 is installed in your
computer, you are ready transfer the images you shot
with your camera to your computer. You can then use
your images in letters, presentations, or other
documents you create on your computer.
This chapter tells you how to do all these things, as
well as how to erase pictures from the camera and
upload EPSON Photo images to your camera.
Working with EPSON Photo!3
Once your camera and computer are connected and
turned on, you are ready to start working with EPSON
Photo!3. If you have not yet installed EPSON Photo!3
in your computer, see Chapter 1, “Installing the
Software,” to install it.
Note:
If you do not set your camera’s clock before connecting it to
the computer, the camera's time and date is automatically
set to that of the computer's after opening EPSON Photo!3.
Accessing EPSON Photo!3
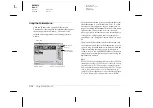
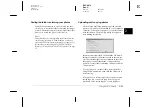
To download your photos to your computer, you need
to first access EPSON Photo!3. You can either open
EPSON Photo!3 directly, or open it from a different
application. See the next page for instructions.
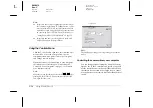
Note:
Before accessing EPSON Photo!3, turn the camera’s dial
switch to
.

