7. Select your printer, click the
Queue
menu, then click
Setup
.
The Queue setup window opens.
8. Make sure the
Use Print Manager for this port
option is on;
it is on if the box contains a check mark. Then click
OK
.
Now you can use your printer on a network.
Installing in Windows 3.1
Follow these steps to install the software using Windows 3.1:
1. Make sure Windows 3.1 is running and the Program Manager
window is open.
2. Insert the printer software CD shipped with your printer in
the CD-ROM drive. (If you use the floppy disk version,
insert it in a disk drive.)
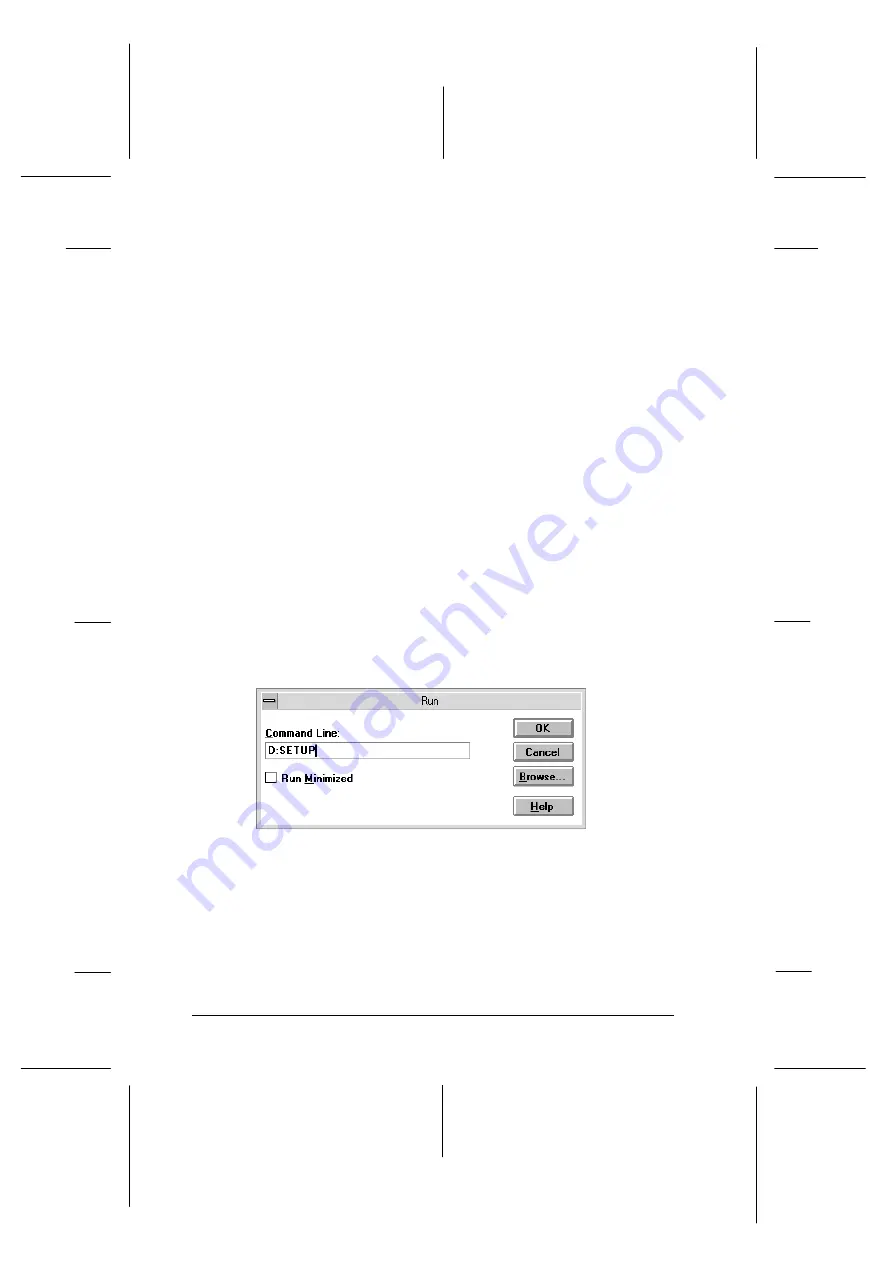
3. In the File menu, choose
Run
. You see the Run dialog box. In
the Command Line box, type
D:SETUP
(or
A:SETUP
if you
inserted the disk in drive A).
Note:
If you wish to make a floppy disk version of the printer software
included on your CD-ROM, type
EPSETUP
instead of
SETUP
. In
the dialog box that appears, click the
Driver disk creation
utility
button and follow the on-screen instructions.
setup-n
L
Hawaii2 Ref. Guide
Rev.b
A5 size
Chapter 2
06-02-97
DR, pass 0
2-18
Getting Started
Содержание 400 Series
Страница 1: ......
Страница 9: ...R Hawaii2 Ref Guide Rev b A5 size Front 05 29 97 DR pass 0 vii ...
Страница 15: ...L Hawaii2 Ref Guide Rev b A5 size Introduction 06 02 97 DR pass 0 6 Safety Information ...
Страница 21: ...L Hawaii2 Ref Guide Rev b A5 size Chapter 1 05 20 97 DR pass 0 1 6 Getting to Know Your Printer ...
Страница 65: ...L Hawaii2 Ref Guide Rev b A5 size Chapter 3 06 02 97 DR pass 0 3 20 Using the Printer Software ...
Страница 137: ...L Hawaii2 Ref Guide Rev b A5 size Appendix B 06 02 97 DR pass 0 B 10 Printer Specifications ...
Страница 147: ......


