Pearl-2 User Guide
Select channels for Kaltura VOD events
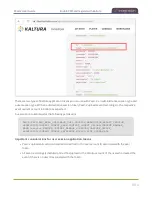
again. Alternatively, you can go to the Kaltura Management Console (KMC), find the modified live event
entry and then, in the Live stream tab, click
Re-generate Stream Token
.
Select channels for Kaltura VOD events
You can select which Pearl-2 channels are included in scheduled and ad hoc recordings using the Admin panel.
Each channel that is configure on Pearl-2 is treated as a separate video source for all VOD events. Using
multiple channels is how you record multiple views for a scheduled or ad hoc VOD event.
For example, if you have a main camera and a presentation laptop that you want to capture as a multi-source
recording, you'd create two channels on Pearl-2: one for the main camera and another one for the
presentation laptop.
Set up your channels before performing this task. To learn how to create a channel, see
.
The main entry is the default view that people see when they are watching, as well as the main view (i.e. the
large screen) for PiP. The main view, VOD metadata, and edits like trimning the VOD can be done later in
Kaltura after the recording has uploaded.
Important consideration
l
Ensure that all the same audio sources are selected for each channel if a multi-view event with multiple
channels is configured.
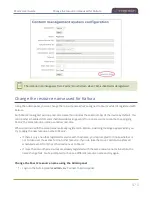
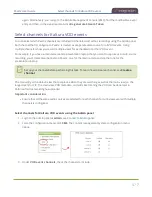
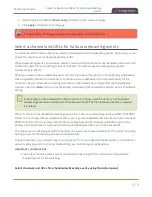
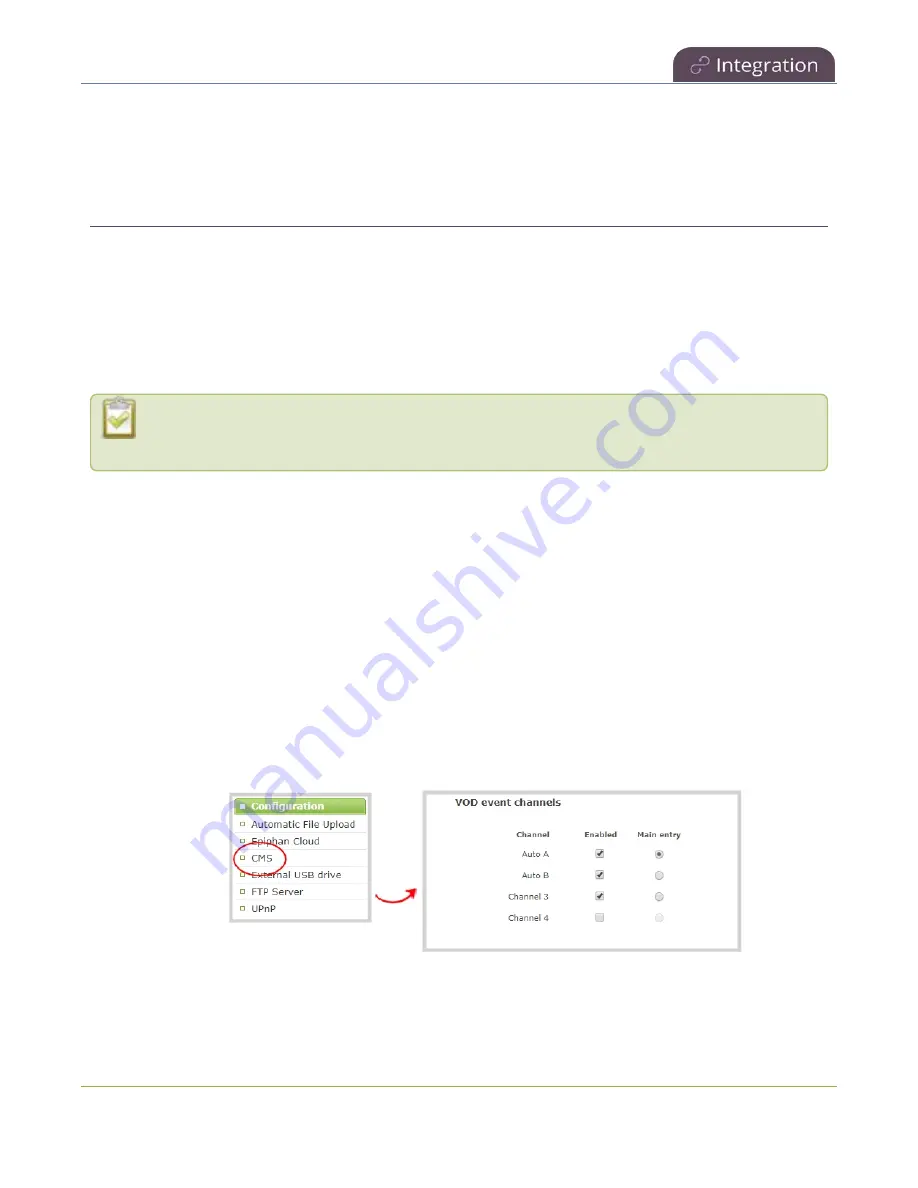
Select channels for Kaltura VOD events using the Admin panel
1. Login to the Admin panel as
admin
.
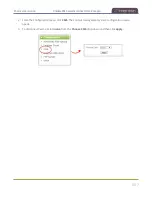
2. From the Configuration menu, click
CMS
. The Content management system configuration menu
opens.
3. Under
VOD event channels
, check the channels to include.
477
Содержание Pearl-2
Страница 137: ...Pearl 2 User Guide Disable the network discovery port 123 ...
Страница 157: ...Pearl 2 User Guide Mute audio 143 ...
Страница 178: ...Pearl 2 User Guide 4K feature add on 164 ...
Страница 434: ...Pearl 2 User Guide Delete a recorder 3 Click Delete this recorder and click OK when prompted 420 ...
Страница 545: ...Pearl 2 User Guide Register your device 531 ...
Страница 583: ... and 2021 Epiphan Systems Inc ...


