the job does not show up, see the printer connection help section
below and then start over from the start of step 6.)
6.2.16. Make sure to load/use the Honeycomb Table
6.2.17.
7. Focus your the laser for your material
(See below)
8. It is recommended that if placement is important, you test on cardboard first.
9. Check that the fan is on and the fire extinguisher is nearby
10. Press the green Go button to start the job - if there are any problems or to
stop the job at any time, press the red Stop button
11. When the laser is finished and the head returns to its start position, open the
door and remove your material.
Tips
• You can turn on the red laser pointer using the Pointer button on the machine
• Use the rulers to hold any materials that might move during the process
• You can repeat any jobs already sent to the machine by selecting them with the
up and down buttons and then pressing Go
• To switch table surfaces
(steel vs honeycomb)
, lower the laser platform at least
15cm while in focus mode, flip the 3 rulers up, and carefully remove the table by
lifting the edge toward the front first and keeping the table far away from the
laser head. Insert the desired table putting the edge that is closest to the laser
head down first and then placing the table into the provided space. Flip the
rulers back down to hold it in place
Focusing the Laser
I.
Before you start etching or cutting, you MUST set the
Focus on the Laser machine.
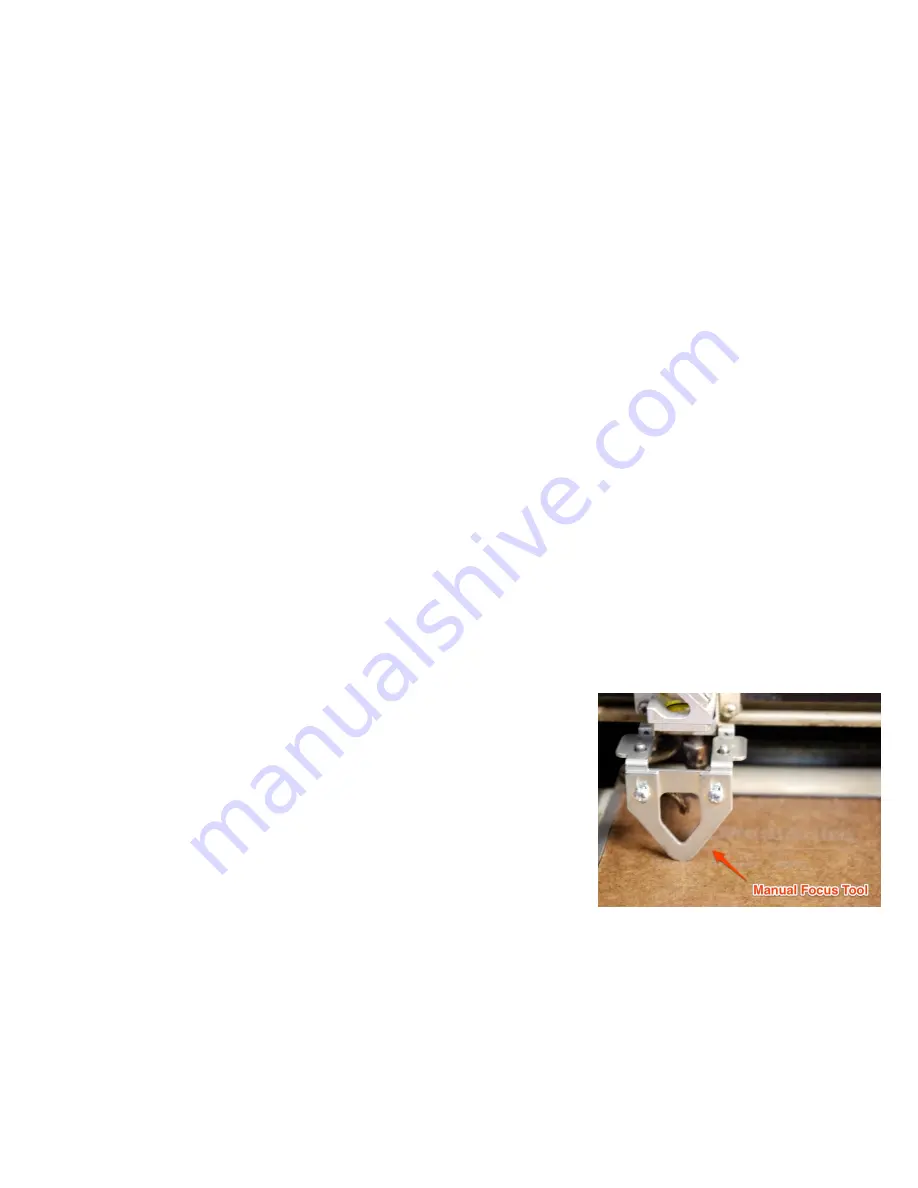
A. use the Epilog Manual Focus Guide
1. open the door to the Epilog Laser
2. attach the Manual Focus Guide to the laser
head, matching the two holes on the guide to
the two pegs on the head. Magnets will hold
it in place.
3. select “Focus” on the Epilog Laser keypad
4. use the Down arrow on the Epilog Laser
keypad to lower the table to easily fit your
material under the Manual Focus Guide
5. use the Up and Down arrows on the Epilog Laser keypad to adjust the
height
a) you want the bottom of the Manual Focus Guide to just barely touch
your material, the guide should not be pushed up by your material
b) exit the Focus menu by pressing the “Jobs”


