Envision One cDLM® User Manual
TS-MAM-EnvisionOneCDLMUserManual-V5.0-FN-EN , 2021-12-15
Page 53 of 73
10
Starting a Print
The next subsections describe the main functions to build a job.
WARNING!
Risk of injury!
Risk of injury from crushing caused by automatically moving printer parts.
•
The printer may only be operated by instructed and specially trained personnel.
•
Make sure that all persons are clear of the danger zone.
•
The printer may only be operated if the protecting devices are working properly.
WARNING!
Risk of injury!
Risk to health due to photopolymers.
•
Do not use other materials than the photopolymers delivered by EnvisionTEC®.
•
Observe the relevant Material Safety Data Sheets supplied with the photopolymers.
•
Use the appropriate personal protective equipment.
•
Make sure that the extraction is sufficient. EnvisionTEC® recommends an air change of 25
m³/h per m² effective surface of the laboratory as described in EN 13779.
NOTICE
The execution of job preparatory activities, including date and performing operator, shall be
documented for reasons of traceability.
10.1
Checking Z-axis
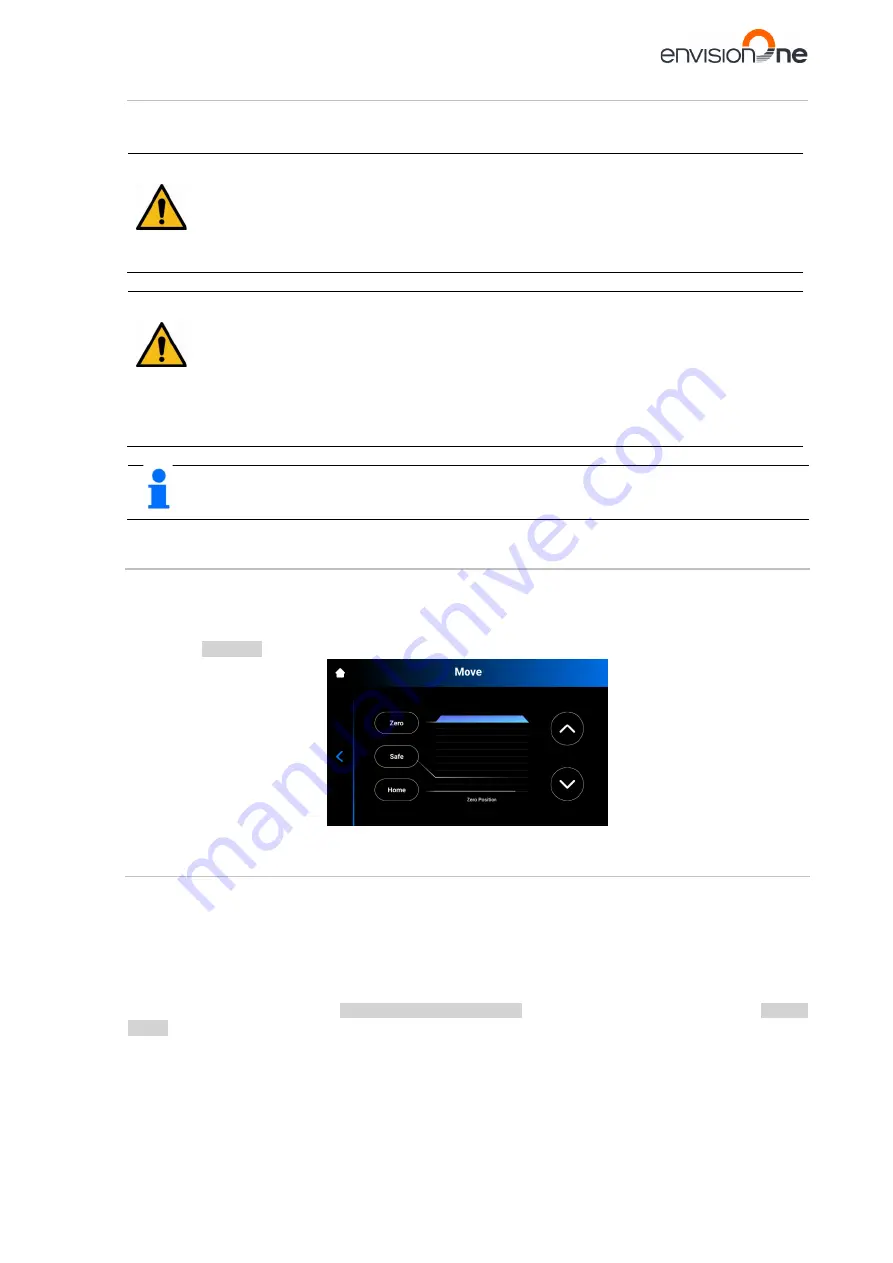
First, make sure the printer has its Z-axis slide activated:
1. Tap
Settings | Move & Calibration | Move
on the main screen.
2. Tap the
up
and
down arrow icons
and make sure the building platform moves along the Z-axis. If the
build platform does not move up, the reason could be that it has already reached its highest point.
Refer to the
10.2
Creating the Print Job in Envision One RP
To create the job in Envision One RP:
1. Open Envision One RP Software.
2. Select the printer, material, and layer thickness.
3. Add a model.
4. Orient a model and add supports as needed or use the
Hyper Print
feature.
5. Save the build job to a USB or transfer directly to the printer.
For more information, refer to the
Envision One RP User Guide


