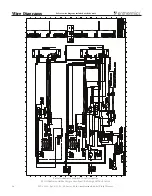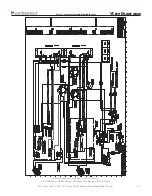
MN-28646 • Rev 4 • 03/18 • EC Series Fluid Combination Blanket/Fluid Warmer
13
Operation Instructions
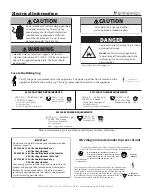
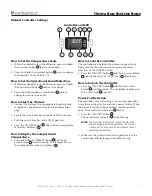
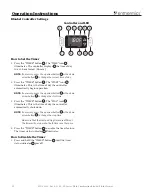
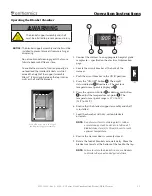
WARNING
Verify the fluid temperature prior to using the fluid.
Refer to fluid manufacturer’s labeling for recommended
warming procedures.
Injection fluid manufacturer suggests not to warm
injection fluids above 40°C (104°F). If fluids are warmed
above the suggested temperature, the fluids should
be discarded.
CAUTION
The door may swing during transport. Only
transport the appliance when the door is
closed and secure.
CAUTION
The unit may tip over if more than one
basket is extended simultaneously. Open
only one basket at a time when loading or
unloading fluids.
NOTICE:
The appliance is designed to warm fluids to the
appropriate temperature recommended by the
fluid manufacturer. The warm-up stabilization
time will vary depending on the warmer load.
Exercise judgment to determine inventory rotation
protocols and warm-up time for the fluids used.
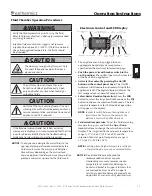
Fluid Chamber Operation Procedures
1. The appliance must be plugged into an
appropriate hospital grade receptacle as
specifi ed on the electrical information page.
2. Push the power circuit breaker switch to the
on (I) position. The rocker-type switch is located
at the back of the appliance.
3. Activate the control by pressing the On/Off
button on the control panel once. The On/Off
indicator will illuminate and remain lit until the
appliance is off . The digital display indicates the
last temperature set-point of compartment.
4. Select desired mode of operation. Press the IRR
button to select the irrigation fl uids mode or the INJ
button to choose the injection fl uids mode. The last
set-point temperature for that mode of operation
will appear in the display.
5. Set desired temperature. To set the fl uid warming
temperature, press and hold the Up or Down
Arrow buttons to change the value shown in the
display. The irrigation fl uids set-point temperature
range is 37°C to 66°C (98°F to 150°F) and the
injection fl uids set-point temperature range is
37°C to 40°C (98°F to 104°F
).
POWER
CIRCUIT BREAKER
SWITCH
NOTE:
In order to switch between the irrigation and
injection modes, first turn the power to the
electronic control off and then back on.
NOTE:
Switching from a higher temperature setting to
a lower setting may cause an unwanted alarm
.
CAUTION
Verify that the fan is rotating freely. If it is not
working, discard the fluid inventory, contact a
service representative, and discontinue use of
appliance until it is repaired.
CAUTION
If the fluid warmer controller has failed, or if error
messages are displayed, it is recommended that the fluid
inventory be discarded. Refer to the troubleshooting
guide for error descriptions and action required.
NOTICE:
Do not load the basket beyond the
recommended maximum capacity.
Overloading may cause lower or uneven
temperatures of product and damage to
basket and basket rail supports. Baskets that
are overloaded may slip off rail supports,
resulting in possible damage to product and
equipment, as well as causing possible injury.
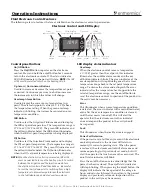
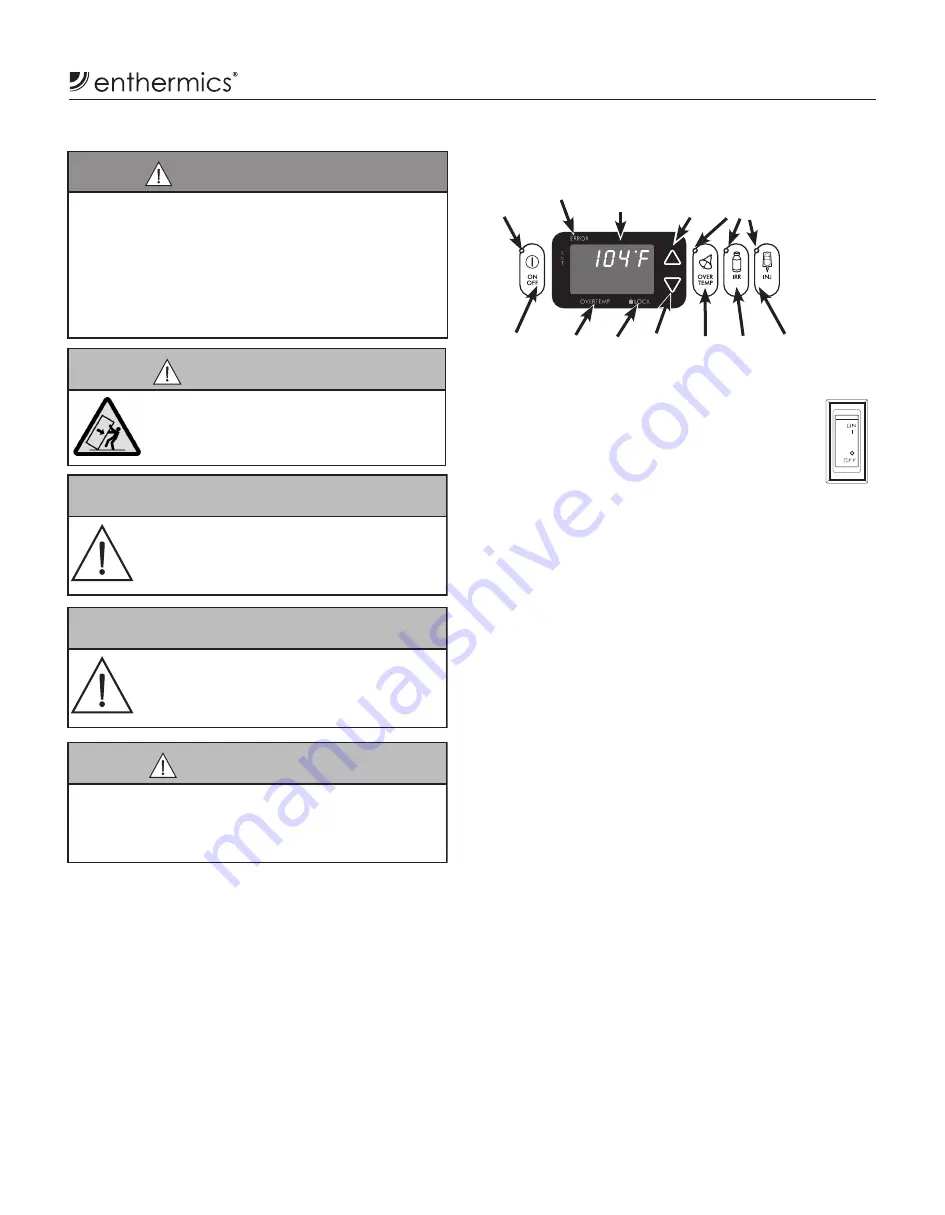
Electronic Control and LED Display
On/Off Button
Status
Indicator LED
Status Indicator
LED
Irrigation
Mode
Up
Arrow
Down
Arrow
Overtemp
Alarm
Injection
Mode
Main Display
Set-point Remperature
Lock
Overtemp
Error


