ENSONIQ Avista 7600 User’s Guide
18
Formatting a Floppy Disk for Use
Before a floppy can be read or written to by the Avista, is data structure
must be
formatted
. The Avista uses a standard DOS format, so its disks
can be formatted in any computer that supports DOS formatting. In
addition, the Avista offers its own formatting utility. An un-formatted
disk only needs to be formatted the first time it’s used.
Warning:
Formatting completely erases a floppy disk. Before formatting
a floppy, make sure that it contains no data that you want to keep.
To format a floppy in the Avista:
1.
Make sure the disk is not write-protected.
2.
Insert the floppy into the drive.
3.
Press the blue Disk-Rec/Play button, if necessary, to ensure that the
Disk LED is lit.
4.
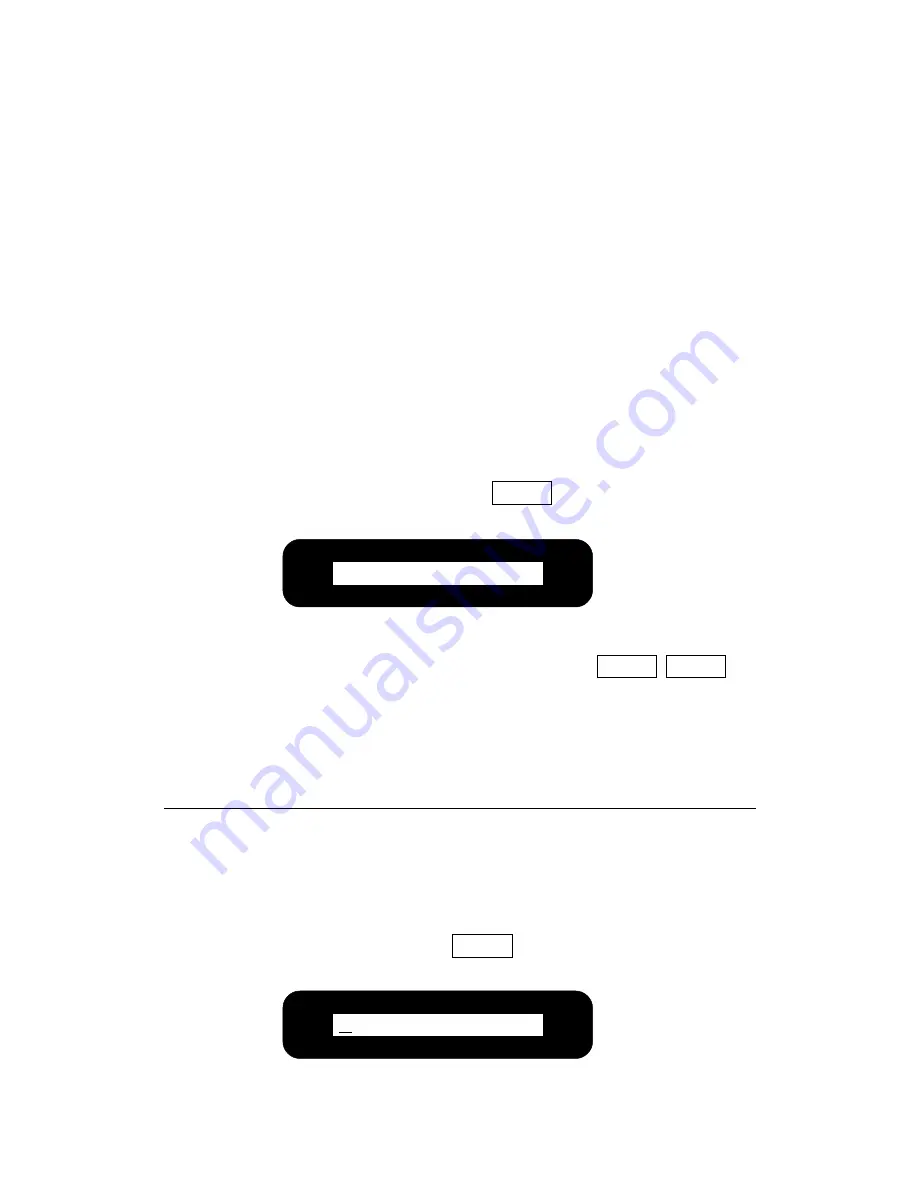
Press the Format button.
The display will show:
Format? (Y/N)
5.
If you’re ready to proceed, press the Yes
button. If you want to cancel the operation,
press the No button.
If you press the Yes button, the Avista will proceed to format the
floppy. The procedure takes a few moments—the Avista’s display
will tell you when formatting is complete.
Saving Your Recordings to Disk
To save a recording to disk:
1.
Insert a formatted disk into the floppy drive.
2.
If the Disk LED is not already lit, press the Disk-Rec/Play button.
3.
Press the Save button.
The display will show:
Format
Yes
No
SONG_000.MID
Save
Содержание AVISTA 7600
Страница 1: ...User s Guide...
Страница 32: ...Avista 7600 User s Guide Part Number 9310023301 A Model Number MM 171...


