background image


6/21

energysistem.com

14. MicroSD HC/XC card slot.
15. SIM 1 card slot.
16. SIM 2 card slot.
17. Serial and IMEI number.
18. Battery.

Power/First use

Your Smartphone has a rechargeable lithium ion battery that you must insert into the device. Open the battery cover,
insert the SIM cards, the microSD card (not included) and the battery. Place the battery cover onto the back of the
phone. Initially the battery is charged at the factory, but it is highly recommended that you perform a full charge before
the first use.
Recharge the battery by connecting the device to the power point only using the AC/DC 5V included with the product.
The charging time ranges from 2-4 hours, depending on whether the device is off or running. In order to keep the
battery in good condition, we recommend that you turn it off while charging and not leave it charging more than 8
hours.
You have several ways to improve the performance and optimize the battery use of your Phone:
Set your Smartphone to automatically turn off the display after a few seconds of inactivity in Settings > Display > Sleep
after.
Select an ideal display brightness in Settings > Display > Brightness.
Turn on the Wi-Fi connnection whenever you can since it needs less battery than 3G connection and you will save in
your data connection.

Switching On and Off

Before turning on your Phone, make sure that the SIM cards are inserted in their slots. After that, press the power
button (13) located on the upper right side of your device for a few seconds. When the operating system has loaded,
unlock the device to start using it. Enter the PIN number of your SIM cards and then drag the padlock outside the circle
using your finger.
In order to turn off the device, hold the power button (13) until you see the power off menu, then select "Power Off".
Briefly pressing the power button (13) locks/unlocks the device, turning the screen on/off and activating the power
saving mode.

Main gestures

Basic gestures

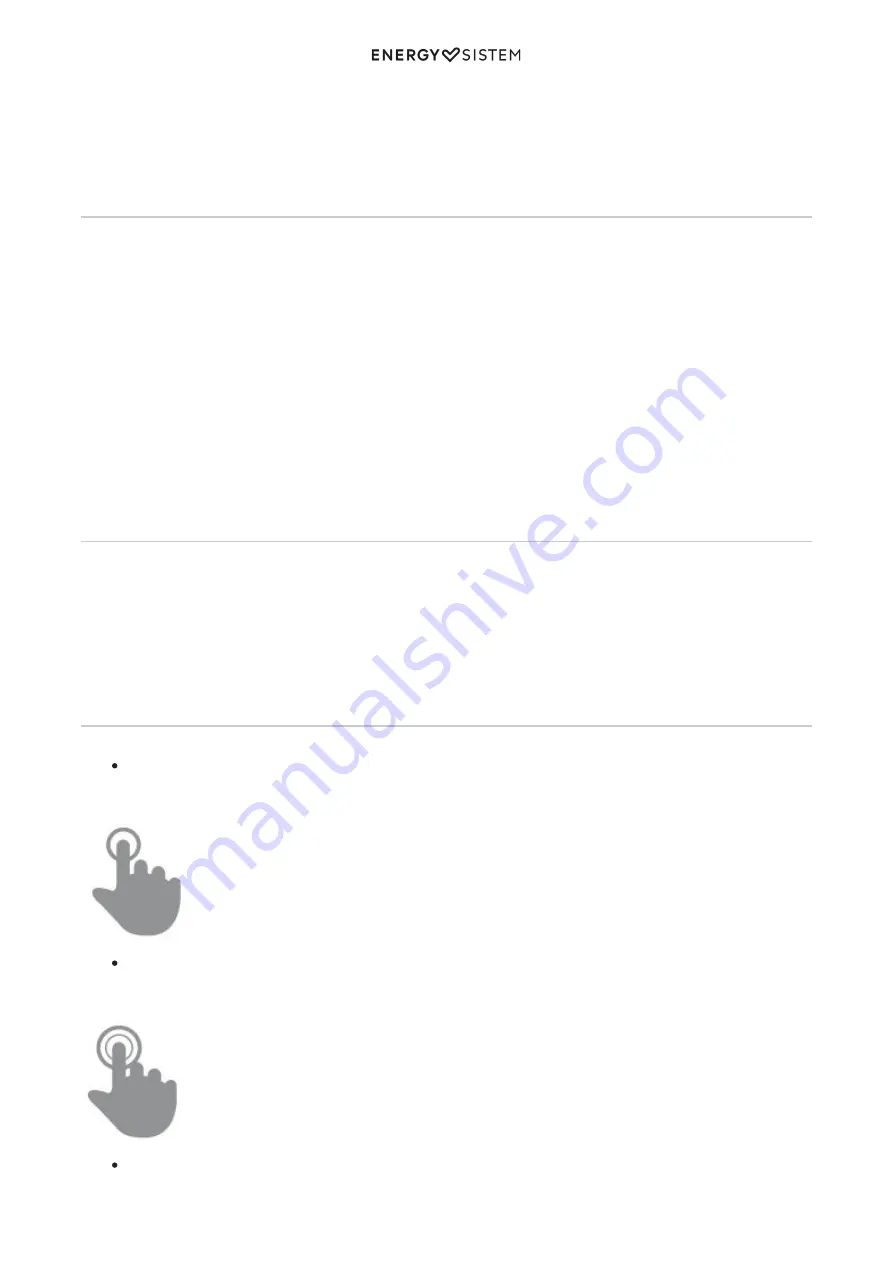
Tap

Touch the screen briefly

Double tap

Touch the screen twice quickly

Drag

Содержание Phone Max

Страница 1: ...ic gestures 6 Main screen 7 Widgets 8 SIM Card Setup 9 Bluetooth setup 10 Wi Fi setup 11 Internet browser 12 E Mail Client 12 Music player 13 Video player 14 Camera 15 Gallery 16 MicroSD USB 17 Updating 18 Troubleshooting 19 Safety precautions and SAR 19 Safety precautions 19 Exposure information SAR 20 Warranty 20 Warranty Procedure 20 Trademarks 20 Declaration of Conformity 20 ...

Страница 2: ...2 21 energysistem com ...

Страница 3: ...ur device The device has ARM Cortex A7 1 3GHz Quad Core processor Mali 400 GPU 5 HD IPS OGS touch screen and switchable coloured back casings We recommend you to read this manual to enjoy your device in a safe way and with maximum performance Care and maintenance Do not expose your Smartphone to impacts dust direct sunlight humidity or high temperatures Do not use abrasive or corrosive cleaners Ke...

Страница 4: ...to Focus rear camera with LED flash USB function to easily access the smartphone s memory from the computer cable included Integrated speakers Integrated omni directional microphone Audio connector compatible with CTIA standard Motion sensor accelerometer Display with auto brightness Proximity sensor Installed applications web browser email manager applications to play music videos photos FM radio ...

Страница 5: ... flash 1 Headphones output 2 Front speaker 3 Proximity and luminosity sensors 4 Front camera 5 Volume button 6 Microphone 7 USB port 8 Recent Apps Home Back touch buttons 9 Rear speaker 10 Rear flash 11 Rear camera 12 Power button 13 ...

Страница 6: ...ance and optimize the battery use of your Phone Set your Smartphone to automatically turn off the display after a few seconds of inactivity in Settings Display Sleep after Select an ideal display brightness in Settings Display Brightness Turn on the Wi Fi connnection whenever you can since it needs less battery than 3G connection and you will save in your data connection Switching On and Off Before ...

Страница 7: ...stem com Move your finger over the screen without losing contact Slide Slide your finger quickly over the screen Press Touch the screen for an extended period of time Zoom Zoom in and out the screen image Main screen ...

Страница 8: ... the settings menu Search Direct access to Google s search engine 2 Voice Search Access to Google s voice search and much more 3 Music Music player 4 Play Store Download the best and most popular apps for your Android system 5 Gallery Image gallery 6 Camera Access to the built in camera 7 Internet Web browser 8 Email E mail client 9 Access to the application and widget menu 10 Contacts Contact man...

Страница 9: ...he one you want to add to your desktop by pressing and then releasing it on the desktop A Widget can be relocated or removed easily To relocate a widget tap and hold it for a few seconds Once the widget is highlighted you can move it to another position within the desktop To remove the widget tap and hold it for a few seconds and the X icon will appear on the top side of the screen drag the widget...

Страница 10: ... calls send and receive text messages and data connection It also allows you to set your roaming network operator Bluetooth setup Your Phone has Bluetooth 4 0 to connect your device to any bluetooth device like headphones PC speakers etc You only have to go to Settings Bluetooth and turn the switch to the ON position Once the search is finished select the device to start the connection ...

Страница 11: ...etooth 1 Enable the Bluetooth option 2 Select the device you want to connect to 3 Accept the synchronization request 4 Wi Fi setup Tap on Settings in the MAIN SCREEN Wi Fi 1 Enable the Wi Fi option 2 Select your Wi Fi network 3 Connect 4 ...

Страница 12: ...it is available Internet browser Your new Phone has a powerful Web browser among the list of applications installed by default with which you will be able to surf the Internet quickly and easily Once the device is connected to a Wi Fi or 3G network press the browser icon located on the desktop or in the application menu to start the program The system will load and display the home page set by def...

Страница 13: ...13 21 energysistem com Selected folder 1 New e mail 2 Search 3 E mails 4 Folders 5 Music player ...

Страница 14: ...14 21 energysistem com Playlist 1 Display 2 Length 3 Progress bar 4 Random playback 5 Next song 6 Play Pause 7 Previous song 8 Repeat 9 Elapsed time 10 Video player ...

Страница 15: ...15 21 energysistem com Back to video list 1 Share 2 Now playing 3 Play Pause 4 Length 5 Progress bar 6 Elapsed time 7 Camera ...

Страница 16: ...y mode 2 Live photo mode 3 Normal mode 4 HDR 5 Flash 6 Switch camera 7 Access to the gallery 8 Shooting button 9 Video Mode 10 Settings 11 Gallery You can view your pictures and videos stored in the device s internal memory or microSD memory card ...

Страница 17: ...o the main desktop press the Back or Home button MicroSD USB Your Phone has a slot for MicroSD cards to expand your device s memory To use it turn off your device before inserting extracting the card in order to avoid accidental data loss Supports High Capacity microSD HC and Extended Capacity microSD XC formats ...

Страница 18: ...the device hangs up restarts unexpectedly or you have problems accessing the content of the internal storage memory you should reinstall or update the operating system to a newer compatible version if available Follow these steps to install Make sure that the battery of your Phone is fully charged Otherwise plug your Phone to the external power 1 using the provided AC DC power adapter and wait unt...

Страница 19: ... black and the device does not respond 13 It is always better to reboot the device through one of the options available within the system but if that is not possible remove the battery put it back again and press the power button The built in memory of the Phone Colors has 8GB but the available memory is lower Why 14 The Android operating system and the preinstalled applications need approximately...

Страница 20: ...ou may prefer to contact the distributor from which you purchased the product presenting the 2 purchase receipt or invoice Important This warranty doesn t cover any damage or loss to any data stored in warranty products therefore Energy Sistem s Technical Service will not assume any loss of the above mentioned information so it is recommended to make a backup of your data and to remove any data or...

Страница 21: ...209 2 2010 EN 50566 2013 EN 62479 2010 EN 301 489 1 V1 9 2 EN 301 489 3 V1 6 1 EN 301 489 7 V1 3 1 EN 301 489 17 V2 2 1 EN 301 489 24 V1 5 1 EN 55022 2010 AC 2011 EN 61000 3 2 2014 EN 61000 3 3 2013 EN 55024 2010 EN 301 511 V9 0 2 EN 300 328 V1 9 1 EN 301 908 1 V7 1 1 EN 301 908 2 V6 2 1 EN 300 440 1 V1 6 1 EN 300 440 2 V1 4 1 in conformity with the essential norms and standards of the Directive 9...

Отзывы: