21
5.4.1. Playlists
Add your favorite contents to the playlist so they are easily accessible at any time.
5.5. TIMER
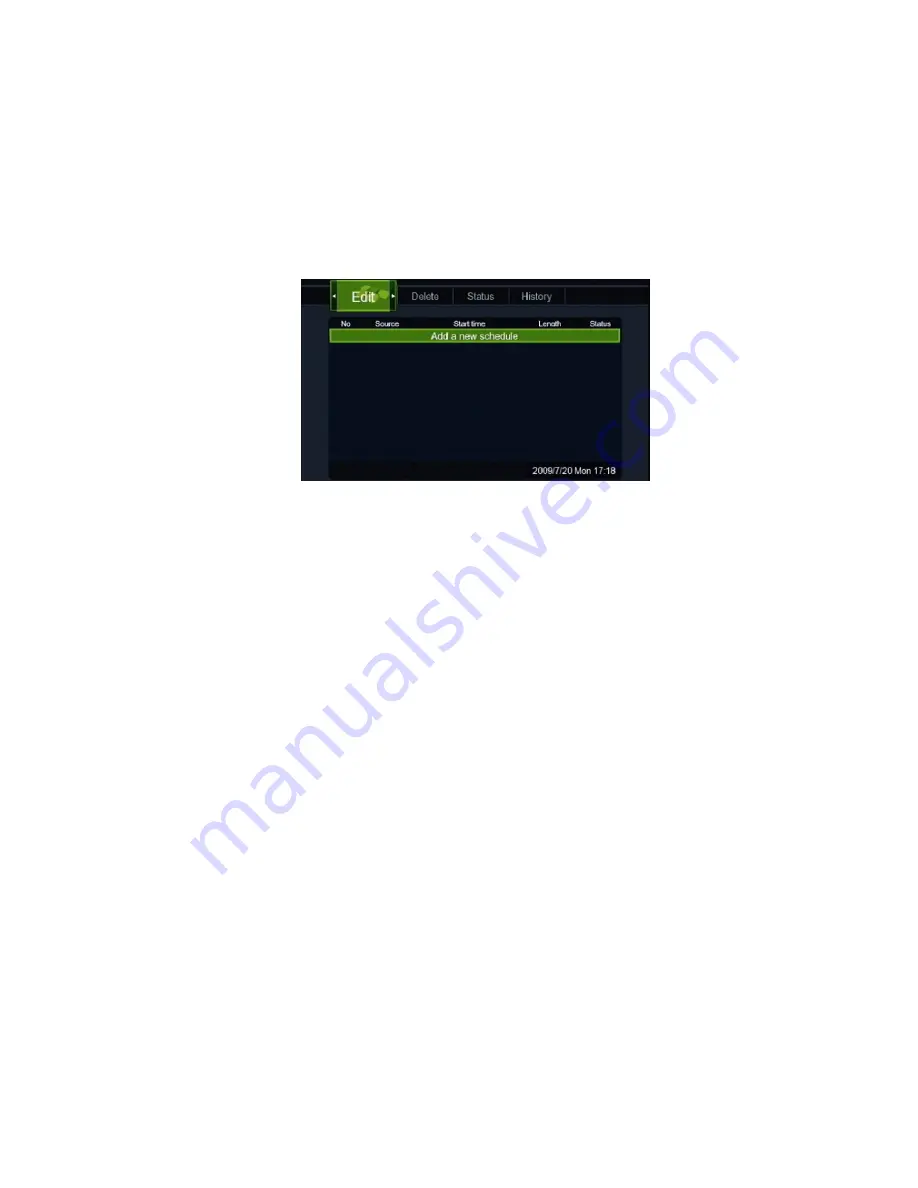
The Timer menu allows you to create, edit and delete recording schedules and view scheduling status
and and history.
5.5.1. Creating a new schedule
Select the ‘Edit’ tab and then ‘Add a new schedule’. Press ‘Ok’.
At the configuration screen enter values for the following parameters:
≥
Start time: Date and time when the recording should start.
≥
Lenght: Lenght of the recording.
≥
Repeat: Choose from Once/Everyday/Mon-Fri/Mon-Sat or an individual day of the week.
≥
Quality: Choose the recording quality. The higher the quality the more space required on the hard
drive.
5.5.2. Editing an existing schedule
Follow the same steps than in “Creating a new schedule” but selecting first the schedule you want to
edit instead of ‘Add a new schedule’.
5.5.3. Deleting a schedule
Select the ‘Delete’ tab, then the schedule you want to delete and press ‘Ok’.
5.5.4. Changing the status of a schedule
Select the ‘Status’ tab, then the schedule you want to disable or enable and press ‘Ok’.
5.5.5. Viewing recording history
View the recordings that have completed.

