25
•
Image Appearance
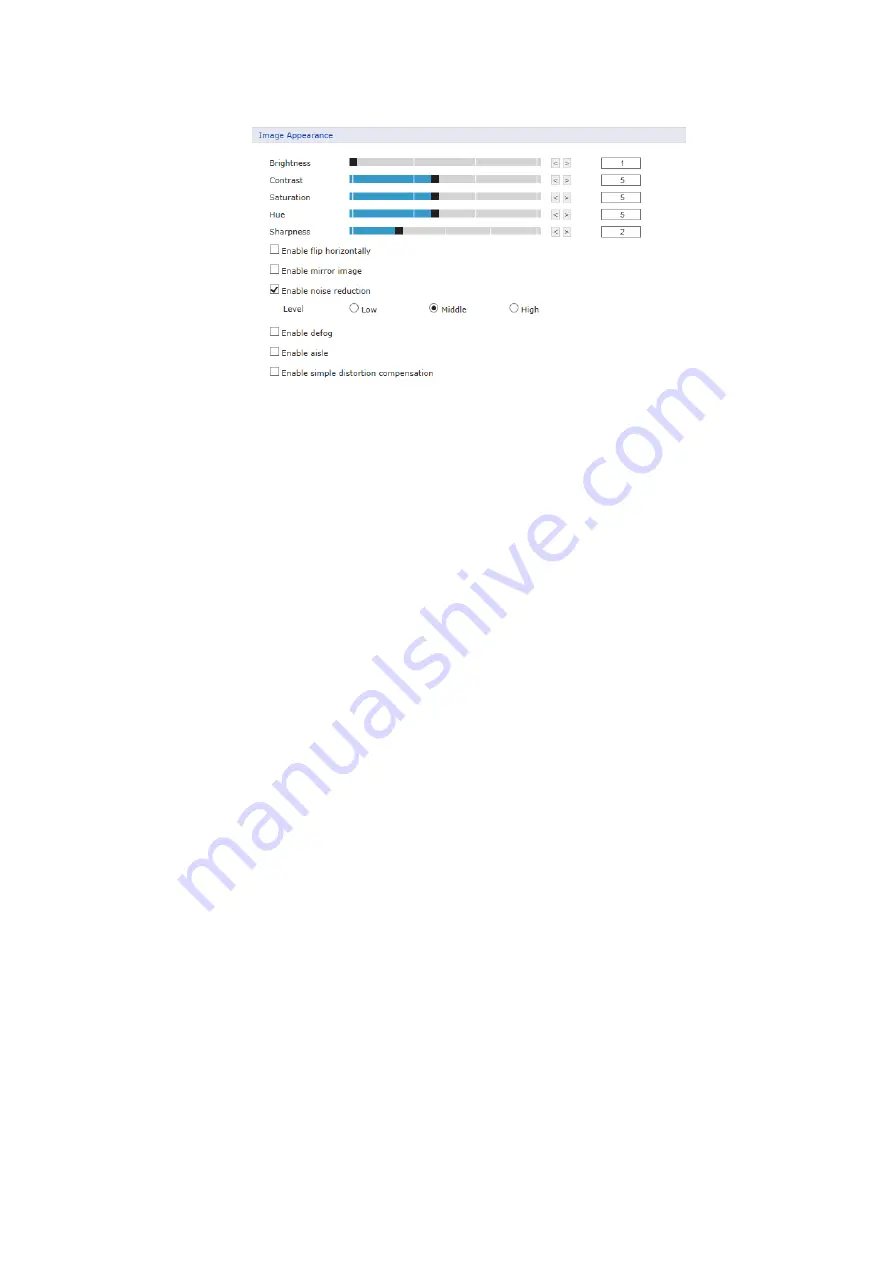
This provides access to the advanced image settings for the network camera.
– Brightness:
The image brightness can be adjusted in the range 1-10, where a
higher value produces a brighter image.
– Contrast:
Adjust the image’s contrast by raising or lowering the value in this field.
– Saturation:
Set an appropriate value in the range 1-10. Lower values mean less
color saturation.
– Hue:
Set an appropriate value in the range 1-10. The value distinguishes color,
such as red, yellow, green, or violet.
– Sharpness:
Set the amount of sharpening applied to the image. A sharper image
might increase image noise especially in low light conditions. A lower setting
reduces image noise, but the image would be less sharp.
– Enable flip horizontally:
Check this box to flip the image.
– Enable mirror image:
Check this box to mirror the image.
– Enable noise reduction:
Check this box to activate the noise reduction.
Once enabled, you can select noise reduction level.
– Enable defog:
Check this box to activate the defog function.
Once enabled, you can select defog strength.
– Enable aisle:
Check this box to activate the image rotation function.
This function is rotates 90
o
clockwise or counterclockwise, which is useful in mon-
itoring a hallway or an aisle in a store. Once enabled, you can select 90
o
(rotate
clockwise) or 270
o
(rotate counterclockwise).
– Enable simple distortion compensation:
Check this box to activate the image
distortion compensation function. This function can dewarp the image to com-
pensate the distortion due to the wide angle lens. Once enabled, you can select
the compensation level in the range of 1
∼
5, while checking the image in preview
window.


