


30
alarm.
Note:
If an event occurs during Continuous recording, the frame rate will automatically switch to that set for
Event recording.
Configuring
an
Advanced
Recording
Schedule
An advanced recording schedule allows you to schedule multiple time periods per day for recording as oppose
to a single time period of a quick recording schedule. Setting up an advanced recording schedule will allow you
to further conserve disk space by recording only during the time periods you would like to record at.
To setup an advanced recording schedule:
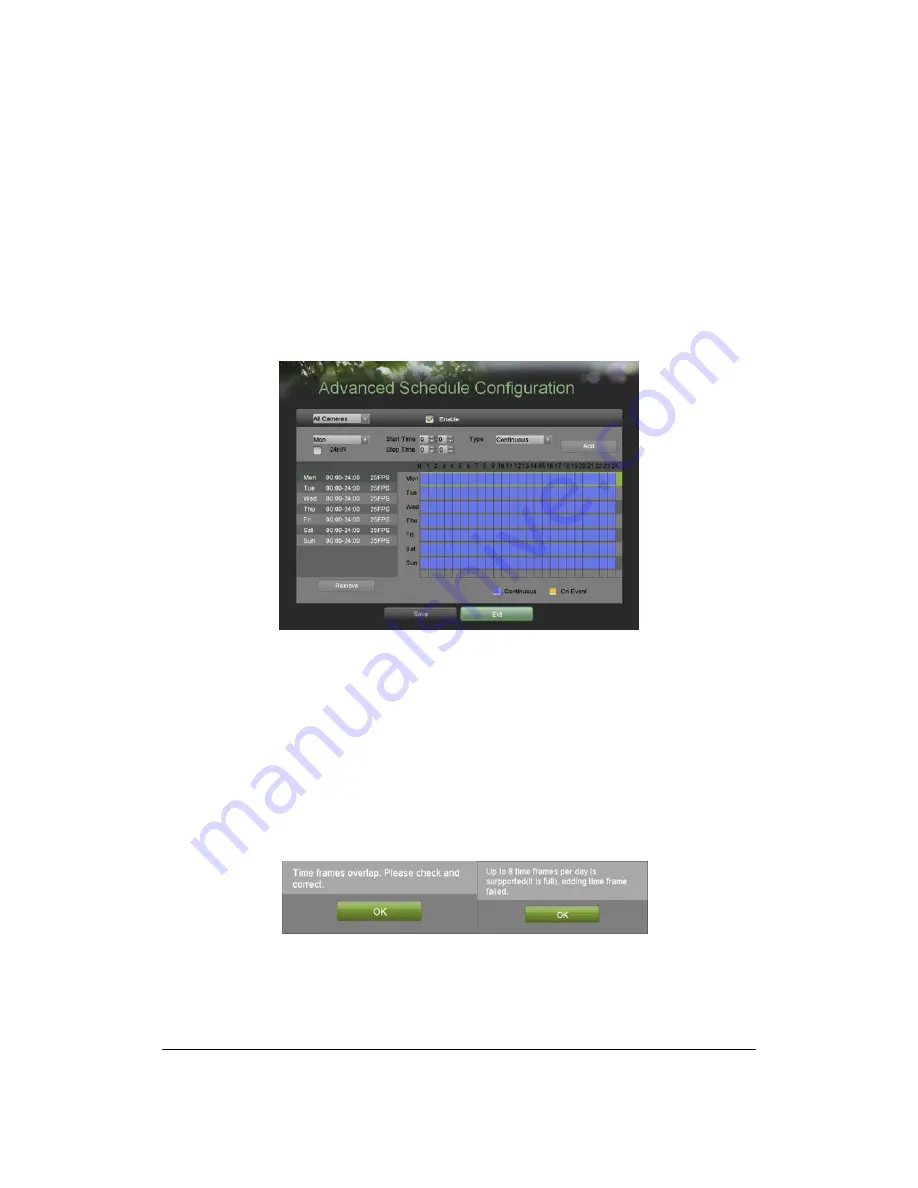
1. Enter the Advanced Schedule Configuration menu, shown in Figure 24 by going to Main Menu > Recording
Configuration > Advanced Schedule Configuration.
Figure 24. Advanced Schedule Configuration Menu
2. Select the camera to configure from the camera drop down menu. If all the cameras are to be configured
with the same settings, select
All
Cameras
from the list.
3. Check the
Enable
checkbox to enable the recording schedule. If the checkbox is unchecked, the recording
schedule will be disabled.
4. Select a day between Monday to Sunday to configure schedule for.
5. Setup time periods for schedule. If the 24HR checkbox is checked, recording will occur over the entire day.
To setup multiple time periods, uncheck 24HR and enter the Start and Stop Time for the selected day.
The start and stop time are listed using a 24 hr cycle (i.e. 18:00 is equivalent to 6:00pm).
6. Select recording type under Type for selected day of the week. Recording type includes Continuous for
continuous recording or On Event for recording when an event is triggered (i.e. from detected motion) for
the selected time period.
7. If there are scheduling errors detected, such as overlapping time periods, error messages such as those
shown in Figure 25 will appear.
Figure 25. Advanced Schedule Configuration Error Messages
8. Check the Enable Audio checkbox if you would like to enable audio recording along with the video. Audio
can only be recorded if an audio source (such as a microphone) is connected to the NVR.
9. Select the Add button to add time frame to schedule. The newly added time frame will appear in the
schedule on the left, with the schedule parameters shown on the right. Continuous recordings are shown in
blue on the schedule while event recordings are shown in yellow. An example of this can be seen in Fig. 26.
Содержание FNR-4004/500
Страница 1: ...User Manual Network Video Recorder 4 IP Channels H 264 FNR 4004 500...
Страница 5: ...5 CHAPTER 1 Introduction...
Страница 14: ...14 CHAPTER 2 Getting Started...
Страница 19: ...19 CHAPTER 3 Live Feed...
Страница 27: ...27 CHAPTER 4 Record Settings...
Страница 32: ...32 CHAPTER 5 Playback...
Страница 36: ...36 CHAPTER 6 Backup...
Страница 40: ...40 CHAPTER 7 System Configuration...
Страница 51: ...51 CHAPTER 8 Camera Management...
Страница 57: ...57 CHAPTER 9 Disk Management...
Страница 61: ...61 CHAPTER 10 NVR Management...
Страница 68: ...68 Technical changes reserved...


