


2.
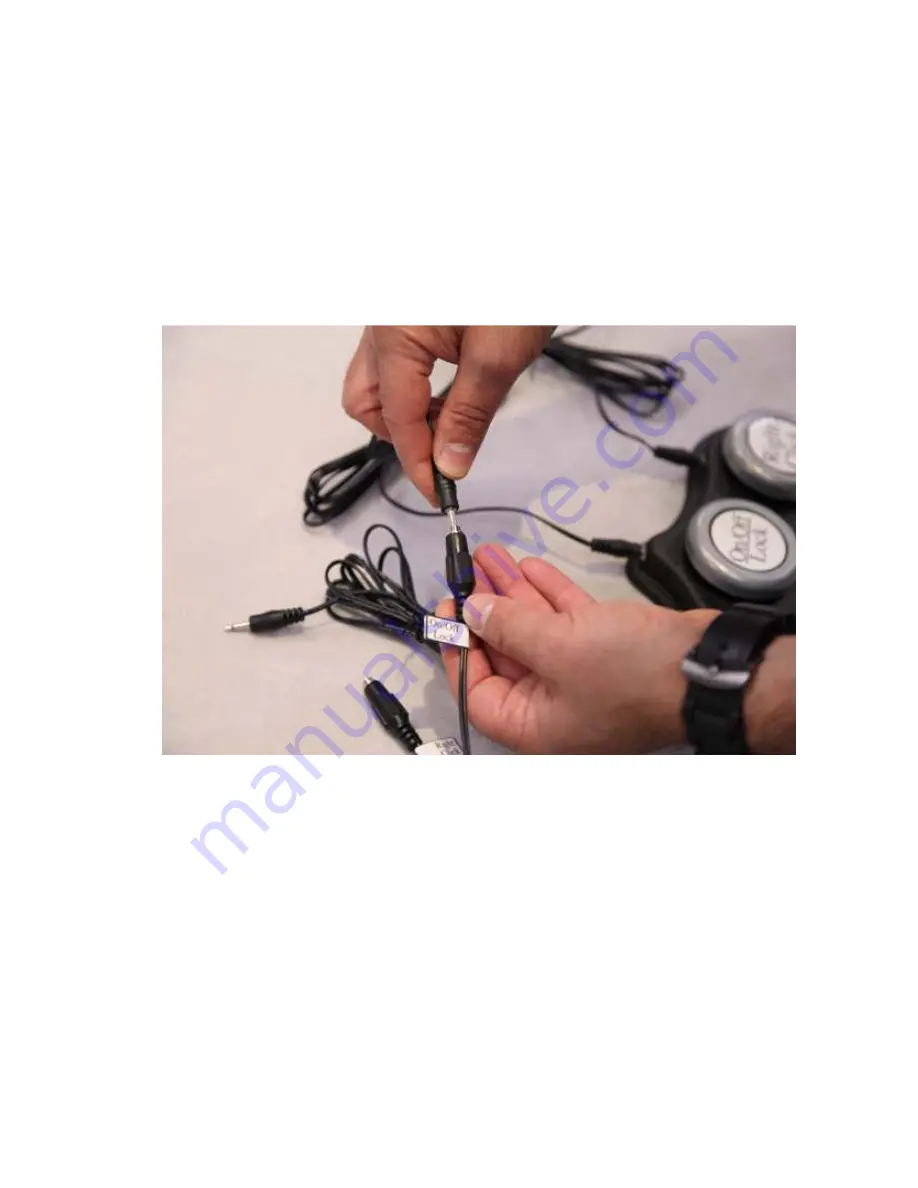
Next you will need to plug in from one to three external switches into the labeled input
jacks. Make sure when you plug your switch into the jack that it is plugged in all the way.
There should be no gaps (See Photo #3). One jack is labeled ON/OFF/Lock, this will turn
ON or wake up the Plug & Play Air Mouse and also lock the cursor in position on the
screen. Please Note:
Please Note:
Please Note:
Please Note: To conserve battery power the Air Mouse will go to sleep after 2
minutes of inactivity. Activating any switch will wake the Air Mouse. The Lock function is
used to re-center your mouse cursor if it seems to drift off course. On Chrome OS which
has many assistive accessibility built into it you can use a Chrome OS device such as a
Chromebook, Chromebox or Chromebase with just one switch and the Plug & Play Air
Mouse.
Photo #2
Photo #2
Photo #2
Photo #2
3.
There is also a jack for each the Right and Left Mouse function. You can use any external
switches with the Plug & Play Air Mouse or use the 3 button switch included in the
#4301B Bundle or sold separately item #9403 Three Switch Control Box.
4.
The small USB receiver or dongle of the Plug & Play Air Mouse plugs into one of your
computers USB ports, there are no drivers or software to install hence the name Plug and
Play Air Mouse. Your computer will auto detect it. If you want to use the Plug & Play Air
Mouse with an Android device running Android 4.0 or newer plug the USB receiver into the
Android’s USB port such as an Android Set-Top Box. If your Android device does not have a
full sized USB port you can use an adapter called an OTG cable which will plug into your
Androids micro USB port and give you USB port access.
Page No.2
Page No.2
Page No.2
Page No.2


