


5
Panel
Descriptions
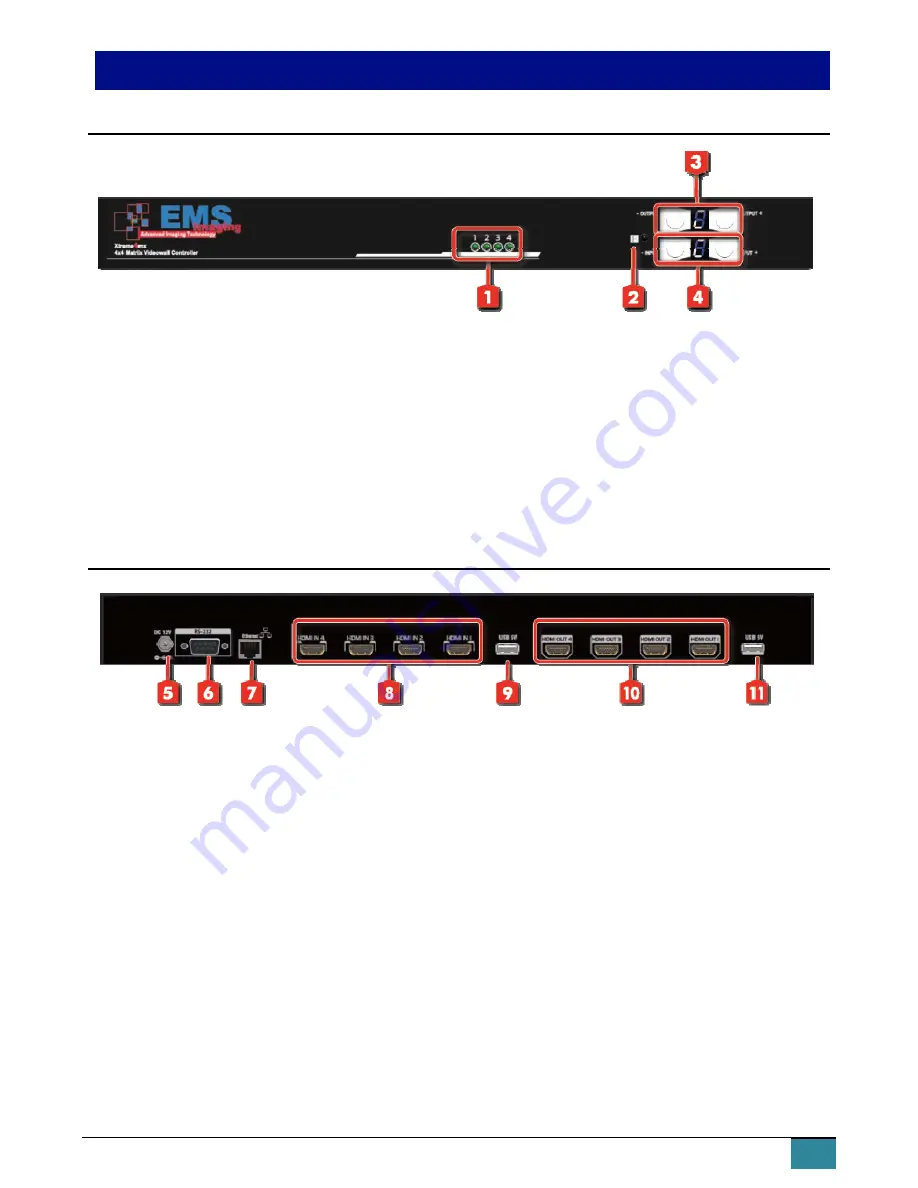
FRONT
PANEL
—
XTREME4MX,
transmitting
unit
(TX)
1.
Source
Status:
Input
source
indicator
LED
2.
IR
SENSOR:
IR
sensor
for
receiving
the
IR
commands
from
IR
remote
3.
Output
Push
Button
&
7
‐
segment
LED:
Front
panel
push
buttons
used
to
select
the
number
of
display
channel
&
LED
display
for
output
ports
4.
Input
Push
Button
&
7
‐
segment
LED:
Front
panel
push
buttons
used
to
select
the
number
of
input
source
&
LED
display
for
input
channels
REAR
PANEL
—
XTREME4MX,
transmitting
unit
(TX)
5.
+12V
DC:
12V
DC
power
jack
6.
RS
‐
232:
RS
‐
232
control
port
7.
Ethernet:
Ethernet
control
port
8.
INPUT
1
‐
4:
HDMI
inputs
9.
USB
5V:
output
5v
10.
Output
1
‐
4:
HDMI
outputs
11.
USB
5V:
output
5v


