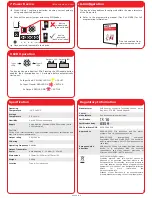
©2015 EMS Security Group Ltd. All rights reserved Page 2 of 2 TSD050 Iss 12 09/02/2016 AJM
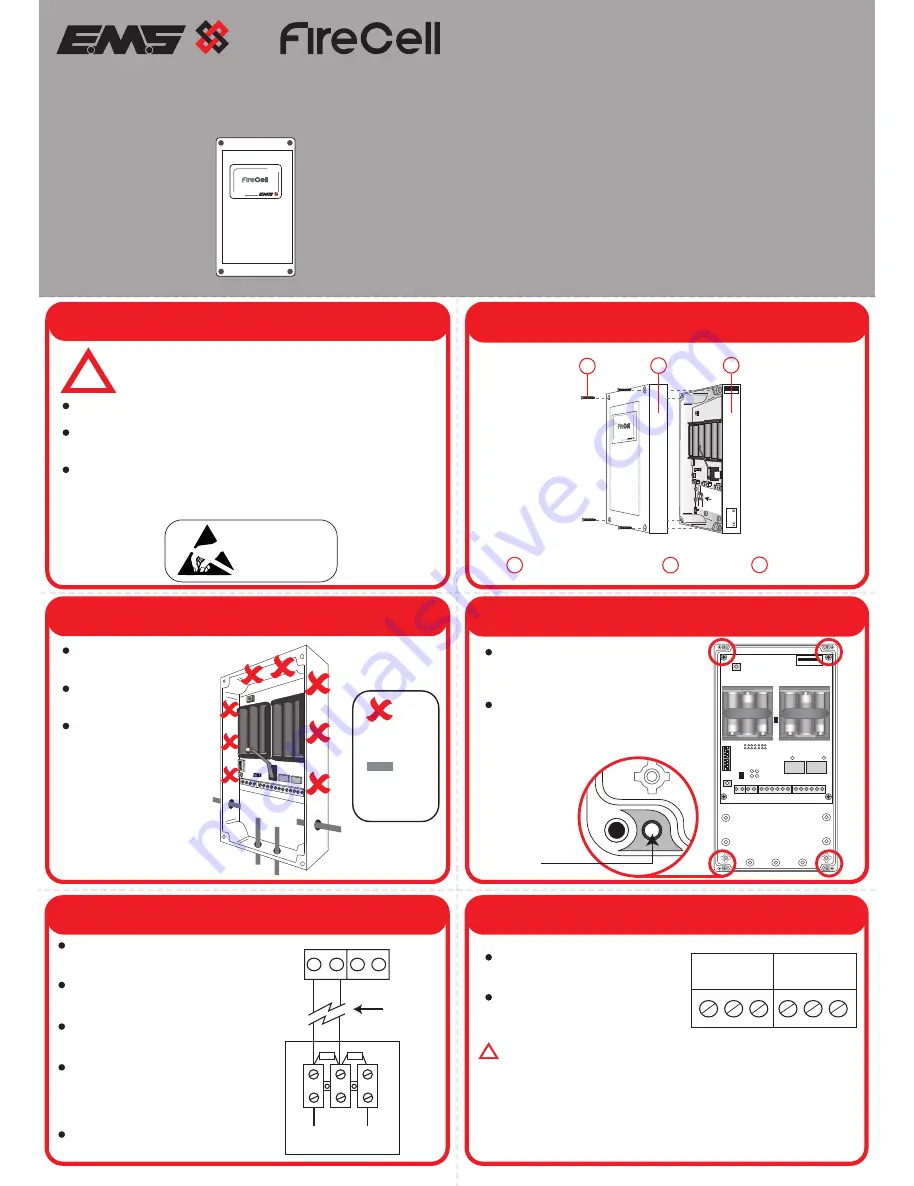
1 Pre Installation
2 Components
Part No Product Description
!
4x Lid Fixing Screws
Front Lid
3
Back Box
5 Input Wiring
FC-610-001
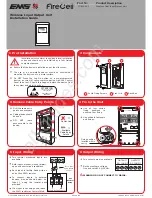
Wireless Dual Input/Output Unit
Wireless Input Output Unit
Installation Guide
DUAL I/O UNIT
FC-610-001
FC-610-001
DUAL I/O UNIT
IDENT REV DATE
FC-610-001 EN300 200-2
0359
!
20K
4K7
C
N/O
20K = Red/Bl
4k7 = Yellow
EOL Resistor
Configuration
ANTENNA
2
1
3 Remove Cable Entry Points
4 Fix
to the Wall
Use all four circled
fixing positions to
ensure a firm fixing.
Use suitable fasteners
and fixings.
INPUT 1 INPUT 2
IP- IP+
IP- IP+
20k
4k7
C
N/O
Drill the cable entry
points as necessary.
Cable glands should
be used.
DO NOT leave
excess cable in the
device.
ON
INPUT 1
INPUT 2
EXPAN1
EXPAN2
OUTPUT
2
OUTPUT
1
IP- IP+ IP- IP+
3VDC SET
RST
N/O COM
N/C
3VDC
SET RST
N/O COM
N/C
Do Not Use
=
Available
Cable Entry
Points
=
Installation must conform to applicable local installation
codes and should only be installed by a fully trained
competent person.
Ensure that the device is installed as per the site survey.
The use of a non-metallic spacer should be considered if
mounting the device on to a metal surface.
Do NOT Press the Log On button on a pre-programmed
device, as this will cause communication with the Control
Panel to be lost. Should this happen, delete the device from
the system and add it back on.
ATTENTION
OBSERVE PRECAUTIONS
FOR HANDLING
ELECTROSTATIC
SENSITIVE
1
2
3
ANTENNA
KEEP CABLES AWAY FROM THIS AREA
LOGON
OUTPUT
2
OUTPUT 1
3VDC SET RST
INPUT 1 INPUT 2
LED
ENABLE
POWER
INPUT
INPUT
FAULT
CLOSED
0
1
1
64
F-SAFE
N/O COM N/C
IP- IP+ IP- IP+
3VDC SET RST
N/O COM N/C
EXPAN1
EXPAN2
RELA
Y ON
RELA
Y ON
2
4
8
16
32
ON
1 2 3 4 5 6 7 8
012ABC
Fixing position
location within
cavity
6 Output Wiring
Two resistor monitored inputs are
available.
Both inputs monitor; closed (alarm),
open and short circuit conditions.
Each input is factory fitted with an
end of line 20kΩ resistor.
To connect inputs to external
devices, wire as shown below. I.e.
Input 1, using the resistor pack
provided.
If an input is not being used, leave
the 20kΩ resistor as factory fitted.
EOL
Resistor
Setup
Remote Monitored Device
Note: Max
Cable Length
of 10m
OUTPUT 2
OUTPUT 1
N/O COM N/C N/O COM N/C
Two outputs are also available.
Both outputs are voltage
free and rated 2A @ 24Vdc.
WARNING. DO NOT CONNECT TO MAINS.
!
All manuals and user guides at all-guides.com
all-guides.com


