TB-6596
Page 3 of 7
© 2019 DESCO INDUSTRIES INC
Employee Owned
EMIT
- 3651 Walnut Avenue, Chino, CA 91710 • (909) 664-9980 • Website:
DescoEMIT.com
Operation
NOTE: The SmartLog Pro® must first be programmed
with the user ID table using the TEAM5 Software before
being deployed for employee use, or the default test
settings will be applied.
See the
TEAM5 User Manual
for more information.
If the SmartLog Pro® is located near a restroom, sink or
other water source, operators will need to be instructed
to thoroughly dry their hands before testing. Wet hands
may cause inaccurate test results and damage to the
tester.
1. A circling light around the test switch indicates when
the SmartLog Pro® is on standby and ready to
perform a test.
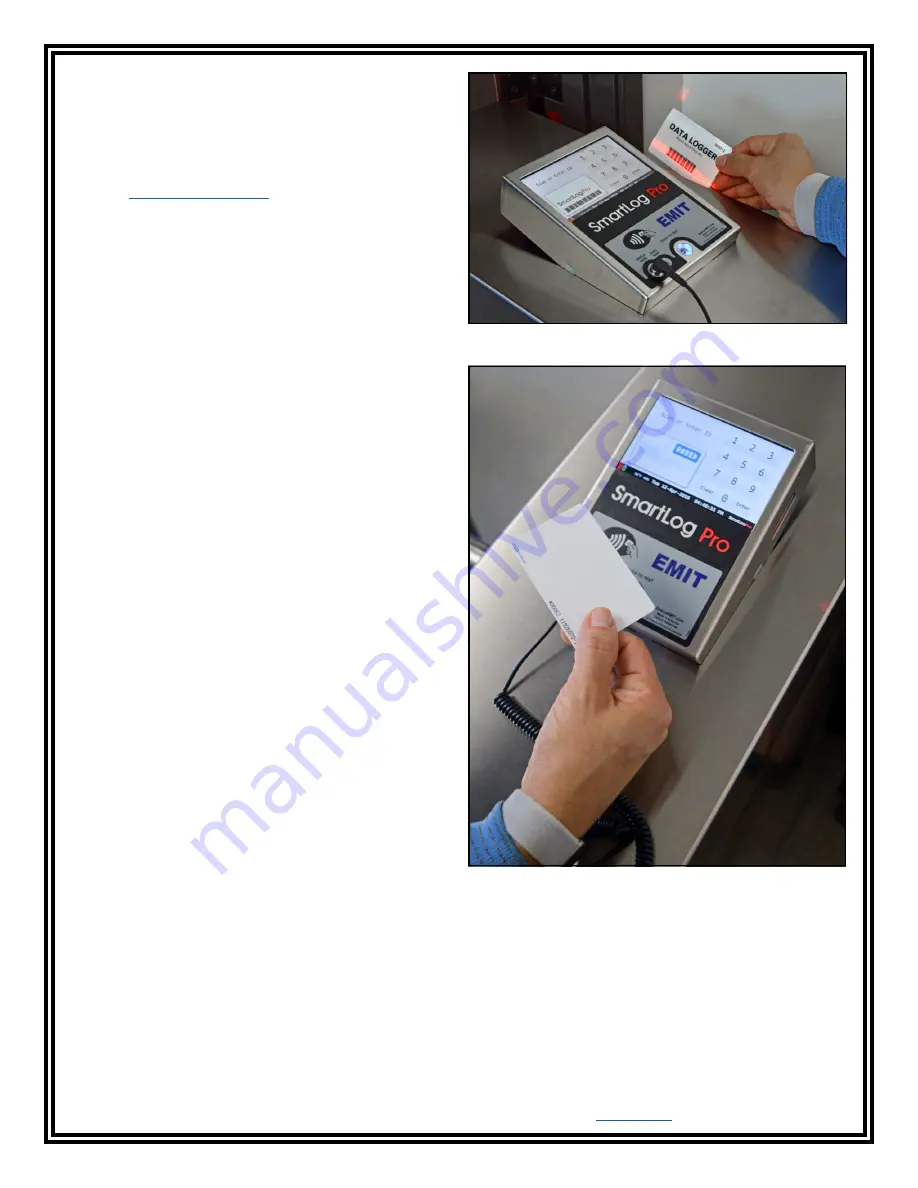
2. Initiate the test procedure by identifying yourself to
the SmartLog Pro®. This may be done using the
touchscreen keypad, barcode scanner or proximity
reader.
NOTE: Hold the proximity badge in front of the RFID
icon for a full second if using proximity badges. See
Figure 5.
3. Follow the prompt on the SmartLog’s display.
4. When performing a footwear test, be sure to place
both feet on the dual foot plate (one foot per plate).
NOTE: Keep the foot plate clean with 99% isopropyl
alcohol when using the 1 Gigohm high test limit. A
dirty foot plate could yield a false pass.
When performing a wrist strap* test, be sure to
completely plug in the wrist cord into the tester’s
jack.
5. To begin the test, use your finger to bridge the test
switch’s inner and outer contacts. The blue standby
LED will become solid to indicate that the test has
been initiated. Hold your finger down until the test
results are displayed on the touchscreen.
If your finger is removed too early, the tester’s
blue LEDs will blink three times to indicate that the
test was not completed. DO NOT touch any metal
other than the SmartLog Pro® or the turnstile while
performing your test as this will affect your results.
Figure 4. Using the barcode scanner
Figure 5. Holding a proximity badge in front of the RFID
icon on the SmartLog Pro®


