Remote Rack Sensor Wiring
Liebert
®
CRV
™
142
13.3 Terminating the Last 2T Sensor on a Network
The last 2T sensor on the network, which can be identified by having only one CAN cable plugged into
it, must be terminated. All other 2T sensors on the network must remain unterminated. 2T sensor #3
is terminated at the factory (the sensors are labeled). As long as Sensor #3 is the last sensor on the
network, none of the other termination jumpers in the other sensors need to be adjusted.
The sensors do not need to be connected in numerical order.
For example, if five sensors are purchased, they can be connected in the following pattern:
In the example above, if additional sensors are added to an existing sensor network, Sensor #3 must
be unterminated. The additional sensors can then be connected and the new last sensor on the
network will have to be terminated.
2T sensors may be terminated in either of two ways, with a factory-supplied termination plug or with
jumpers.
13.3.1 Using the Factory-Supplied Plug to Terminate the Last 2T Sensor on a Network
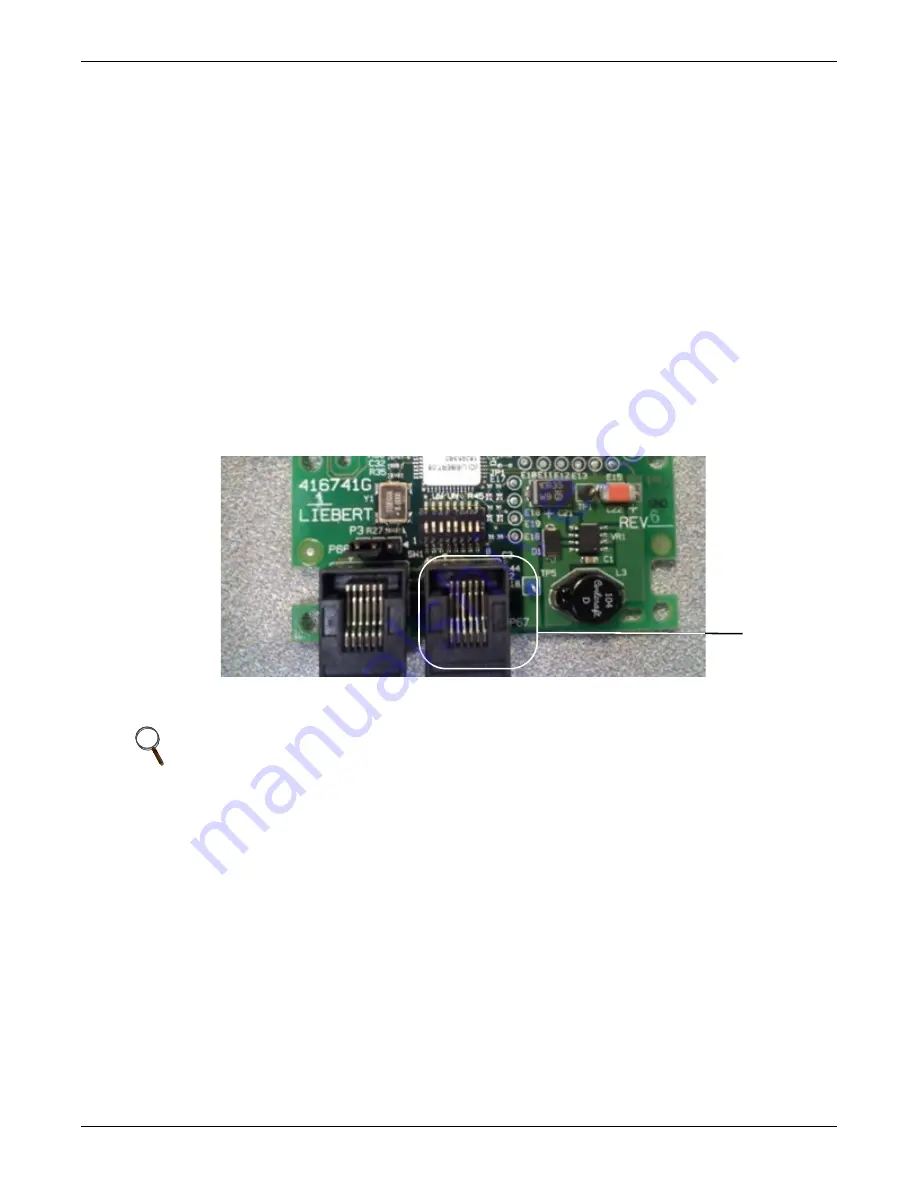
The Liebert CRV is furnished with 2T sensors and an RJ-45 termination plug. Arrange the sensors
and network as detailed in
13.7 Sensor Location and Mounting
. Insert the termination plug into
the RJ-45 connection on the 2T temperature and humidity sensor board (see
Figure 125 Termination with factory-supplied plug
13.3.2 Using Jumper to Terminate the Last 2T Rack Sensor on a Network
A jumper can be used to terminate a 2T sensor if no factory-supplied termination plug is available.
To terminate a 2T sensor with a jumper:
1. Open the sensor's case by removing the screws that hold it together, usually three.
2. Pull the black jumper off the circuit board from Pins 1 and 2 (see
).
3. Install the jumper on Pins 2 and 3.
4. Reassemble the sensor housing.
NOTE
Using a jumper to terminate a 2T sensor in a Liebert CRV requires removing the sensor
housing from the cooling unit.
Insert
Termination
Plug in P67
Circuit board inside
the 2T Sensor
Terminal in the
Liebert CRV


