Basic Setup and Calibration
July 2009
3-9
The factory default characteristic is LINEAR. You can
also use a QUICK OPEN, EQUAL %, or CUSTOM
function. However, the custom function is initially
configured linear, unless you use a HART based host
to reconfigure the custom points. Custom configuration
can be selected, but the curve cannot be modified with
the local interface.
Transmitter—This configures the relationship between
the valve travel and the position transmitter output
signal. If you select CLOSED, the transmitter will send
4 mA when the valve is closed. If you select OPEN,
the transmitter will send 4 mA when the valve is open.
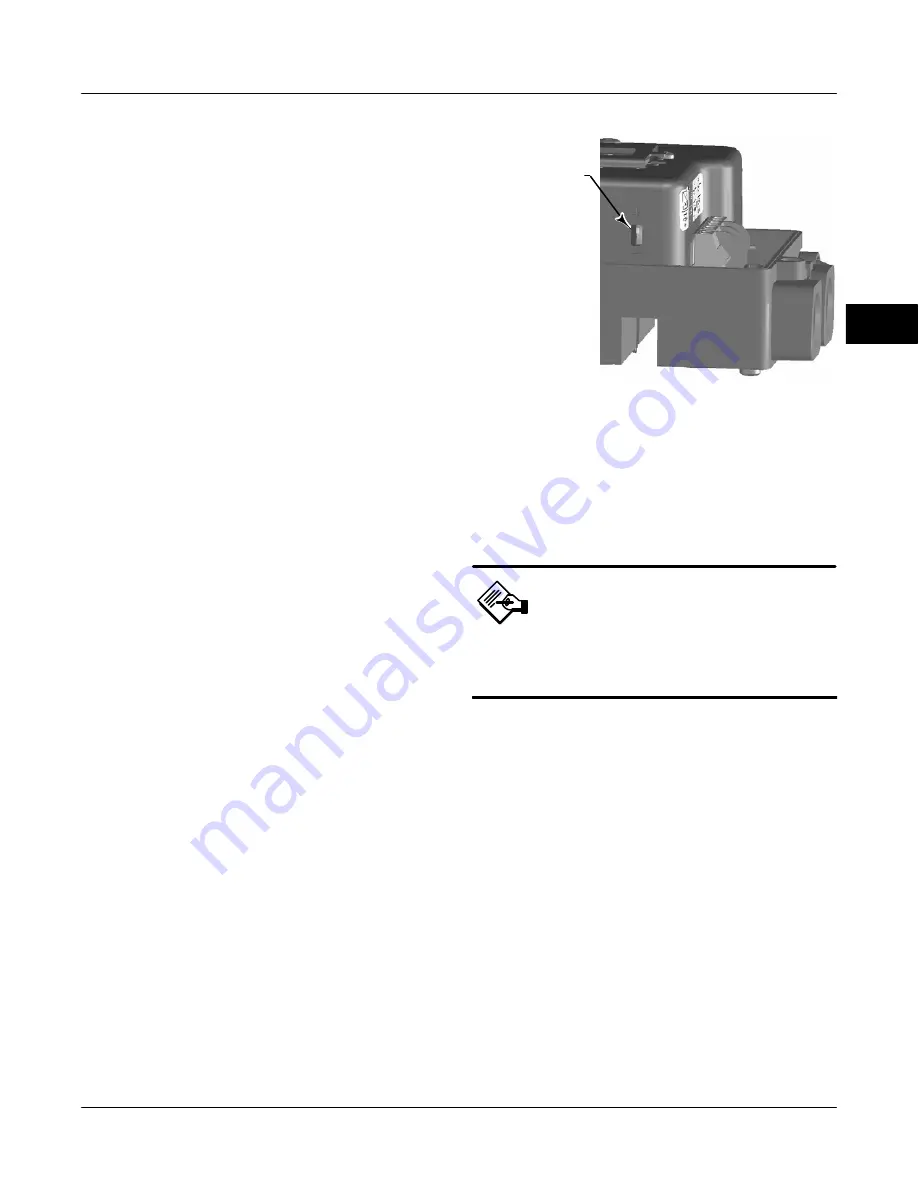
A switch is located on the options board to select the
transmitter fail signal (high+ or low
−
). High+ will result
in a current output of
>
22.5 mA upon transmitter
failure. Low
−
will result in a current output of
<
3.6 mA.
Refer to figure 3-6 for location and switch selection.
Switch #1 Trip Point—Defines the threshold for the
limit switch wired to ter41 and
−
42 in percent
of calibrated travel.
Switch #1 Closed—Configures the action of the limit
switch wired to ter41 and
−
42. Selecting
ABOVE configures the switch to be closed when the
travel is above the trip point. Selecting BELOW
configures the switch to be closed when the travel is
below the trip point. Selecting DISABLED removes the
icons and status from the display.
Switch #2 Trip Point—Defines the threshold for the
limit switch wired to ter51 and
−
52 in percent
of calibrated travel.
Switch #2 Closed—Configures the action of the limit
switch wired to ter51 and
−
52. Selecting
ABOVE configures the switch to be closed when the
TRANSMITTER SWITCH
FOR FAIL SIGNAL
+ HIGH (SHOWN) OR
−
LOW
Figure 3-6. XMTR Switch
travel is above the trip point. Selecting BELOW
configures the switch to be closed when the travel is
below the trip point. Selecting DISABLED removes the
icons and status from the display.
Note
Switch #2 is only operational if power
is applied to switch #1 also. Switch #2
cannot be used alone.
3
Содержание Fisher FIELDVUE DVC2000
Страница 40: ...DVC2000 Digital Valve Controller July 2009 3 14 3 ...
Страница 70: ...DVC2000 Digital Valve Controller July 2009 6 10 6 ...
Страница 71: ...Parts July 2009 7 1 7 7 Section 7 Parts Parts Ordering 7 2 Parts Kits 7 2 Parts List 7 2 7 ...
Страница 77: ...Principle of Operation July 2009 A 1 A A Appendix A Principle of Operation DVC2000 Operation A 2 A ...
Страница 80: ...DVC2000 Digital Valve Controller July 2009 A 4 A ...
Страница 104: ...DVC2000 Digital Valve Controller July 2009 Index 8 C Index ...
Страница 105: ......


