background image

Quick start guide Eltako GFVS-Touch II  

20 
 

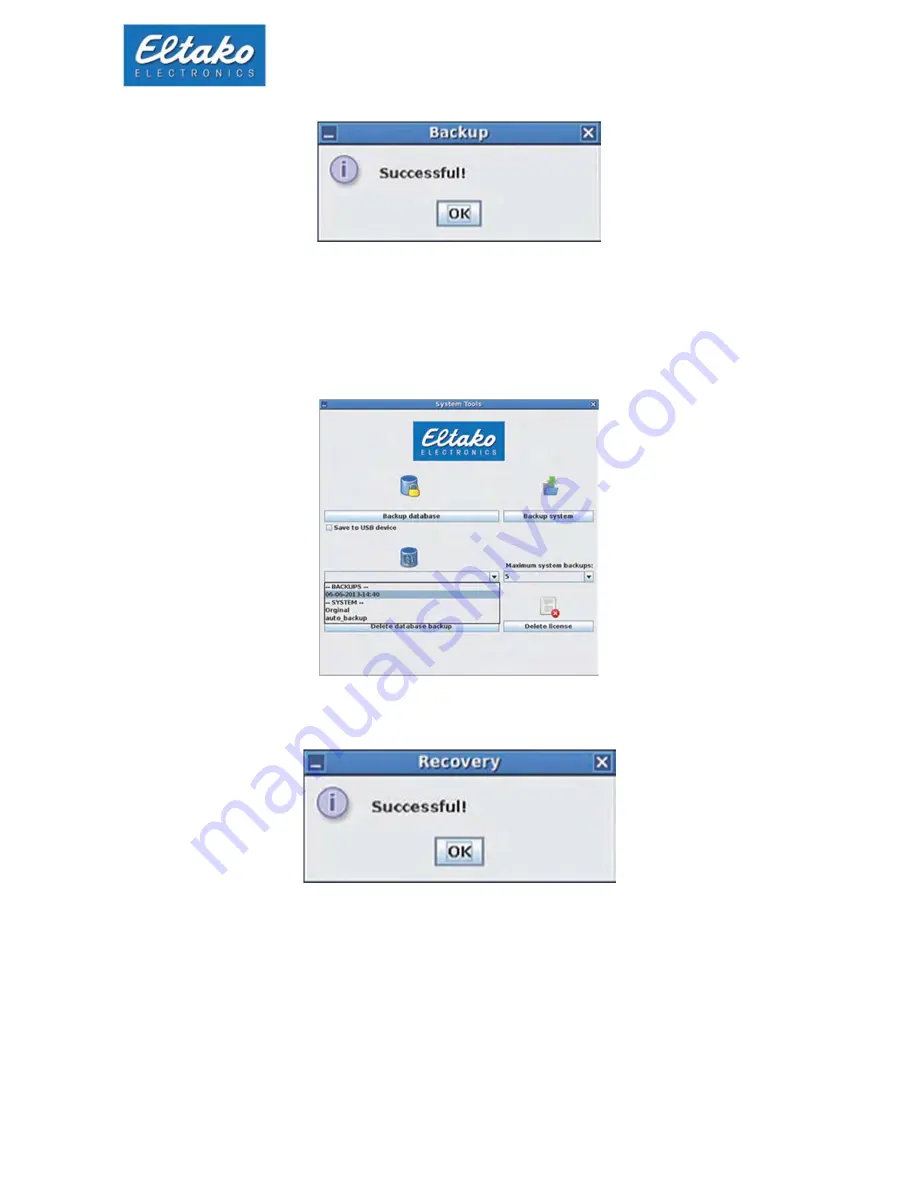
As soon as the backup is finished, a new dialog appears. Confirm with “ok“. 


Figure 30: successful database backup 


After each restart of the Eltako GFVS II, an automatic backup of the database takes place. 

If you want to restore an older database select it from the drop-down box. Alternatively a database 
with the delivery status of Eltako GFVS-Touch II can be selected.  


Figure 31: restore database 

Once you have selected a database, press the button “restore database“. 


Figure 32: recovery successful 

The successful recovery of the database is confirmed with a dialog. Click “ok“. 

To delete a created database backup, select the appropriate database from the drop-down menu, then 
press “delete backup database“ with a click on the button. 


Содержание GFVS-touch II

Страница 1: ...Quick start guide Eltako GFVS Touch II...

Страница 2: ...6 Language selection 11 5 7 Network settings 11 5 8 Remote settings 12 5 9 BSC BAP Finder 12 5 10 GFVS 3 0 settings 12 5 11 Presets 13 5 11 1 License 13 5 11 2 Database 13 5 11 3 Network 13 5 12 GFVS...

Страница 3: ...ltako GFVS Touch II 3 8 3 Export log files 25 8 4 Shuttle tools 25 8 5 OSD keyboard 25 9 Switch off Eltako GFVS Touch II 26 10 Restore system backup 26 11 Instructions for permanent operation 28 12 Te...

Страница 4: ...umption data plus the control of actuators 2 Scope of delivery Eltako GFVS Touch II External power supply and cables 2 x Ethernet connection cable 2m RJ45 therefrom 1 x Cross Over Resource cd Eltako G...

Страница 5: ...rated Components FAM USB 2 0 Megapixel Webcam 2 x 2 W loudspeakers compatible to 100x100mm VESA mounting Software and Applications Eltako GFVS 3 0 PCT 14 Software Backup and restore function 4 Connect...

Страница 6: ...Quick start guide Eltako GFVS Touch II 6 Figure 2 Backside Figure 3 connections left Figure 4 connections right...

Страница 7: ...ereo speakers 7 VGA output 8 Input for power supply 9 USB 2 0 connection 10 Network connection 11 USB 3 0 connection 12 HDMI connection 13 Audio line output headphones 14 Microphone input 15 Foot Hand...

Страница 8: ...to configure the system Using the Cross Over cable it is recommend to assign a fixed IP address for details see menu item 5 8 Switch on the Eltako GFVS Touch II During start up you will see the follo...

Страница 9: ...an be operated without a mouse or keyboard just with your fingertips For a more precise input there is a stylus on the left of the housing Via the menu a virtual keyboard is available By a long press...

Страница 10: ...5 2 Menu The menu is invoked by a right click on the background Figure 10 Menu Eltako GFVS Touch II 5 3 Eltako GFVS 3 0 Software Eltako GFVS 3 0 Software is launched via the menu item GFVS 3 0 A deta...

Страница 11: ...ime Figure 11 Time and date settings 5 6 Language selection Via the menu item system settings language selection you invoke the dialog to change the language Figure 12 Language selection 5 7 Network s...

Страница 12: ...to operate in a network with DHCP Note In recovery mode the network interface has the IP 192 168 168 100 5 9 BSC BAP Finder The BSC BAP finder is used for configuration of BAPs BIERS and IPG170 P and...

Страница 13: ...icense If re activation is required an Eltako GFVS 3 0 license key is attached 5 11 2 Database For data storage a PostgreSQL database is established 5 11 3 Network The interface is configured to opera...

Страница 14: ...which may lead to additional costs depending on the mobile phone contract Download the Eltako GFA App from the app store of your mobile radio system iPhone iTunes Android Google Play and install Figu...

Страница 15: ...art guide Eltako GFVS Touch II 15 Figure 19 profile manager Then create a new device in the Eltako GFVS 3 0 software using configuration security client Eltako GFVS 3 0 mobile Figure 20 create a mobil...

Страница 16: ...t Figure 21 name the mobile client Note The device name must be identical in the app and the GFVS server Please pay attention to the blanks Then assign a profile to the device Without a profile the de...

Страница 17: ...ons Then also enter this password in the password box of the app Additionally a figure in the box mobile key has to be entered six digit e g 000000 Figure 24 enter mobile key password Connection via q...

Страница 18: ...ote Saving the device name and the IMEI of the mobile device ensures that no unknown device can be connected 7 System tools 7 1 GFVS tools A right click on the background shows the menu Via system too...

Страница 19: ...a backup absolutely make sure that the Eltako GFVS 3 0 software was finished Otherwise an error message appears Figure 28 database in use 7 1 1 Backup restore or delete database To back up your datab...

Страница 20: ...e select it from the drop down box Alternatively a database with the delivery status of Eltako GFVS Touch II can be selected Figure 31 restore database Once you have selected a database press the butt...

Страница 21: ...n the following dialog you are asked if you want to delete the database Confirm with yes to delete the selected database or no to cancel the operation 7 1 2 System backup Click on the button backup sy...

Страница 22: ...n delete license deletes your Eltako GFVS 3 0 license A click opens a window for entering the password Password 0000 This option should only be used in case of an emergency by the Eltako GFVS 3 0 supp...

Страница 23: ...using this menu item Figure 38 restore license 7 3 Code MeterCC Settings in the Code Meter control center should only be performed by technical support 7 4 Change web password Entering a web password...

Страница 24: ...afe II Note The following folder structure has to be set up on an empty USB stick hc_import pictures Otherwise the images are not being copied Via the menu item system settings import export the data...

Страница 25: ...up on an empty USB stick hc_export export Otherwise the log files are not being copied Figure 42 copy images icons The button clear empties import export or log directory depending on the select optio...

Страница 26: ...f 10 Restore system backup To restore a system backup click on the menu power restart in recovery mode The Eltako GFVS II shuts down and starts in recovery mode Note in recovery mode the network adapt...

Страница 27: ...Via the button restart system exit the system without a system backup restore The button restore factory default backup resets the Eltako GFVS Touch II back to its factory condition In this case all...

Страница 28: ...tako GFVS Touch II is developed for 24 hours continous operation 24 7 Requirement for continuous operation Ambient temperature in operation 5 35 C Humidity in operation 10 80 non condensing free air c...

Страница 29: ...Eltako GFVS Touch II 29 12 Technical support For support please contact ELTAKO GmbH Hofener Stra e 54 70736 Fellbach Germany Tel 0162 2575 124 125 126 127 Fax 49711 5183740 or via E Mail to Technik B...

Отзывы: