- 28 -
icon.
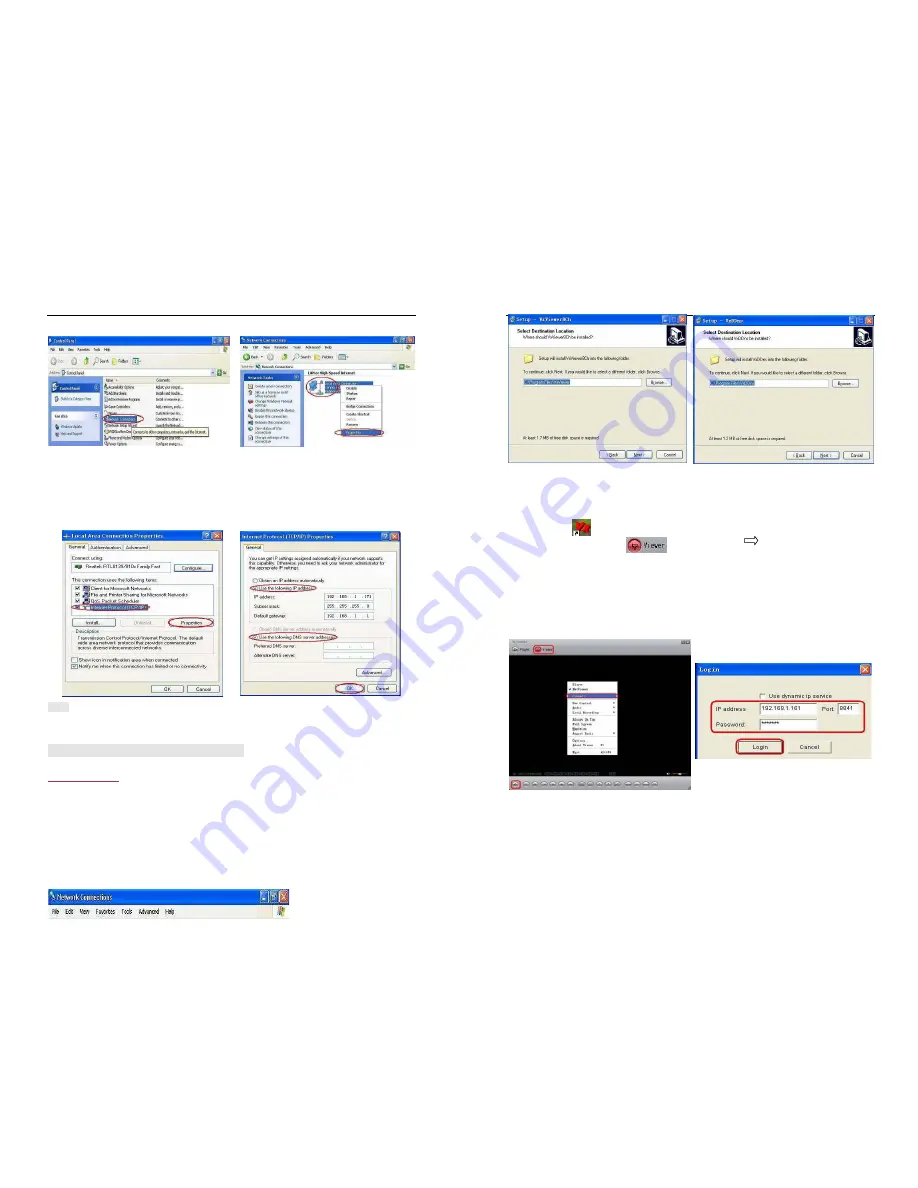
Find “Local Area Connection” and Right Click and select “Properties”.
Find “Internet Protocol [TCP/IP]” and click “Properties”. Select “Use the following IP address” and “Use
the following DNS server address”, and then input IP value.
Finally, Click “OK” to Save Change.
Note:
Before connecting network make sure the order of “Network” is “ON” on the menu “Network
settings”.
9.4 Connect PC to DVR—Net Viewer
9.4.1 Install
1. Put the Driver Program CD in your CD-ROM.
2. Go for installing by setup.
3. Set up the install directory.
4. Execute: 1.Start >Program> VxViewer8Ch.
2.Start>Program> VxDDns.
- 29 -
9.4.2 Program Interface
A: Run Vxviewer8Ch.
1. Double click “ ” icon on desktop to run the program.
2. First make sure the button “ ” is red. Then Click “ ” icon or click the right button of
the mouse and click the option “Connect… ”, there will be a dialog box for logon. To input IP
address, port and password according to the order of “Local IP” of DVR in the dialog box. For
example, “IP Type” is “Static”, “IP Address” is “192.168.1.161”, “Gateway” is “192.168.1.1”. Then
click the button “Logon” to enter into live view.
When browser net viewer, user can click the buttons on the interface to control DVR.
B: Run VxDDns.
Make use of VxDDns, user can connect synchronously many DVRs to one PC.
First set up DVR, enter menu bar “Network Settings”, adjust “Network” is “ON”, select order of “Name
Server”. On the interface of “Name Server”, make sure “Network” is “ON”, “IP Address” is the PC


