GT LITHIUM V1 Workshop manual
28
©
2013
Elkington
Golf
Pty
Ltd
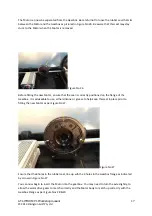
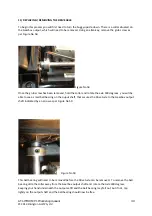
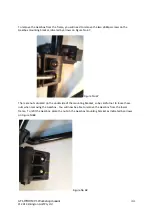
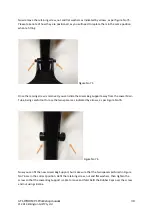
Once
the
Axle
Bearing
is
fully
seated
in
its
housing,
refit
the
bearing
cover,
then
fit
and
tighten
the
3
retaining
screws.
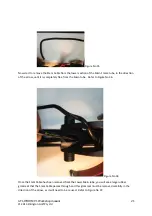
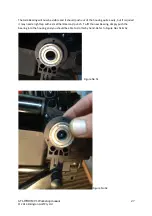
Please
ensure
that
the
cut
outs
in
the
bearing
cover
line
up
correctly
with
the
cut
outs
in
the
bearing
housing
as
indicated
by
arrows
in
Figure
No
53.
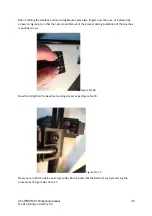
Figure
No
53
10/
REPLACING
/
REMOVAL
OF
THE
BATTERY
TRAY
To
remove
or
replace
the
Battery
Tray,
you
will
need
to
turn
the
buggy
upside
down.
First
you
will
have
to
remove
the
cable
ties
securing
the
wiring
to
the
lower
frame.
Now
unplug
and
disconnect
the
wiring
from
the
Motor
and
Stem
Cable
from
the
Motor
Controller,
please
refer
to
Figure
No
16
for
this.
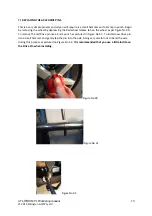
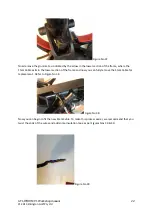
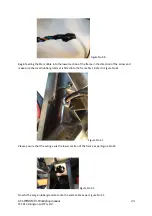
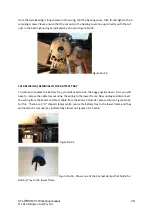
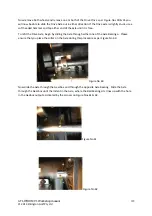
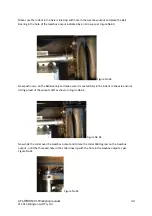
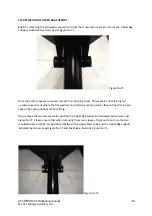
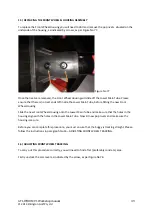
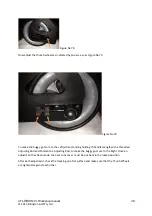
There
are
4
“U”
shaped
clamps
which
secure
the
battery
tray
to
the
lower
frame
and
they
will
need
to
be
removed,
as
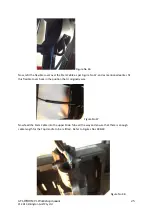
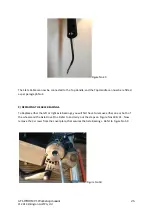
indicated
by
arrows
on
Figures
54,
55
&
56.
Figure
No
54
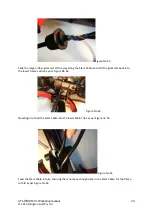
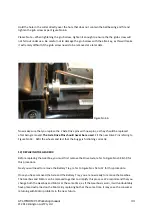
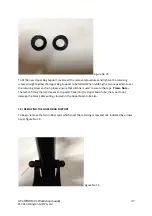
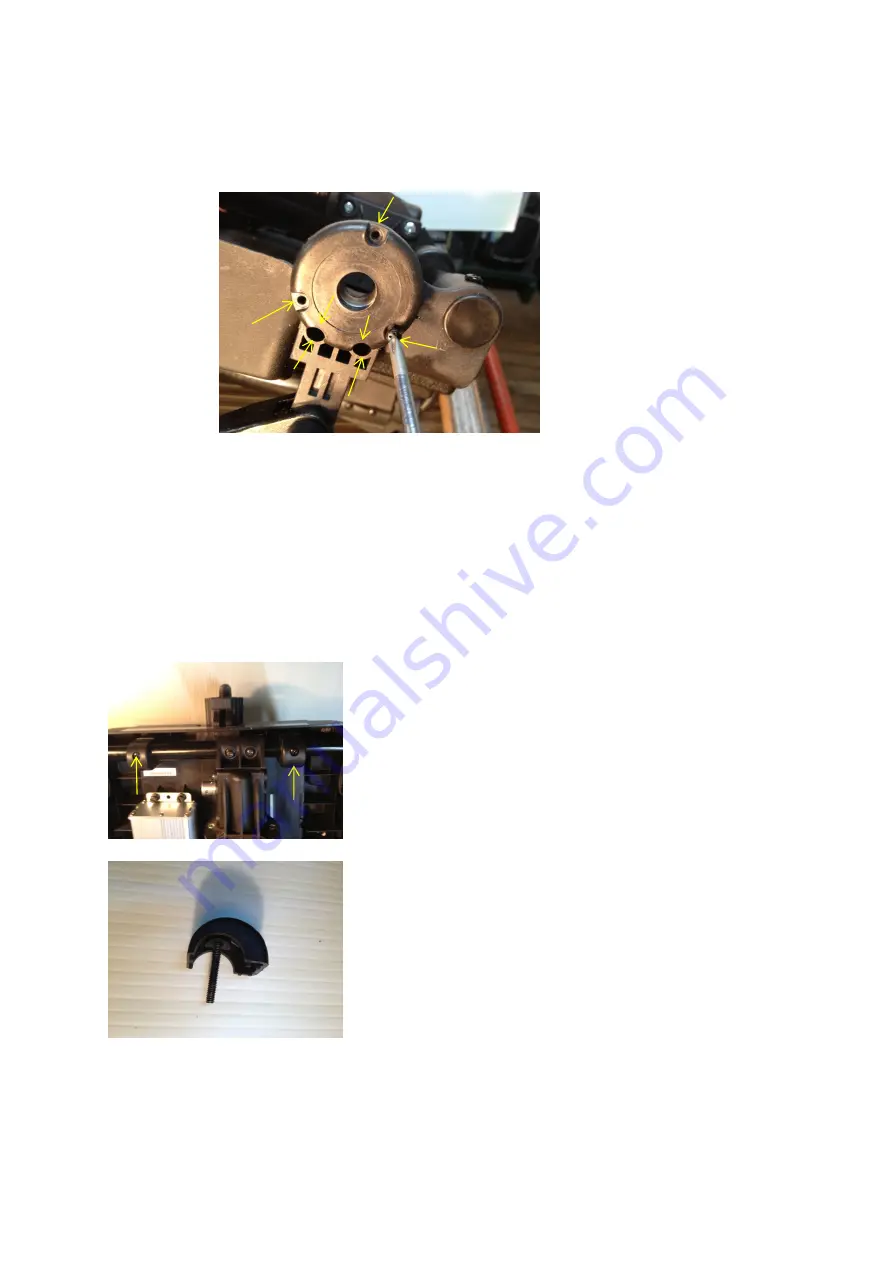
Figure
No
55
‐
Shows
one
of
the
4
actual
clamps
that
holds
the
Battery
Tray
to
the
lower
frame.


