


8
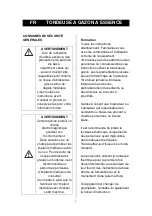
AVERTISSEMENT
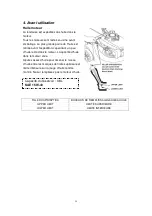
Pour votre sécurité, veuillez lire ce
manuel avant de faire fonctionner votre
nouvelle machine. Le non-respect des
instructions peut provoquer des blessures
graves. Prenez du temps pour vous
familiariser avec la tondeuse avant
chaque utilisation.
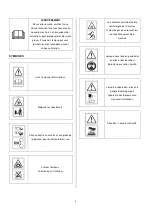
SYMBOLES
Lisez le manuel d’instructions.
Éloignez les spectateurs.
Soyez attentifs aux mains et aux pieds de
l’opérateur pour éviter toute blessure.
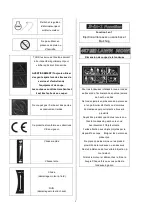
Fumées toxiques,
n’utilisez pas à l’intérieur.
Le carburant est inflammable,
tenir éloigné des flammes.
N’ajoutez pas de carburant lors
du fonctionnement de la
machine.
Lorsque vous tondez, portez des
lunettes et des bouchons
d’oreilles pour votre sécurité.
Lors de la réparation, relevez la
bougie d’allumage, puis
réparez-la conformément au
manuel d’instructions.
Attention : Le moteur chauffe.
Содержание Garden Technic TTAC46TM-CC139
Страница 15: ...15...
Страница 17: ...17 SUPPORT...
Страница 28: ...28...
Страница 52: ...52...
Страница 53: ...53 Til de afvoertrechterkap achteraan op verwijder de Mulching en installeer de grasopvangzak...
Страница 63: ...63...
Страница 85: ...85...
Страница 92: ...92 Stop Engine Move the throttle lever to the SLOW position FAST Max SLOW min...
Страница 97: ...97...
Страница 108: ...108...