


Operation
Users can make his own keyboard according to the key definition stated and perform the following
operation.
1
Change mode between view and play back
By default, the DVR is in view mode and show channel 1 when power up. One can press MODE to
switch view or playback photo screen
2
Change viewing channel and PIP
2.1
Press DISP to change view from Ch1 to Ch2
2.2
Press again DISP and view PIP, Ch2 in Ch1
2.3
Press again DISP and view PIP, Ch1 in Ch2
2.4
Press again DISP to cycle from viewing Ch1
3 Capture
photo
3.1
Use external trigger to capture: refer to section 4, as below.
3.2
by manually: at View mode, press SHOT to snap an image
3.3
by motion detect: pls refer to the following setup section, once it is in armed mode, the DVR
will capture the image when motion detected.
3.4
Use short cut key UP to arm the system at View mode
4
External trigger for capture
4.1
Active low, it depends on which camera is active.
4.2
If ch1 is in view, if TG1 active, capture a photo from ch1, if TG2 active, the system will switch
to ch2 and take a photo from ch2 then keep the ch2 in view, until manual change to ch1.
4.3
If both channels has triggered at the same time, the first triggered channel will be valid.
5
Playback the photo inside the memory
The capture photos will be stored in different folders for easy searching. The folders are named
according to the date sequence. If there is no file in the memory, it will show “NO FILE” and enter view
mode
5.1
press MODE button to enter playback mode
5.2
press OK to enter thumbnail view, press again OK to normal view
5.3
use LF/RT button to forward or rewind the image
5.4
press UP to turn on off the OSD
5.5
press DISP to show folder name, use UP/DN key to scroll, OK to select
6
Delete files from memory
6.1
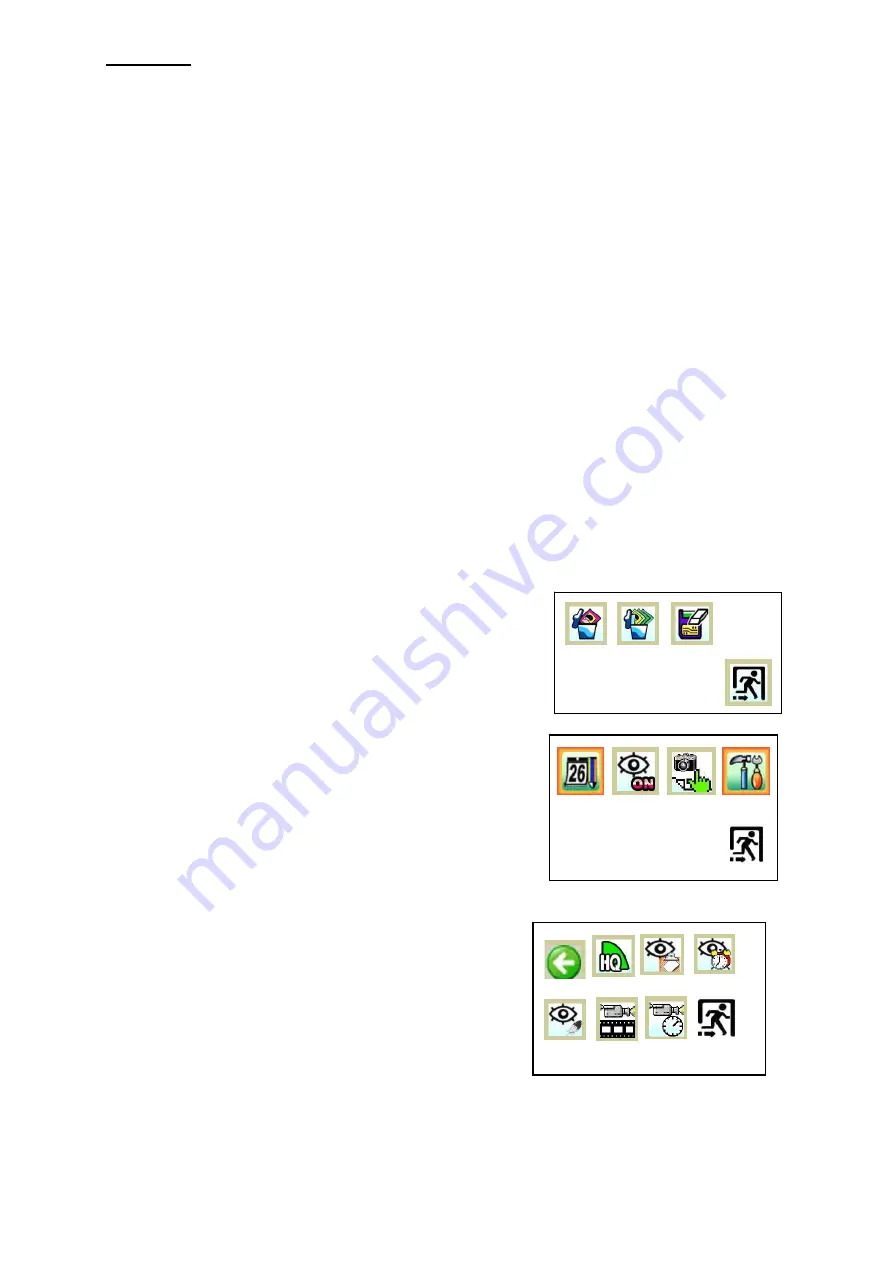
At playback mode, press MENU to enter playback
menu, by using LF/RT key, one can select delete
current image or all files in the current folder. Press
OK to confirm and reconfirm by selecting a tick icon.
6.2
One can select format to delete all files in all folders
Delete Menu
7 System
Setup
At preview mode, press MENU
Set Up Screen
7.1
Set up Date time
7.1.1 Use LF/RT key to select date or time and UP/DN
key to set the correct digit. The setting will then
store into system. Press OK to confirm.
7.2
Set up auto capture – enable or disable
7.2.1 Press OK to toggle enable or disable
7.3
Set up the capture format – AVI or Photo
7.3.1 Press OK to toggle AVI or Photo, press LF/RT
key to select next.
7.4 Advance
Setup
7.4.1 Set up the auto return preview. When there is
a long idle time at non-preview mode, user
can select to enforce system to enter preview
mode Press OK to toggle not return or auto
return preview in 10 or 30 second
7.4.2 Set up the image quality: Press OK to toggle
HQ or SQ(default is HQ)
7.4.3 Set up motion detect count: default is 1, press
OK to select from 1 to 10, this means the
number of images will be captured at every
trigger. Use LF/RT move to other item
7.4.4 Set up motion detect interval: default is 1, press OK to select from 1to 9,
the bigger
figure the longer interval to active the detection. Setting n is about n+2 sec between 2
snap shot.
7.4.5 Set up motion detect sensitivity, use OK to select Hi, Mid, Lo, default is Hi
2
rev
1.0


