


Installation manual
25
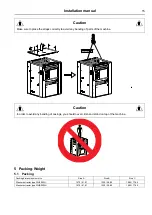
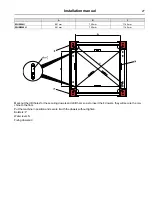
Leave at least 1 m (40") (according to the recommendation in standard EN 60204) between the machine, a wall or
any other machine at the sides.
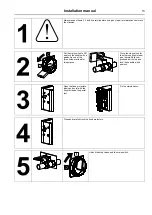
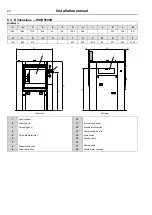
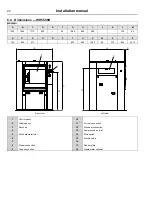
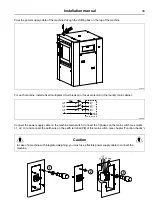
1
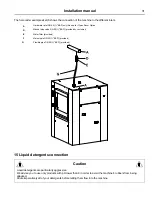
Rubber seal
2
Washer-extractor
3
Barrier partition
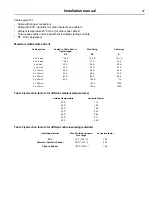
mm/in
A
B
C
D
WHB5500H
1290
1770
*
30
* Minimum 70 mm (2.76″),, maximum 100 mm (4″),.
• The barrier partition (3) shall be built after the installation of the machine.
• Line up the barrier partition (3) with the machine (2).
• Mount the rubber seal (1) on the cutoff edge of the machine (2).
If machines are to be installed in an existing wall thicker than 100 mm (4″), we recommend you order our special
aseptic frame kit.
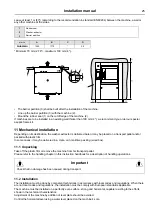
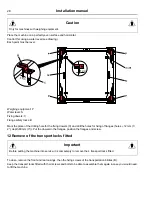
11 Mechanical installation
Depending on its destination, the washer extractor is delivered bare or may be placed on a transport pallet and/or
packed with plastic film.
In some cases, it may be delivered in a crate, or in maritime packing (wood box).
11.1 Unpacking
Take off the plastic film or remove the machine from his transport pallet.
Please refer to the handling chapter in this instruction handbook for a description of handling operations.
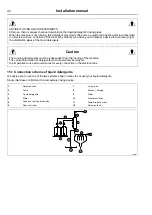
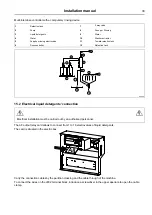
Important
Check that no damage has been caused during transport.
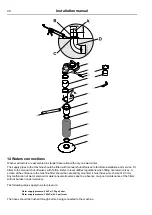
11.2 Installation
The installation must be done by competent technicians in accordance with local codes and regulations. When there
are not local codes and regulations, the installation must be comply with European standards applicable.
The machine must be installed on a perfectly even surface, strong and horizontal, capable resisting to the efforts
shown in the technical characteristics.
Adjustment of the machine by addition of level plate should be avoided.
Control the horizontal level using a water level placed on the machine's sole.
Содержание WHB5 500H
Страница 1: ...Installation manual Washer extractors WHB5 500H Clean room original instructions 05201135CR EN ...
Страница 2: ......
Страница 4: ......
Страница 21: ...Installation manual 21 Back view Right view Drain connection Top view ...
Страница 42: ...42 Installation manual ...
Страница 45: ......


