background image

21

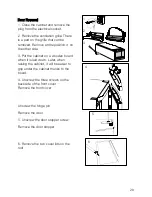
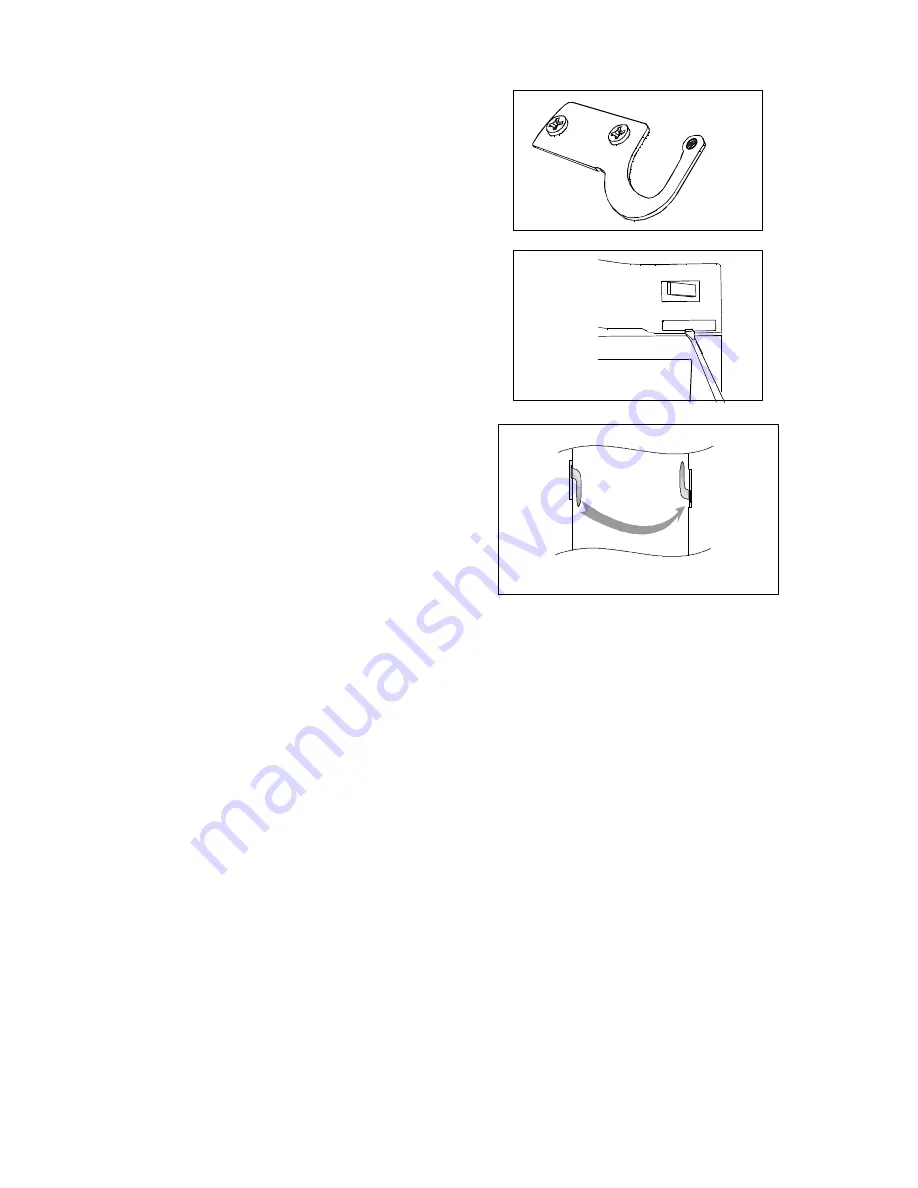
7.Unscrew the two screws on the
hinge

8. Remove the cover on the front

Reassembly in reverse order on the
opposite side.

Raise the cabinet and replace the
ventilation grille.

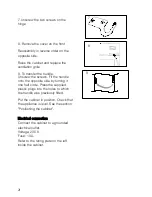
9. To transfer the handle.
Unscrew the screws. Fit the handle
onto the opposite side by turning it
one half circle. Press the supplied
plastic plugs into the holes to which
the handle was previously fitted.

Put the cabinet in position. Check that
the appliance is level. See the section
"Positioning the cabinet".

Electrical connection
Connect the cabinet to a grounded
electrical outlet.
Voltage: 230 V.
Fuse: 10 A.
Refer to the rating plate on the left
inside the cabinet.

7

8

9

Содержание EUF29400W

Страница 1: ...instruction book gebrauchsanweisung instrucciones de uso instruçõnes de uso freezer gefrierschrank congelatore congelatore EUF29400W EUF29400X ...

Страница 2: ...We were thinking of you when we made this product ...

Страница 3: ...e The Electrolux ambition is to offer a wide variety of quality products that make your life more comfortable You find some examples on the cover in this manual Please take a few minutes to study this manual so that you can take advantage of the benefits of your new machine We promise that it will provide a superior User Experience delivering Ease of Mind Good luck ...

Страница 4: ...hold waste Instead it shall be handed over to the applicable collection point for the recycling of electrical and electronic equipment By ensuring this product is disposed of correctly you will help prevent potential negative consequences for the environment and human health which could otherwise be caused by inappropriate waste handling of this product For more detailed information about recyclin...

Страница 5: ... contact the Customer Care Department For the User The cabinet is intended for keeping foodstuff in a normal household as explained in this instruction booklet Do not keep explosive gases or liquids in the refrigerator or freezer compartment They may explode and cause injury and material damage Do not place food products directly against the air hole on the rear wall Do not keep carbonised drinks ...

Страница 6: ...rozen food 10 Excessive temperature alarm 11 Door open acoustic alarm 11 Cabinet interior 11 HINT and TIPS 12 Saving energy 12 Food Storage 12 Protect the environment 12 MAINTENANCE and CLEANING 13 Removing the ventilation grille 13 Cleaning 13 To change the lamp 14 When the appliance is not in use 14 SOMETHING NOT WORKING 14 Technical specification 17 INSTALLATION 17 Electrical cord 17 Unpacking ...

Страница 7: ...r Control Panel A E D C B A Appliance button ON OFF B Temperature regulation button C Temperature and function indicator D Function button E Confirmation button DISPLAY Excessive temperature alarm and Door open acoustic alarm Indicator if foreseen If on the temperature indicated is the ambient temperature Positive or negative Temperature indicator Temperature indicator If on the function child loc...

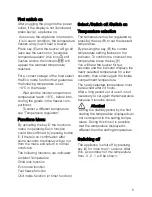
Страница 8: ...ndi tion The following functions are indicated Ambient Temperature Child lock function Eco mode function Fast freeze function Chill mode function or timer function Select Switch off Switch on Temperature selection The temperature may be regulated by pressing the key B to set the desired temperature By pressing the key B the current temperature setting flashes on the indicator To confirm the choice...

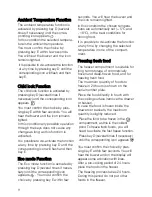
Страница 9: ...pears You must confirm the choice by pressing key E within few seconds You will hear the buzzer and the icon remains lighted In this condition the chosen tempera tures are automatically set 5 C and 18 C in the best conditions for storing food It is possible to de activate the function at any time by changing the selected temperature in one of the compart ment Freezing fresh food The freezer compar...

Страница 10: ... of frozen and deep frozen food Use of the freezer compartment The temperature may be regulated between 15 C and 24 C We suggest setting the internal tem perature of approximately 18 C which guarantees proper freezing and conservation of the frozen foods Attention During the stability period by the first starting the temperature displayed can not correspond to the setting tempe rature During this ...

Страница 11: ...howing the temperature of the selected compartment During the alarm phase the buzzer can be switched off by pressing key E Door open acoustic alarm An acoustic alarm will sound when the door is left open for around 1 5 minutes The door open alarm conditions are indicated by flashing of the icon sounding of buzzer Press the key E to stop the acoustic alarm When normal conditions are restored door c...

Страница 12: ...vice on freezing products in the section Using the freezer This will prevent wasting energy Do not set the temperature too low in the freezer A suitable temperature is in the range of 18 C to 20 C Make sure the door gasket is complete and always clean Food Storage To obtain the best results from your appliance neither hot foods nor liquids which may evaporate should be placed in the larder compart...

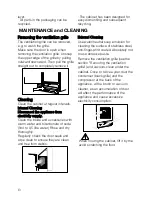
Страница 13: ...essories with warm water and bicarbonate of soda 5ml to 0 5 litre water Rinse and dry thoroughly Regularly check the door seals and wipe clean to ensure they are clean and free from debris External Cleaning Use water neutral soap emulsion for cleaning the surface of stainless steel anti finger print coated Absolutely not to use abrasive paste Remove the ventilation grille see the section Removing ...

Страница 14: ...he doors ajar to prevent unpleasant smells If the cabinet will be kept on ask somebody to check it once in a while to prevent the food inside from spoiling in case of a power failure SOMETHING NOT WORKING Before contacting your local Service Force Centre check the following point Problem Possible cause Remedy is displayed in the temperature display Please contact your local Electrolux Service Forc...

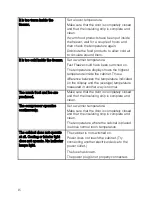
Страница 15: ...mperature indicated on the display and the average temperature measured in another way is normal Too much frost and ice are produced Make sure that the door is completely closed and that the insulating strip is complete and clean The compressor operates continuously Set a warmer temperature Make sure that the door is completely closed and that the insulating strip is complete and clean The tempera...

Страница 16: ...ch each other Carefully bend them if they do If the cushion spacers between the cabinet wall and pipes come loose put them back in place again Carefully follow the instructions in the chapter Installing the cabinet Power failure Do not unnecessarily open the cabinet except when the power cut seems to be long in which case the food products should be moved to another cabinet that works If the froze...

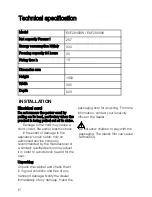
Страница 17: ... circuit fire and or electric shock In the event of damage to the appliance s main cable only an authorised service company recommended by the manufacturer or a similarly qualified person may adjust it in order to avoid shock hazard for the user Unpacking Unpack the cabinet and check that it is in good condition and free of any transport damage Notify the dealer immediately of any damage Hand the ...

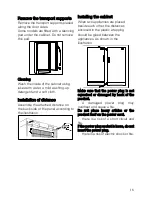
Страница 18: ...el according to the illustration Installing the cabinet When two appliances are placed beside each other the distances enclosed in the plastic wrapping should be glued between the appliances As shown in the illustration Make sure that the power plug is not squashed or damaged by back of the product A damaged power plug may overheat and cause a fire Do not place heavy articles or the product itself...

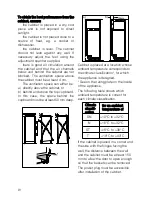
Страница 19: ...behind and above the top cupboard In this case the space behind the cupboard must be at least 50 mm deep 50mm a b Cabinet is placed at a location whose ambient temperature corresponds to the climate classification for which the appliance is designed See on the rating plate on the inside of the appliance The following table shows which ambient temperature is correct for each climate classification ...

Страница 20: ...he other side 3 Put the cabinet on a wooden board when it is laid down Later when raising the cabinet it will be easier to grip under the cabinet thanks to the board 4 Unscrew the three screws on the backside of the front cover Remove the front cover Unscrew the hinge pin Remove the door 5 Unscrew the door stopper screw Remove the door stopper 6 Remove the two cover lids on the roof 1 2 3 4 5 6 ...

Страница 21: ...Fit the handle onto the opposite side by turning it one half circle Press the supplied plastic plugs into the holes to which the handle was previously fitted Put the cabinet in position Check that the appliance is level See the section Positioning the cabinet Electrical connection Connect the cabinet to a grounded electrical outlet Voltage 230 V Fuse 10 A Refer to the rating plate on the left insi...

Страница 22: ...movable parts of glass or plastic Costs incurred for calls to put right an appliance which is improperly in stalled or calls to appliances outside the United Kingdom Appliances found to be in use within a commercial environment plus tho se which are subject to rental agree ments Products of Electrolux manufacturer that are not marketed by Electrolux Service and Spare Parts In the event of your app...

Страница 23: ...x and is only used within the home i e is not used for commercial purposes The appliance is installed in accordance with all relevant regulations in force within your new country of residence The provisions of this European Guarantee do not affect any of the rights granted to you by law p t b Albania 35 5 4 261 450 Rr Pjeter Bogdani Nr 7 Tirane Belgique België Belgien 32 2 363 04 44 Bergensesteenw...

Страница 24: ... Risløkkvn 2 0508 Oslo Österreich 43 18 66 400 Herziggasse 9 1230 Wien Polska 48 22 43 47 300 ul Kolejowa 5 7 Warsaw Portugal 35 12 14 40 39 39 Quinta da Fonte Edificio Gonçalves Zarco Q 35 2774 518 Paço de Arcos Romania 40 21 451 20 30 Str Garii Progresului 2 S4 040671 RO Schweiz Suisse Svizzera 41 62 88 99 111 Industriestrasse 10 CH 5506 Mägenwil Slovenija 38 61 24 25 731 Electrolux Ljubljana d ...

Страница 25: ...818 40 02 00 7 01092006 www electrolux com www electrolux uk www electrolux de www electrolux es www electrolux pt ...

Отзывы: