6
7
19
20
22
21
22a
22b
21a
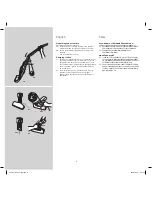
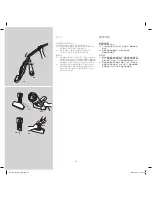
Unpacking and assembly
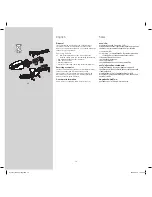
Check that all parts are in the box.
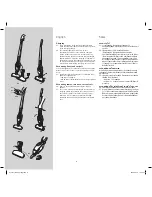
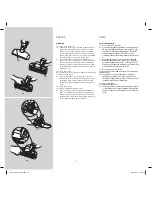
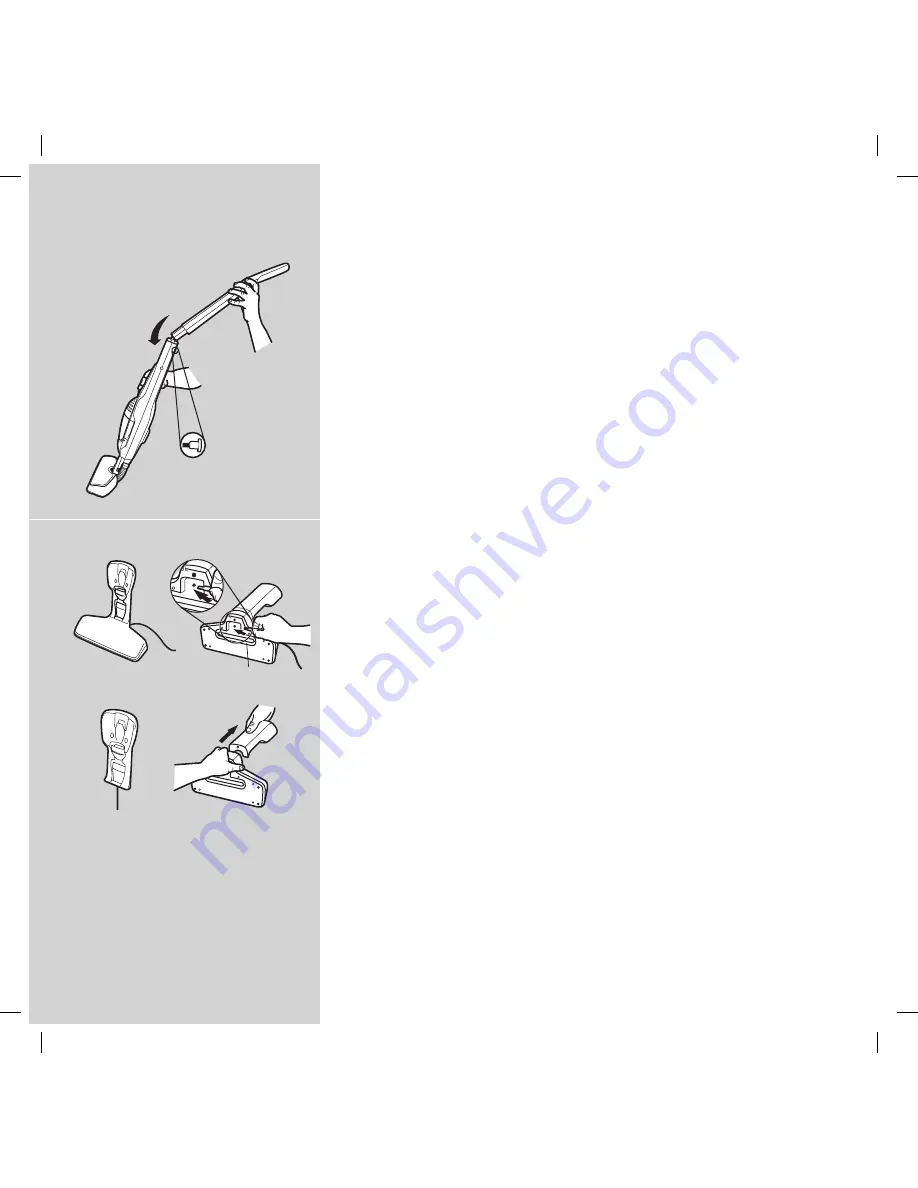
19. Fit the handle by carefully inserting it into the lower
main body. Make sure that the cable does not jam.
20. Secure the handle by tightening the locking screw
supplied.
Use a screwdriver or a coin.
Charging station
21. Position the charging station close to a mains socket
(well away from heat sources or wet places). Insert
the adaptor into the mains socket and connect it to
the charging station. Underneath the charging station
there is a hollow space where redundant cable can
be wound (21a).
22. The wall unit can also be mounted on a wall (22a).
Release the wall unit from the floor unit (22b).
Always ensure that the wall can bear the weight of
Ergorapido.
English
การถอดและการประกอบอุปกรณ์ประกอบ
ตรวจสอบว่ามีอุปกรณ์ประกอบทั้งหมดอยู่ในกล่องผลิตภัณฑ์
19. ประกอบมือจับด้วยความระมัดระวังโดยใส่ด้ามจับลงไปในตัวเ
ครื่องหลักส่วนล่าง ตรวจสอบให้แน่ใจว่าสายไฟไม่พันกัน
20. ใช้สกรูล็อคที่มาพร้อมกับเครื่องยึดมือจับให้แน่น
โดยใช้ไขควงหรือเหรียญ
ชุดชาร์จแบตเตอรี่
21. วางแท่นชาร์จไว้ใกล้กับปลั๊กไฟ (อย่าวางไว้ใกล้กับแหล่งคว
ามร้อน หรือบริเวณที่เปียกชื้น) เสียบอะแดปเตอร์เข้ากับปลั๊ก
ไฟ และเสียบปลายอีกข้างหนึ่งเข้ากับแท่นชาร์จ ใต้แท่นชาร์
จจะมีช่องสำหรับม้วนเก็บสายไฟที่ไม่ได้ใช้ (21a)
22. แท่นชาร์จแบบติดกับผนังสามารถยึดไว้กับผนังได้ (22a) ปล
ดแท่นชาร์จแบบติดกับผนังออกจากแท่นชาร์จแบบวางกับพื้น
(22b) ตรวจดูให้แน่ใจว่าผนังสามารถรับน้ำหนักของเครื่องดู
ดฝุ่น Ergorapido ได้
ไทย
Centaur_Book3_7lang.indd 6
2008-05-16 11:24:24
Содержание Ergorapido cyclonic 2in1
Страница 1: ...Centaur_Book3_7lang indd 1 2008 05 16 11 24 17 ...
Страница 2: ...Centaur_Book3_7lang indd 2 2008 05 16 11 24 17 ...
Страница 29: ...29 Centaur_Book3_7lang indd 29 2008 05 16 11 24 41 ...
Страница 30: ...Centaur_Book3_7lang indd 30 2008 05 16 11 24 41 ...
Страница 31: ...Centaur_Book3_7lang indd 31 2008 05 16 11 24 41 ...


