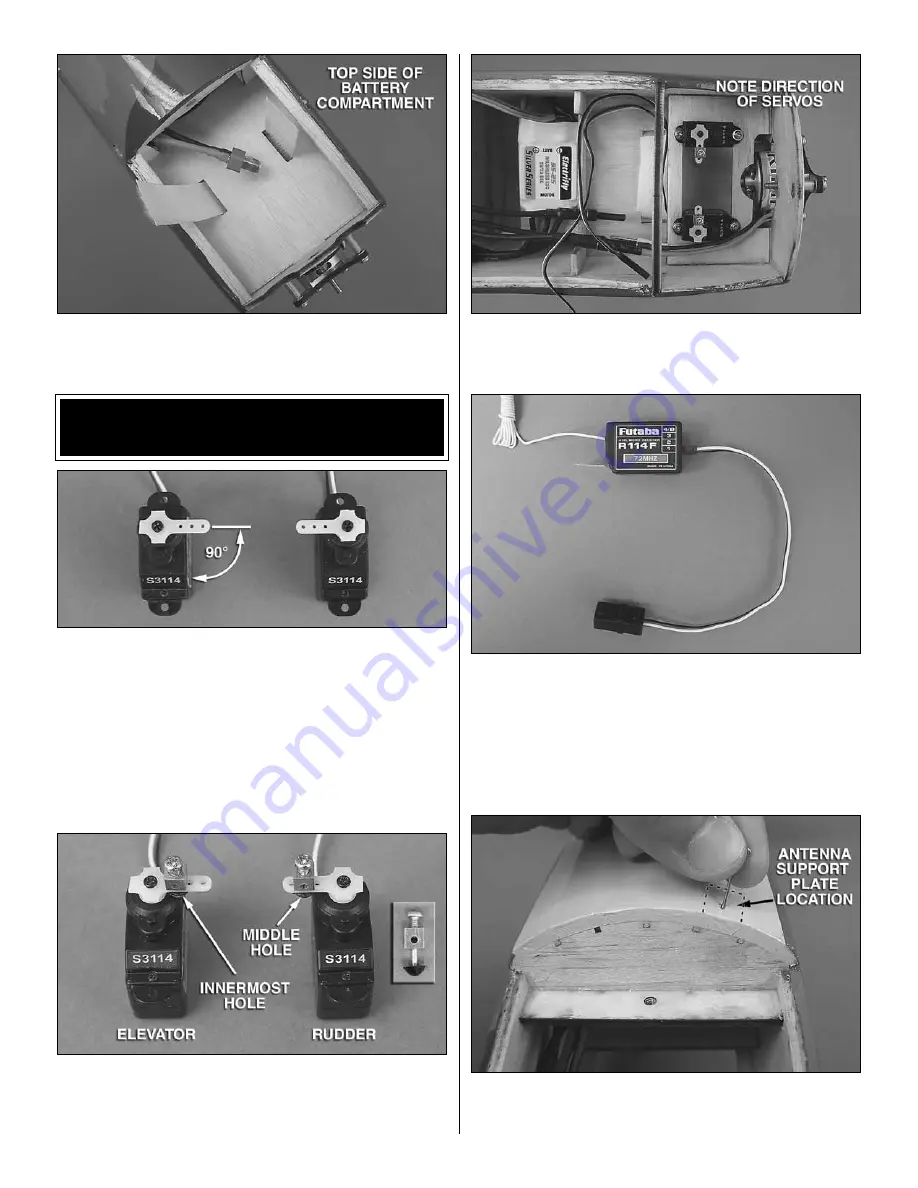
10
❏
10. Install the hook and loop battery strap on the battery
tray from the bottom.
INSTALL THE ELEVATOR
& RUDDER SERVOS
❏
1. Use your radio to center your servos. With the servos
centered, reposition each servo arm so that one of the two
long arms is perpendicular to the servo case. You will need
one servo with the arm on the
left side
of the case and
one with the arm on the
right side
of the case. Clip off the
remaining unused arms.
❏
2. Use a #55 [1.3mm] drill bit and enlarge the servo arm
holes. If you don’t have a #55 drill bit, use your hobby knife
to enlarge the holes.
❏
3. Locate two Screw-Lock pushrod connectors, two
2-56 x 3/16" screws, and two plastic locking collars. Install
these on the rudder and elevator servos in the holes shown
if you are using Futaba micro servos.
❏
4. Install the rudder and elevator servos as shown with the
servo leads facing aft. Do not run the leads forward. They will
interfere with the operation of the motor.
❏
5. Plug a Y-harness into your receiver in the aileron
channel. This is Channel 1 on most Futaba radios. Apply a
1" [25mm] piece of double-sided foam tape to the back side
of your receiver.
If you are using a 2.4G radio,
you should omit the next step.
❏
6. Find the antenna support plate beneath the covering.
Find the pre-drilled hole in the center of the plate and use a
hobby knife or a T-pin to poke through the covering.


