2019 ELECROW All Rights Reserved.
C
6
Step 3. Burn the Image to SD Card
Step 4. Modify the “config.txt”
Open Win32DiskImager software
→
select downloaded image file(.img)
→
select SD card
→
click ”write”
→
wait for burning completion, pop-up box click OK
Open the config.txt file of SD card root directory and add the following code at the end of the
file, save and eject SD card safely:
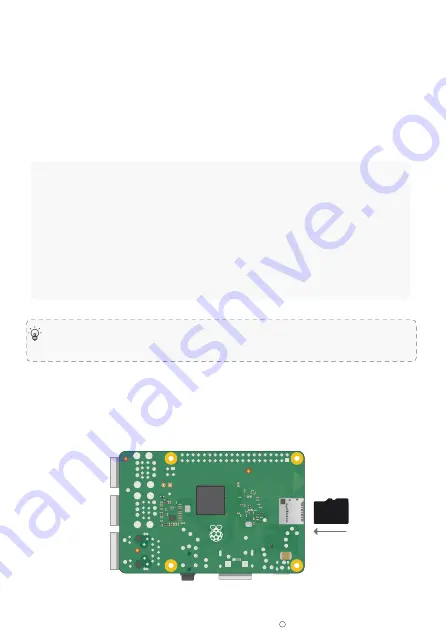
Step 5. Insert the SD Card into the Slot on the Back of the Raspberry Pi
Motherboard.
hdmi_force_hotplug=1
max_usb_current=1
hdmi_group=2
hdmi_mode=1
hdmi_mode=87
hdmi_cvt 1024 600 60 6 0 0 0
hdmi_drive=2
Please commend out by adding # in the front of "dtoverlay = vc4-fkms-V3D" or delete this line in
the config.txt file when working with Raspberry Pi 4.


