1. Using the supplied RJ45 cable (or any RJ45 network cable)
link one of the xBus connector of the ePowerSwitch 1XS to
one of the xBus connector on ePowerSwitch 4XM, 8XM or
ElecGuard. To cascade several ePowerSwitch units, link the
next one to the second xBus connector of the previous one.
2. Allocate an address to each ePowerSwitch 1XS by positio-
ning the address selection DIP-switches marked "Slct" on the
front panel according to the following table.
- Unplug the power cord and the xBus cable from the
ePowerSwitch 1XS before changing its DIP switches.
- Do NOT use the same address for two different units
connected on a same xBus network.
Position Off = switch upwards,
Position On = switch downwards
DIP-Switch 1 is located on the left
side
DIP-Switch 5 and 6 are used to
activate the built in termination
resistors.
3. On both devices located at the end of the xBus, switch
the DIP-Switch 5 and 6 to ON to activate the termination
resistors.
4. Plug the power cable into a grounded socket.
1. Installation
EPS Satellite
address
DIP-Switch
1
DIP-Switch
2
DIP-Switch
3
DIP-Switch
4
1
Off
Off
Off
Off
2
[ON]
Off
Off
Off
3
Off
[ON]
Off
Off
4
[ON]
[ON]
Off
Off
5
Off
Off
[ON]
Off
6
[ON]
Off
[ON]
Off
7
Off
[ON]
[ON]
Off
8
[ON]
[ON]
[ON]
Off
9
Off
Off
Off
[ON]
10
[ON]
Off
Off
[ON]
11
Off
[ON]
Off
[ON]
12
[ON]
[ON]
Off
[ON]
13
Off
Off
[ON]
[ON]
14
[ON]
Off
[ON]
[ON]
15
Off
[ON]
[ON]
[ON]
16
[ON]
[ON]
[ON]
[ON]
1. Open your Web browser and type the IP address of your
EPS 4XM, 8XM or ElecGuard system, for example:
http://192.168.100.202/sysadmin.htm
2. Enter the administrator name and password (default for
both = admin ). The home page appears, allowing you to
configure all settings of your device.
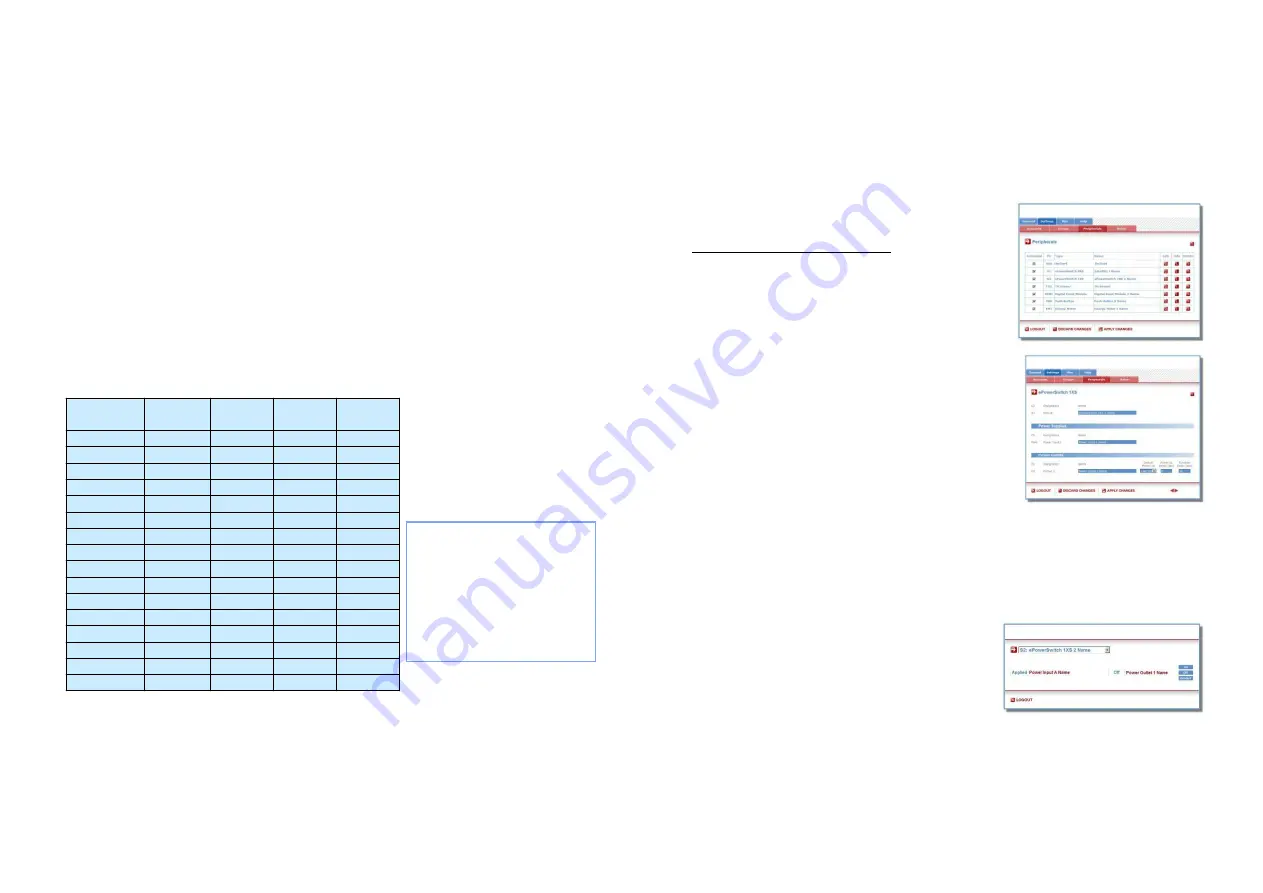
3. Click on Settings and then on Peripherals tab.
The Peripherals page give you an overview of all the
connected peripherals.
- If the peripheral is properly connected it will be
automatically recognized and displayed on this page
after a delay of 1 to 60 seconds. In this case, the colour
of the corresponding Edit and Info symbol is red.
- If you choose any setting that is already in use by
another xBus peripheral, a conflict occurs and the
corresponding Edit and Info symbol of the previous
connected peripheral will be changed to black. In that
case, disconnect your last connected peripheral, change
the DIP switch settings and reconnect the peripheral.
4. Click on the Edit button to configure the settings of the
ePowerSwitch 1XS.
5. Check the box “Activated” to activate your ePowerSwitch
1XS.
2. Configuration
1. Start your web browser and type the IP address of your
EPS 4XM, 8XM or ElecGuard device, for example:
http://192.168.100.202
2. Enter a user or administrator name and its password.
- the Off button allows you to switch OFF the power outlet
- the On button allows you to switch ON the power outlet
- the Restart button allows you to restart the power outlet.
3. Power outlet control
ePower
ePower
Switch
Switch
1XS
1XS
Elec
Elec
Elec
Elec
Guard
Guard
Guard
Guard
Elec
Elec
Elec
Elec
Guard
Guard
Guard
Guard
Elec
Elec
Elec
Elec
Guard
Guard
Guard
Guard
|


