27
2004 software Manual
First we start the "@Center" scene to open the beams and to place the fixtures in centre position.
After that, we use the TAKE buttons to move our 6 fixtures to the correct positions. When all fixtures
are ready, we can save the scene by calling the "New Scene" window from the "Button" menu and
selecting "As you see now" like we saw in the previous chapter. Our first scene (Scene 1) is now
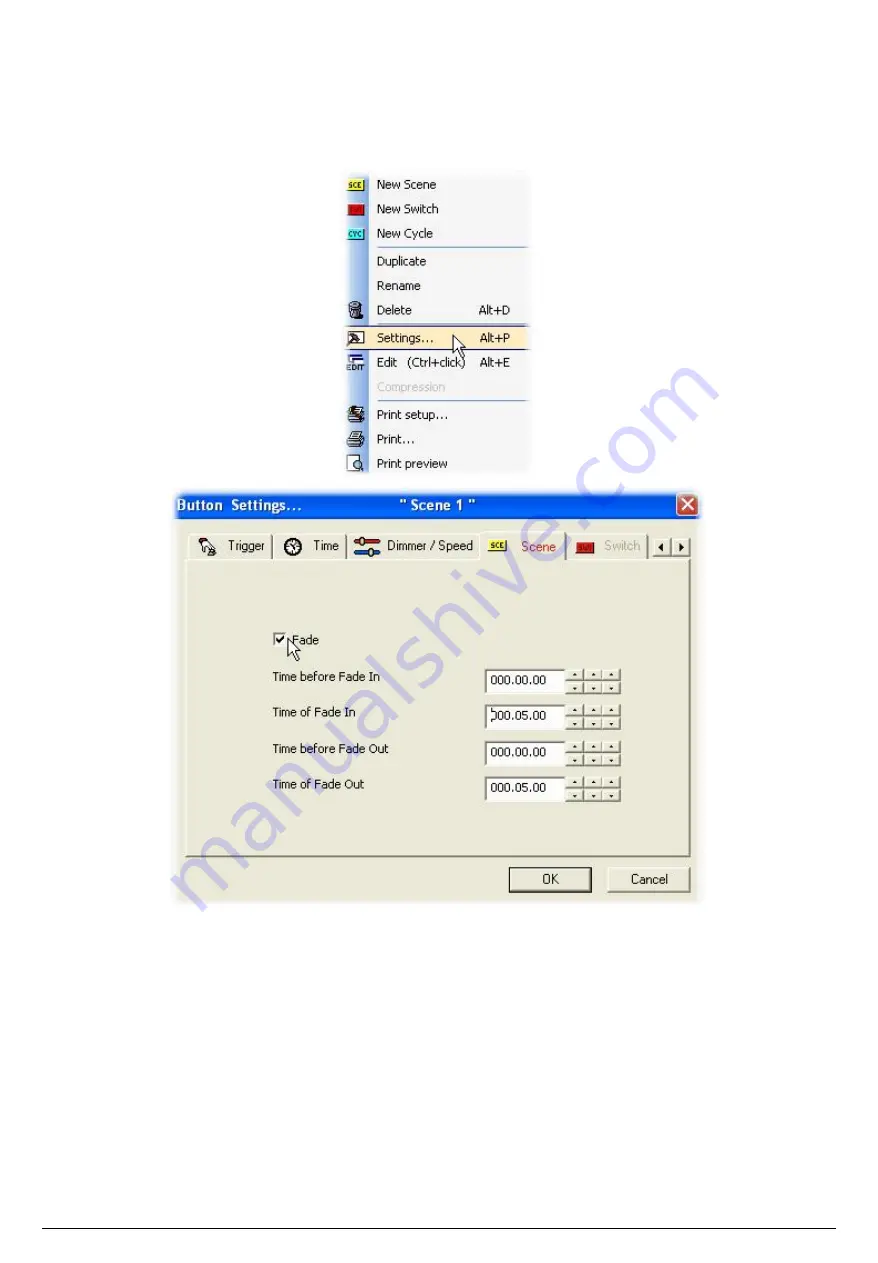
created and we are ready to enable the Fade function on it. To do that, we must open the "Button
Settings" window from the "Button" menu (see below) and go to the "Scene" tab.
Once the "Fade" function has been selected, we can setup the fade times. Please keep in mind that
the channels can have their levels increasing (Fade In) or decreasing (Fade Out):
·
Time before fade In : Time between the call of the scene and the beginning of the Fade In
·
Time of Fade In : Fade In time
·
Time before fade Out : Time between the call of the scene and the beginning of the Fade Out
·
Time of Fade Out : Fade Out time


