Quick Start Guide
6
Quick Start Guide
7
7.
Change the IP address (optional)
If needed, change the IP address of your appliance so that it matches the
address scheme of your local area network (LAN). At the Elastix web user
interface go to: System
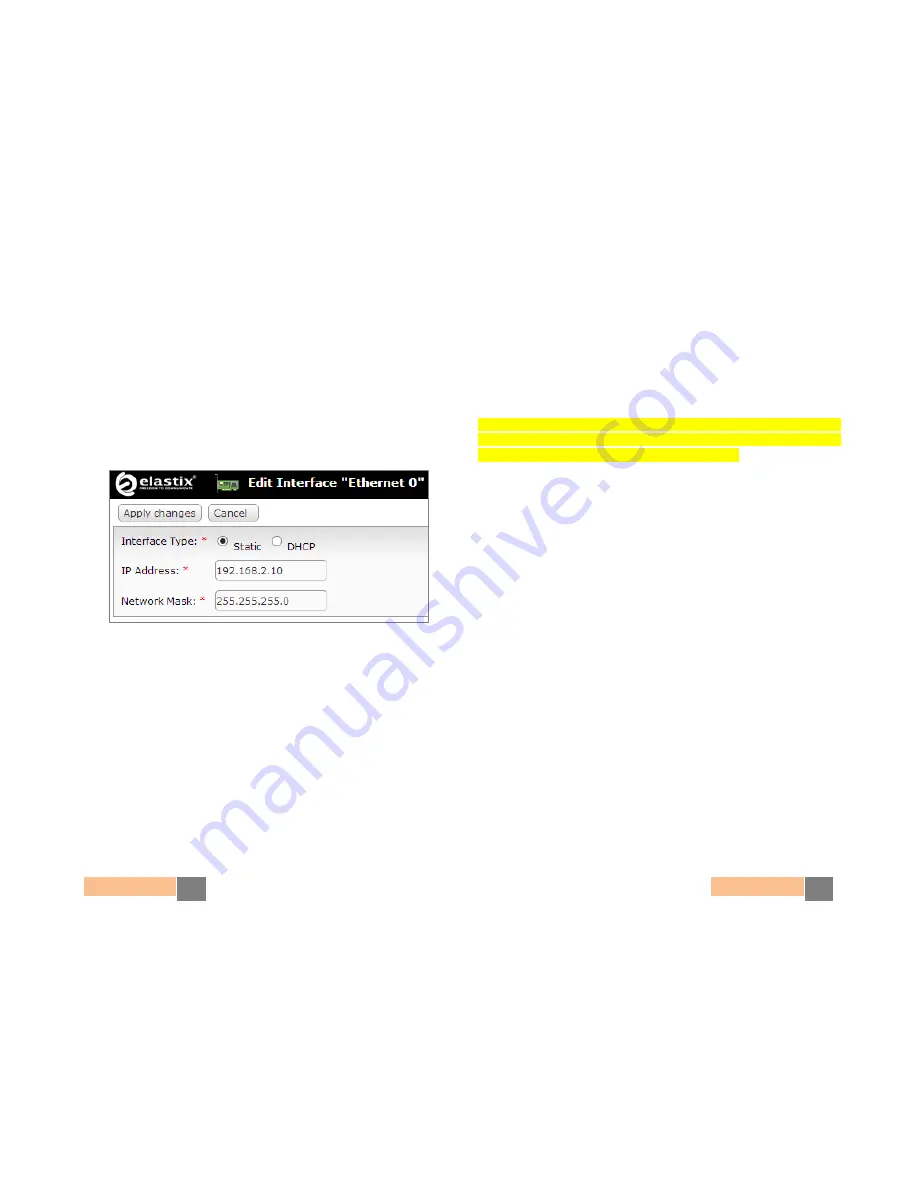
Network, here you can configure the global network
parameters of your appliance as well as the individual parameters of the
network interface. We recommend the use of an static IP address. (Figure 3)
Figure 3. Changing the IP Address on the “Ethernet 0” interface
8.
Connect your appliance to your LAN’s switch/router. If needed, reconfigure
your PC/laptop’s network interface card IP address settings back to how they
were before step 4
9.
Configure telephony dial plan rules, virtual fax devices, email service, and
other options. Enjoy your Unified Communications Appliance!
Note:
For more information on configuring your Elastix visit
www.elastix.org or contact Technical Assistance (See page 9)
Restoring back to the default installation
Follow the steps described below, related to your OS, if you find yourself wanting
to have your microUCS restored back to a clean/default installation.
WARNING:
partitioning as well as the ‘mkfs’ commands can destroy all data in your
PC or Laptop. Make completely sure you are pointing to the correct device/drive,
corresponding to the SD card, when using these commands
1.
Remove the SD memory card from the microUCS and insert it in an SD card
reader on a Linux PC or laptop
2.
Download the image of the default Elastix microUCS installation:
wget http://elx.ec/armimg
3.
Uncompress the downloaded Elastix microUCS tarball file (tar xvf
tarball_file
.tar). The files "BOOT.tar.gz" and "rootfs.tar.gz" will be obtained.
4.
Use any partitioning tool (ie. fdisk) to delete any previous partitions and create
2 new partitions in the SD card. The first partition must be FAT type and its
size of at least 16 MB. The second partition must be EXT3 type using the rest
of the SD card’s capacity (at least 3 GB)
5.
Create the respective file systems on the partitions.
Example if the first SD card partition is /dev/sdd1 and the second is /dev/sdd2
(the "BOOT" and "rootfs" labels are mandatory since they appear in /etc/fstab
of the final image):
mkfs.vfat -n BOOT /dev/sdd1
mkfs.ext3 -L rootfs /dev/sdd2


