Configuring the Ports
Console version
After you have configured the Switch's system parameters and password, you can configure individual ports.
Important:
Fast Ethernet ports are numbered from 1 through 24.
●
If installed, Gigabit uplink modules are numbered 25 and 26.
●
Modelname switch ports are numbered from 27 and above based on the Stacking Interface slot they are
connected to on the BitStorm L3S-T master. As you face the master's rear panel, the management
software assigns port numbers starting with ports connected in the right slot, then the middle, and finally
the left.
●
To save time, you can set configuration options for a group of ports or all the ports on your Switch at one
time. You can specify ports by entering a single number, multiple individual numbers or a range of
numbers in the
port_number
field.
Use a dash to separate numbers in a range.
❍
Use commas to separate individual numbers or more than one range of numbers.
❍
For example, entering the command
>set port disable 1-3,5,9,12-15
disables ports 1,2, and 3, 5,
9, 12, 13, 14, and 15.
❍
●
Before you begin:
Check the
factory defaults
to see whether they need to be changed.
●
Check a port's current settings using the
>show port
commands.
●
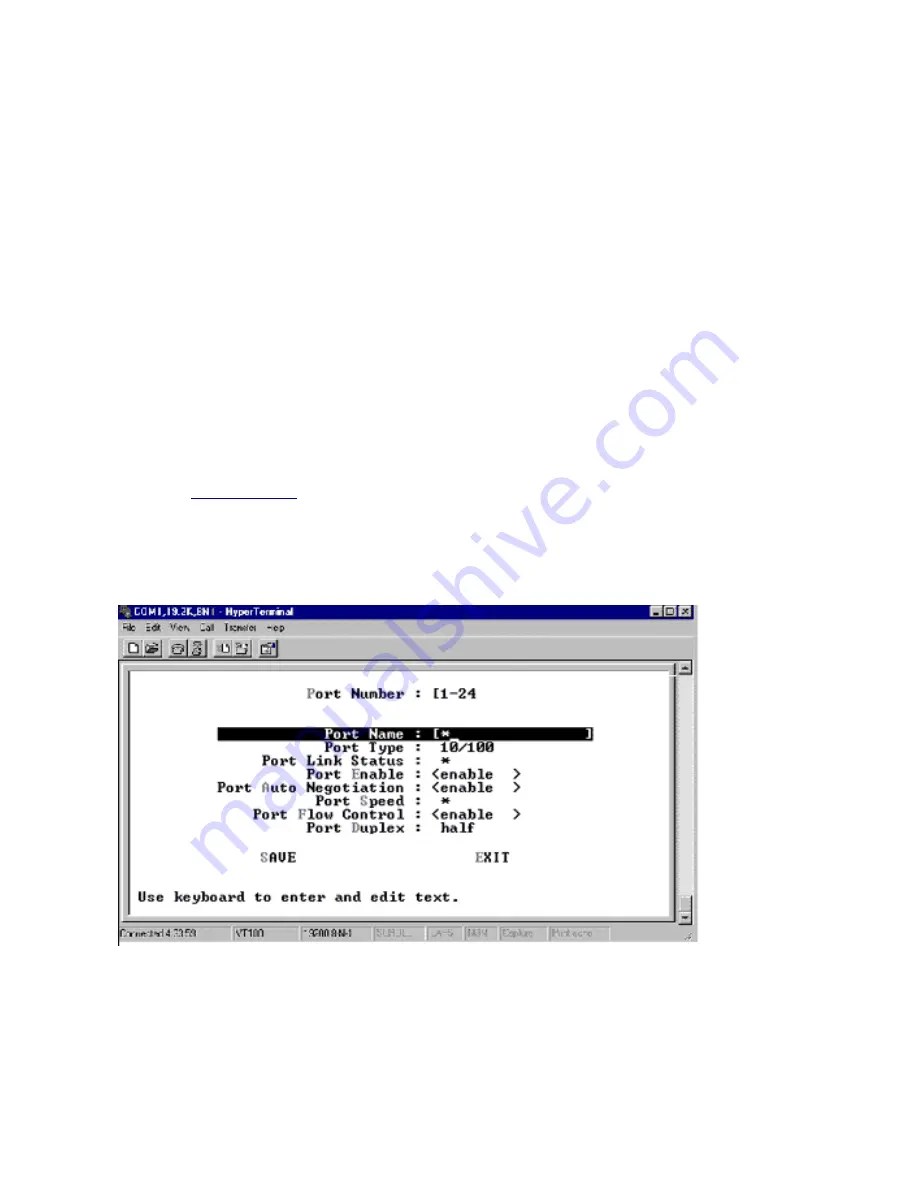
Configuration steps
Select
Set Port Configuration
from the
Console Main Menu.
The
Set Port Configuration
menu
appears.
1.
Port Number.
Enter a single number, multiple individual numbers or a range of numbers in the Port
Number field. Use a dash to separate numbers in a range. Use commas to separate individual numbers or
more than one range of numbers. For example: 1-3,5,9,12-15.
2.
Port Name.
If this is an individual port, enter a name of up to 12 alphanumeric characters for easy
reference.
3.
Port Type
is a read-only field showing whether the port currently selected is 10/100Base-TX or Gigabit. If
you entered port numbers for both types, an asterisk appears.
4.
Port Link Status
is a read-only field displaying
Down
or
Up
for the current status of the link between the
5.
102
Содержание BitStorm L3S-T
Страница 43: ...For more information also see VLAN Tagging Configuring GVRP Quality of Service 43 ...
Страница 73: ... clear snmp community community_name Example clear snmp community support 73 ...
Страница 106: ...Select Exit to leave this screen 4 106 ...
Страница 139: ...Monitoring Performance Web version Unit Analysis System Resources 139 ...
Страница 151: ...Appendix BitStorm L3S T Technical Specifications BitStorm L3S X Technical Specifications Notices Glossary 151 ...


