User Guide
Product: Evolis
Document REF: MIU-5100-A_Evolis Solution GB elancity
Page
15
/
46
Date: 03/01/2018
Confidential document, property of ELANCITY. All copies and transfers are unauthorized without prior consent.
5.4.2
The Solar power Model:
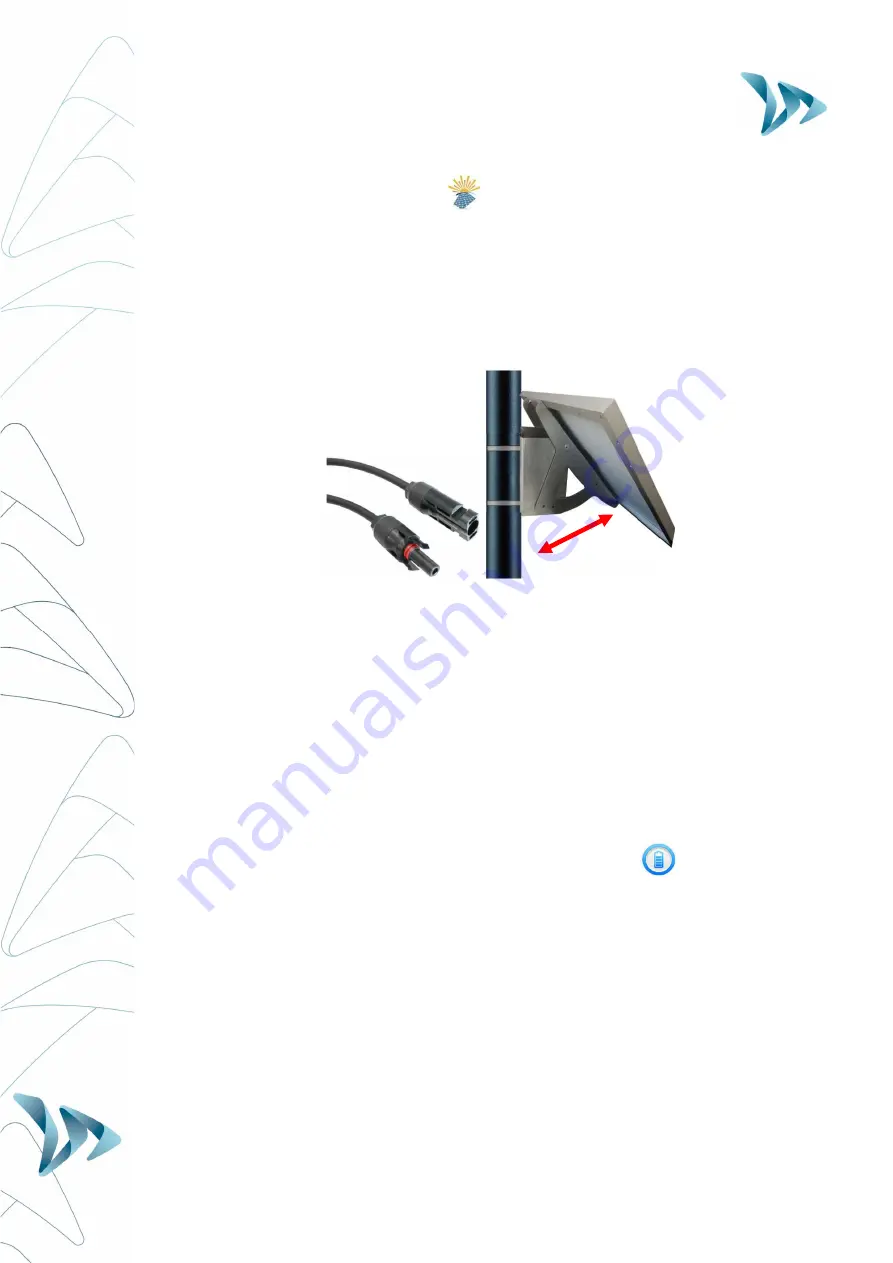
Ideally, the solar panel should be positioned in a south facing direction and then
secured with a padlock attached through the ‘eyehole’ at the bottom (padlock not
included). The solar panel’s mounting bracket can be adjusted to the desired vertical
angle.
Make sure you have fitted and connected the batteries inside the Evolis BEFORE
making the connection between the solar panel and the radar sign.
To connect the Radar Sign to the Solar Panel you simply plug the 2 cables from the radar into
the panel.
Mounting: please refer to the solar-panel user guide.
The solar panel’s location must have, as far as possible, an unobstructed view of the sky to
benefit from maximum charging capacity. Trees and buildings can cast shadows on to the
solar panel which can considerably reduce the performance of the solar cells.
5.4.3
The Battery operated - Mains Mobile Model:
Battery operated using two batteries:
In the case of mobile use (i.e. where the device is intended to be moved from place to place),
the Evolis is designed to function using either one or two sealed, 12V / 22Ah batteries. After
opening the back door of the unit, install the charged batteries into the slot between the two
retaining hooks.
Check the polarity orientation and connect to the terminals.
Turn the dial switch to select your speed.
Check the auto startup display on the Evolis (auto-test: ‘188’ / battery voltage / ‘8’ in
red for Bluetooth version).
25°-65°


