


—
50
—
DLP Projector — Owner’s Manual
c
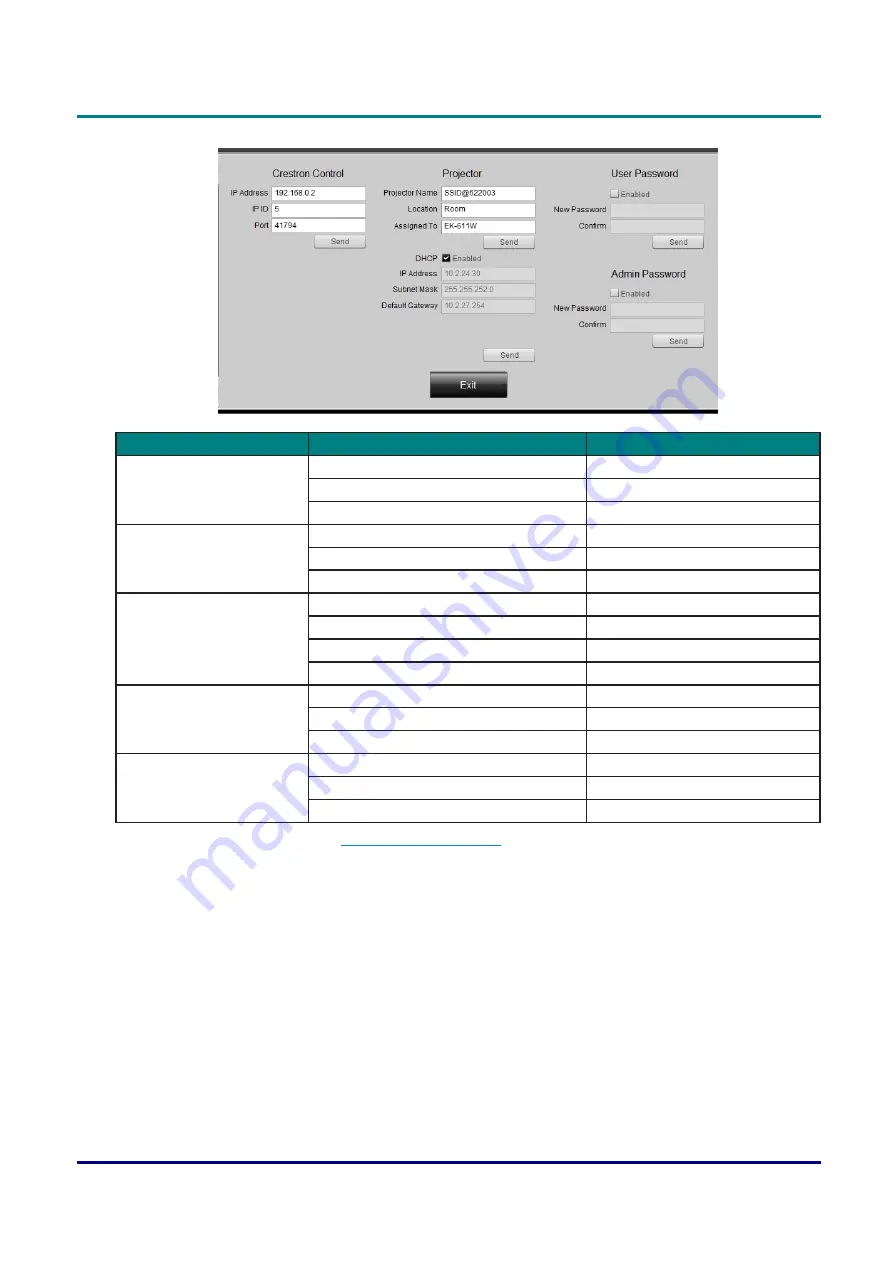
ategory
I
tem
I
npUt
-L
engtH
Crestron Control
IP Address
15
IP ID
3
Port
5
Projector
Projector Name
10
Location
10
Assigned To
10
Network Configuration
DHCP (Enabled)
(N/A)
IP Address
15
Subnet Mask
15
Default Gateway
15
User Password
Enabled
(N/A)
New Password
10
Confirm
10
Admin Password
Enabled
(N/A)
New Password
10
Confirm
10
For more information, please visit
http://www.crestron.com
.


