background image


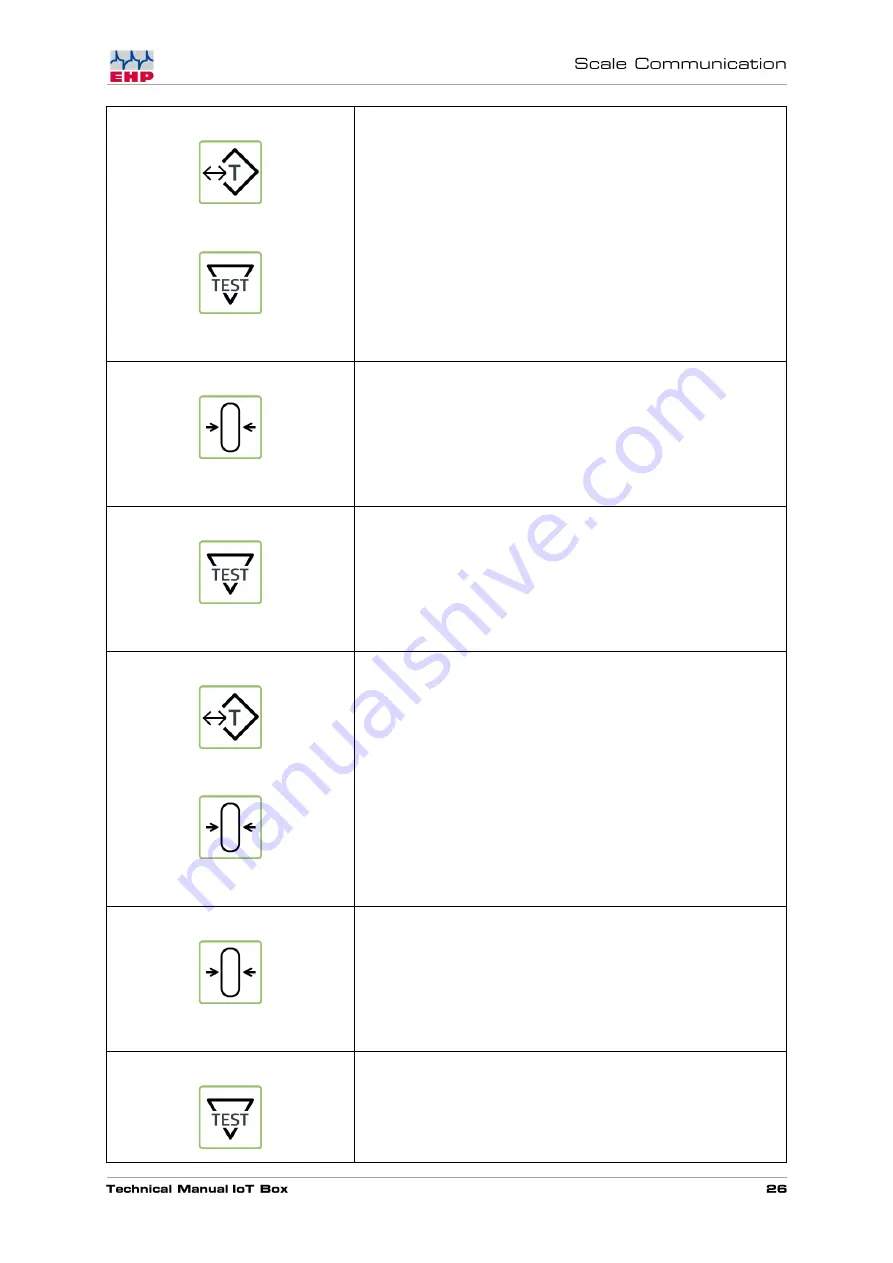
Activate the parameter using the tare key to call up the 
position to be changed.   


Use the Test key to enter a value between 01- 28 
(corresponds to channel 01-28). 


Close the parameter with the zero key. 


Press the Test key repeatedly until P14 (scale number) 
appears in the display. 


Use the tare key to activate the parameter and call up the 
position to be changed.  


Use the Test key to enter a value between 01- 16 
(corresponds to scale 01-16). 


Close the parameter with the zero key. 


Press the Test key repeatedly until P99 (save parameter) 
appears in the display. 

Содержание IoT Box

Страница 1: ......

Страница 2: ...ht definiert TIA Portal 15 Section Error Codes 17 Section Weight Registered at Standstill 18 Section Weighing value request 19 Section Weighing value unique request 19 Section Physical Inputs 20 Channel frequency table 24 Change frequency and number of the scale 25 ...

Страница 3: ... 30 EU electromagnetic compatibility EN 61010 031 Part 1 Safety requirements for electrical equipment for measurement control and laboratory use EN 62368 1 Communication equipment Part 1 Safety requirements EN 60950 1 2006 according to Directive 2014 35 EU Low Voltage Directive The radio equipment complies with Directive 2014 53 EU DIN VDE 0100 The product is marked with the CE mark Bühl October 2...

Страница 4: ...acted specialist company at each recurring inspection Design features of this guide Various elements of this guide have specified design features This way you can easily distinguish the following elements Normal text Enumerations Action steps Table titles and figures are in bold Tips contain additional information Figure design features If elements of a figure are referred to in a legend or in the...

Страница 5: ...ser repairable parts inside the unit Leave repairs to the qualified EHP customer service There is a risk of contact with non insulated parts inside the device which can lead to electric shocks Operating environment Avoid installing this device in an insufficiently ventilated humid or hot place Warning To disconnect the device completely from the mains the power connection must be disconnected ...

Страница 6: ...The warranty is void in the event of Non intended use of the manufacturer s specifications in this operating manual mechanical damage damage due to heat moisture and liquids Wear and tear ...

Страница 7: ...Table 1 Technical data ...

Страница 8: ...ed as a slave in the higher level PLC system Once the IoT Box is successfully connected to your PLC system a wide range of applications are possible In addition to the pure visualization of the measurement data and control of the scales e g tare fixtare specify tare value yourself set to zero register weight you can also receive send commands from other PLC participants Start a measuring process a...

Страница 9: ... IoT Box The following accessories are included as standard Connector for power connection Neutrik Powercon NAC3FCA Connector for network connection Neutrik Ethercon NE8MX Angle antenna Figure 2 IoT Box ...

Страница 10: ... Box consists of the following components 1 Main switch 2 Power supply unit 3 Central processing Unit 4 Communication processor 5 EHP NetScale 6 Power Supply connector 7 Digital Input connector 8 ProfiNet Port ...

Страница 11: ...he connector for the network connection Neutrik Ethercon NE8MX are included in the scope of delivery A Slide the clamping sleeve 1 and the collet 2 over the cable B Prepare the power cable according to the dimensions in the illustration C Insert the cable into the provided clamps and fasten it max torque 0 5Nm Finally screw the connector housing and clamping sleeve together ...

Страница 12: ...s completes the commissioning on the hardware side The IoT Box has a radio range of up to 500m in the open field Obstacles between the scales and the IoT Box such as walls can impair the range accordingly Therefore if possible select a location with a clear view of the connected scales Two IP addresses are preset The IP address 192 168 0 1 is used for PLC communication For the internal communicati...

Страница 13: ... 5 Number of communication attempts between Net Scale and scale ACT 1 16 from firmware 2 12 Permanently activate communication to scales By entering the scale number in the INI file a permanent connection is established independent of the configuration of the network interface A separate entry must be created for each scale This facilitates the integration of the Netscale in order to be able to us...

Страница 14: ...The SD Card can easily be exchanged by pushing on it It s located at the top of the NetScale ...

Страница 15: ...also be integrated via STEP 7 Classic or in other control systems e g BoschRexroth If you have any questions please contact your EHP representative A Under the Extras menu tab select Manage device description file GSD Select the source path under which the GSDML file of the IoT Box can be found on your computer Highlight the file and click Install B Search for EHP in the Hardware Catalog select EH...

Страница 16: ...Select Add new external file in the Project navigation under External sources Select the appropriate path and the file EHP_IoT_Box udt ...

Страница 17: ...es cyclically check the functions of the crane scale and ensure a proper operation If an error is detected it is automatically indicated on the display in the form of an error code The balance switches off automatically after approx 5 seconds The input voltage of the measuring amplifier is too low Switch scale off and on again to see if Error is detected again Contact your EHP Service partner for ...

Страница 18: ...RegisteredAtStandstill WaagenNummer ScaleNumber ReserveByte2 ReserveByte2 Registernummer RegisterNumber Jahr Year Monat Month Tag Day Stunde Hour Minute Minute Sekunde Second ReserveByte13 ReserveByte13 NettoGewicht NetWeight DimensionNetto0 DimensionNetto0 DimensionNetto1 DimensionNetto1 TaraGewicht TareWeight DimensionTara0 DimensionTare0 DimensionTara1 DimensionTare1 ...

Страница 19: ...e0 DimensionMesswert1 DimensionMeasured value1 Tarawert Tare value DimensionTaraWert0 DimensionTareValue0 DimensionTaraWert1 DimensionTareValue1 MesswertAbfragenEinmalig WeighingValueUniqueRequest StatusByte StatusByte FehlerCode ErrorCode Messwert Measured value DimensionMesswert0 DimensionMeasured value0 DimensionMesswert1 DimensionMeasured value1 Tarawert Tare value DimensionTaraWert0 Dimension...

Страница 20: ...eSelect GewichtRegistrierenBeiStillstand WeightRegisterAtStop FirmwareVersion FirmwareVersion DatumUhrzeitSetzen DateTimeSet FrequenzkanalWählen FrequencyChannelSelect MesswertAbfragen Measured ValueQuery MesswertAbfragenEinmalig Measured valueQueryOnce ReserveBool3 ReserveBool3 ReserveBool4 ReserveBool4 ReserveBool5 ReserveBool5 ReserveBool6 ReserveBool6 ReserveBool7 ReserveBool7 WaageNummer Bala...

Страница 21: ...UhrzeitSetzenJahr TimeSetYear UhrzeitSetzenMonat TimeSetMonth UhrzeitSetzenTag TimeSetDay UhrzeitSetzenStunde TimeSetHour UhrzeitSetzenMinute TimeSetMinute UhrzeitSetzenSekunde TimeSetSecond ...

Страница 22: ...Access to the user interface is gained through the inputs of the permanently defined IP address of the IoT Box in any browser ...

Страница 23: ...symbols at the left and right you can select other scales 2 Weight information Tare weight Gross weight registered weight are shown 3 Buttons Tare weight Setting Zero or register weight can be selected by clicking the respective button If the connection between Scale and IoT Box are is interrupted the Message Communication error Scale is displayed ...

Страница 24: ...r the data exchange between the Net Scale and the scale Please note the frequency specification on the nameplate of the scale This can be changed as required in the scale setup see Changing the frequency and scale number of the scale 00 Not occupied 01 433 075 15 434 000 02 433 125 16 434 075 03 433 175 17 434 150 04 433 225 18 434 225 05 433 275 19 434 300 06 433 325 20 434 375 07 433 400 21 434 ...

Страница 25: ... Scale Press the TEST key of the crane scale the most important setting parameters are now displayed one after the other Value 4 and value 5 are relevant Table 4 TEST Display values To change the scales and channel number proceed as follows Press the On and Test keys simultaneously EEEEE appears in the display Press the Test key repeatedly until P13 frequency channel appears in the display ...

Страница 26: ...meter with the zero key Press the Test key repeatedly until P14 scale number appears in the display Use the tare key to activate the parameter and call up the position to be changed Use the Test key to enter a value between 01 16 corresponds to scale 01 16 Close the parameter with the zero key Press the Test key repeatedly until P99 save parameter appears in the display ...

Страница 27: ...key and then operate with the zero key Sto Store flashes in the display To exit the setting mode press the On and Off keys simultaneously or briefly disconnect the scale s battery pack Table 5 Change frequency scale number ...

Страница 28: ... your EHP contact person Up to 16 scales can communicate with an IoT Box is the data acquisition of the scales always active or only when they are directly addressed Can individual scales be deactivated By default all connected scales are always active this can also be changed if necessary What protocol types are available Profinet or Modbus TCP are the standard protocol types protocol format is p...

Страница 29: ...__________________________________________________________ __________________________________________________________________________________ __________________________________________________________________________________ __________________________________________________________________________________ __________________________________________________________________________________ _________...

Страница 30: ......

Страница 31: ......

Отзывы: