background image


4.5  Creating a New Place


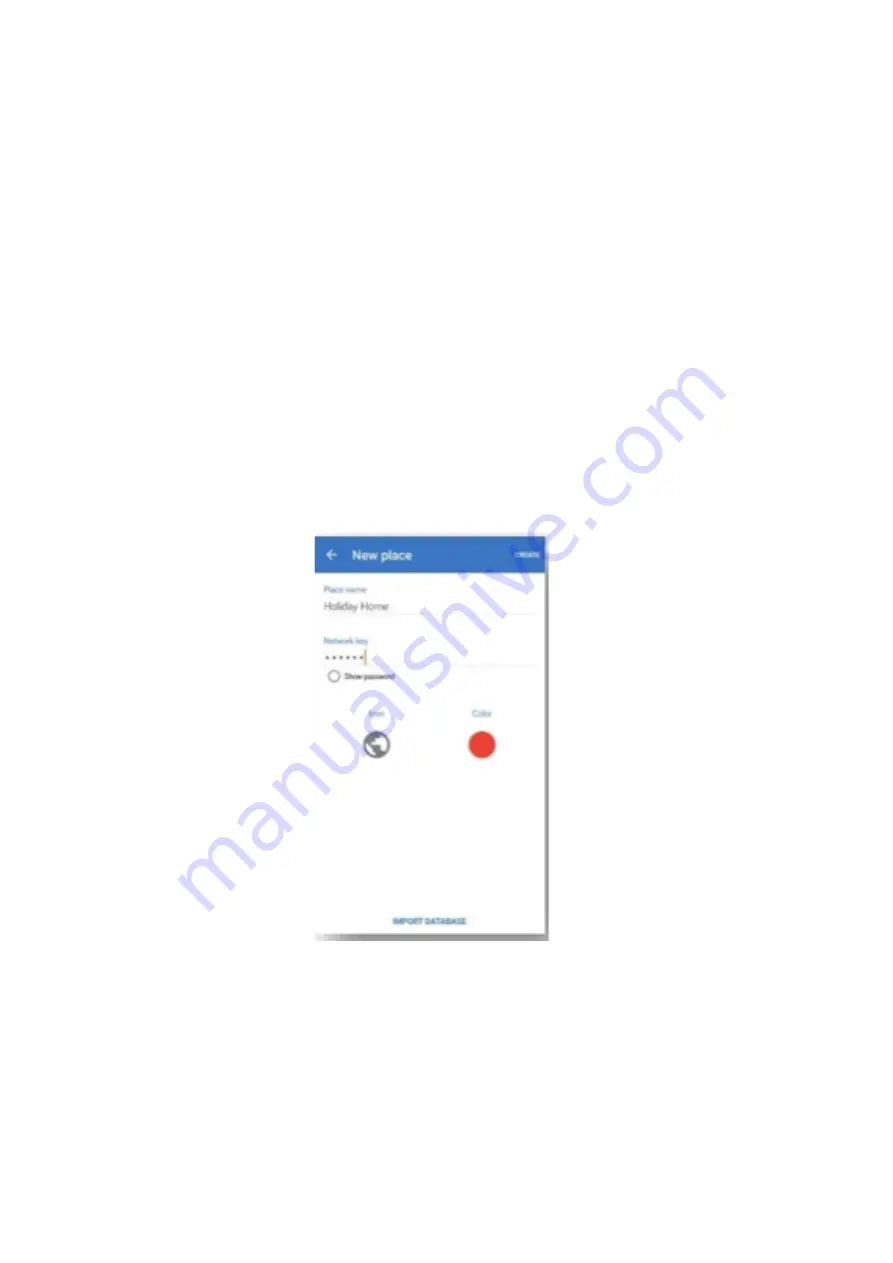
To create a new place, select the plus icon from within Manage places 

or select Create a new place from the places menu. A new place can 

be defined as shown in Figure 4.4. This allows you to define the place 

name, icon and color. Additionally you need to define the Network key 

passphrase for this new place. 

When creating a new place, you can also select to import a database 

file from a previously created place using the IMPORT DATABASE 

option. See Section Error! Reference source not found. for details on 

sharing places.


                                                                                                             Page   of 20

6

Figure 4.4:  Creating a New Place

Содержание EH-MC10-MESH-EVK

Страница 1: ...face Firmware upgrade over the air OTA USB or two dry batteries supply Debug SPI interface RGB LED display Buzzer USB or two dry batteries supply Operating temperature range 30 C to 80 C General Descr...

Страница 2: ...ithout the express approval of Ehong Configuration Management Not to be used copied reproduced or modified in whole or in part nor its contents revealed in any manner to others without the express wri...

Страница 3: ...5 CSRmesh Devices 10 5 1 Adding New Devices 11 5 1 1 Detected Device List 11 5 1 2 Scanning QR Code 13 5 1 3 Setting Short Code 13 5 2 Configuring Existing Devices 13 5 2 1 Deleting a Device 14 5 2 2...

Страница 4: ...Development Kit for EH MC10 2 Package For the mesh network testing the following components are suggest ed 3 EH MC10 demo board For LED for Sensor for switch is se lected 1 SPI Programmer and SPI int...

Страница 5: ...workstation 2 Install 2x AA batteries into battery holders on the reverse of the board observing the correct polarity or use USB connect to PC for power supply 3 Set the Power On Off with on the Targe...

Страница 6: ...android smartphone app can connect to the Light control application running on the target board and control the LED located in it An iOS version of the app also available 4 1 Light Control Applicatio...

Страница 7: ...ion This displays the menu options shown in Figure 4 1 From this menu you can manage places login to the cloud via Facebook and control manage and set up the CSRmesh network 4 3 Places The current sel...

Страница 8: ...and create new places to control as shown in Figure 4 3 Selecting the plus icon allows you to create a new place to control while selecting the settings icon next to existing places allows you to conf...

Страница 9: ...4 This allows you to define the place name icon and color Additionally you need to define the Network key passphrase for this new place When creating a new place you can also select to import a databa...

Страница 10: ...rently selected place as shown in Figure 4 5 4 6 1 Creating New Areas Selecting the plus icon allows you to create a new area within to the currently selected place The new area can be configured as s...

Страница 11: ...naming an Area You can rename the area by editing the associated AREA NAME field No changes will be applied until you select the tick icon to accept the changes Selecting the OS back option will disca...

Страница 12: ...0 4 Assigning an Area as a Favourite Selecting the star icon on the area will add or remove the device to the favourite list Note Not currently supported 4 6 3 Controlling an Area Selecting the area...

Страница 13: ...ew devices to the currently selected place Figure 5 1 shows a places configuration of two lights a thermostat and a heater Selecting the search icon allows you to filter the CSRmesh device list to fin...

Страница 14: ...added the device will appear within the CSRmesh device list to where it can be configure as described in section 5 2 5 1 1 Detected Device List Selecting this option will scan for un associated CSRme...

Страница 15: ...to be associated e g flashes an LED If the device selected is not the correct device to add you can select another device If the device is the correct device to be added you can then select ASSOCIATE...

Страница 16: ...ner application to be installed on the Android device 5 1 3 Setting Short Code Selecting this option allows you to manually enter the short code of the device to be associated After entering the short...

Страница 17: ...editing the associated DEVICE NAME field Any changes will not be applied until you select the tick icon to accept the changes Selecting the OS back option will discard all changes 5 2 3 Assigning Area...

Страница 18: ...Assign a Device as a Favourite Selecting the star icon on the device will add or remove the device to the favourite list Note Not currently supported 5 3 Controlling a Device Selecting a device allow...

Страница 19: ...e device state is modified from another controller 5 3 2 Thermostat and Heater Control Figure 5 9 shows the temperature control This allows you to set the desired temperature and read the current temp...

Страница 20: ...th Bluetooth connection with a bridge is required Gateway channel By selecting this channel all the mesh messages will be sent via WIFI to the gateway which will relay the mesh messages to the mesh ne...

Страница 21: ...he gateway association view you need to be connected to one bridge via Bluetooth and to have WIFI enabled and connected to your gateway 6 2 Edit Gateway Once a gateway is fully associated the last opt...

Страница 22: ...to add more gateways to your network 6 3 Deleting a gateway Selecting the delete icon will prompt you to accept or cancel the delete operation Selecting Accept will remove the gateway from your mesh...

Страница 23: ...port support ehlink com cn Phone 86 21 64769993 202 Fax 86 21 64765833 Address Rm1505 Blk 1st No 833 South Hongmei Road MinHang Dis Shanghai Web site www ehlink com cn Mode Description Total currnet M...

Отзывы: