


7
The unit will not, however, delete the default audio. You may revert to the default
audio at any time. (See Teacher Audio page 8.)
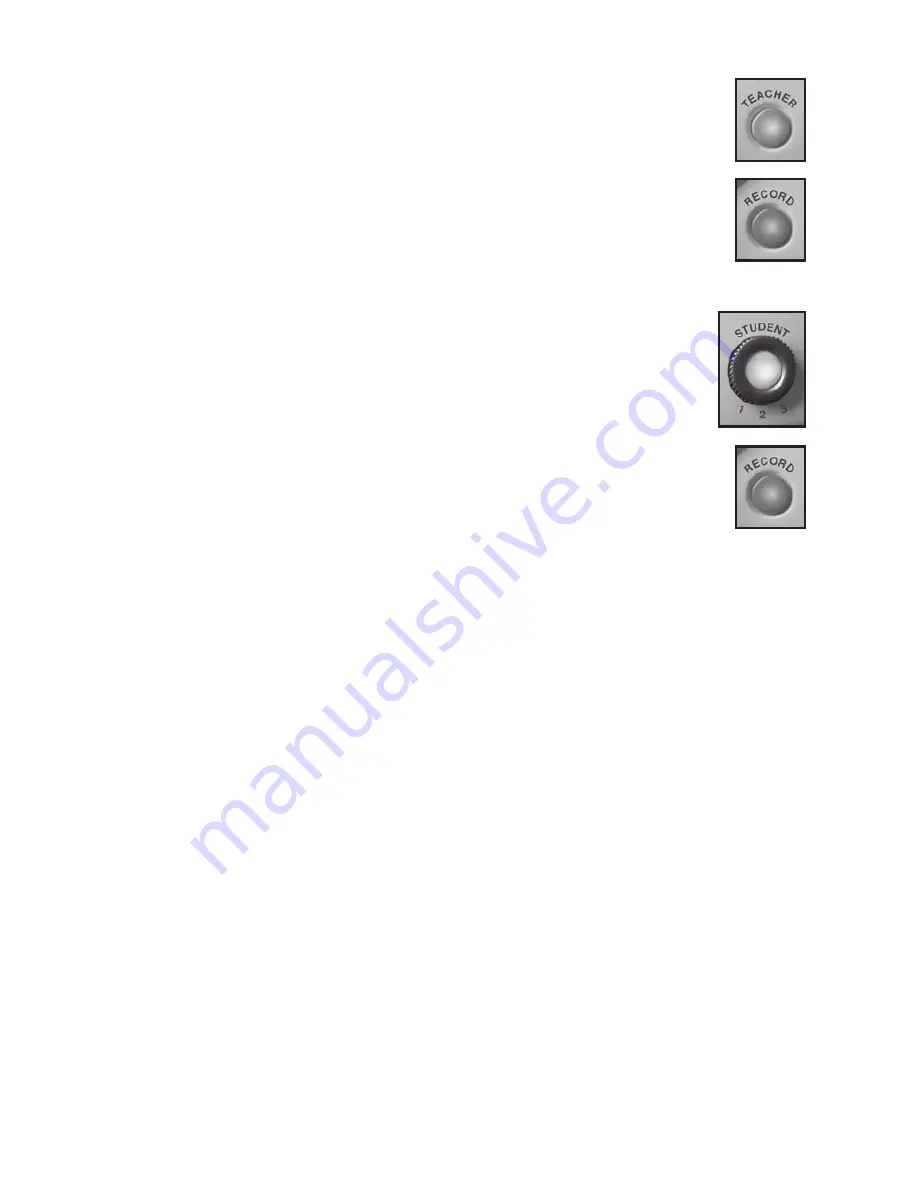
• Set the Teacher Audio, located in the Teacher Control Panel on the
bottom of the unit, to UNLOCK.
• Press the TEACHER button.
• Press and hold down the RECORD button.
• Speak into the microphone.
• Release the RECORD button when finished recording.
• After the audio plays, the TEACHER button remains lit.
NOTE:
Language Tutor’s
tracking lights only function with the default audio.
Student-recorded Audio
Language Tutor
can store the recorded audio for up to three different
students on each card.
• Turn the STUDENT button dial to the assigned student number (1, 2, or 3).
• Press the STUDENT button.
• If there is no audio for that student, you will hear a beep. After the
audio or beep plays, the button remains lit.
• Press and hold down the RECORD button.
• Speak into the microphone.
• Release the RECORD button when finished recording.
• The STUDENT button remains lit.
Comparing Audio
Comparing student-recorded audio to the default or teacher-recorded audio is
integral to
Language Tutor’s
model-and-response strategy of language acquisition.
• Press the TEACHER button and listen.
• Press the STUDENT button and compare.
• If a student is not satisfied with his or her recorded audio, the student can record it
again following the steps above.
• The button for the most recently played audio stays lit.
Deleting Audio
The Delete Audio buttons are located in the Teacher Control Panel on the bottom of
the unit.
Student Audio
When you have reviewed a student’s recorded work, you may delete it from the unit.
To delete all of a student’s audio:
• Dial the selected student’s number on the STUDENT button and press the button.
• Set the Delete Audio switch to ALL.
• Press the DELETE button.
• The unit will prompt you to press DELETE again to confirm the deletion.
To delete the audio of a single card:
• Set the Delete Audio switch to CARD ONLY.
• Insert the card into the Card Holder.
• Dial the selected student’s number on the STUDENT button and press the button.
• Lift the unit, taking care to keep the card in place. Locate the DELETE button.
(It is the last button on the right of the unit.) Press the DELETE button.
• The unit will prompt you to press DELETE again to confirm the deletion.


