
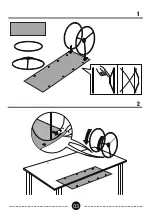

1. Before assembly, place all parts on a clean flat surface and check each
part for defects that may occur during shipping.
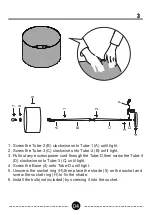
2. Inspect wire insulation for any cuts, abrasions or exposed copper that may
have resulted from shipping. If there are any defects in the wire, DO NOT
continue assembling. Please send an email to our Customer Service
immediately.
3. Consult a qualified electrician if you have any electrical questions.
4. Never drape clothes over the lamp.
5. To reduce the possibility of tipping over, we recommend placing the lamp
behind furniture and keep children and pets away.
6. To prevent children from suffocating and choking, keep them away from
packing materials.
7. Please keep this manual and hand it over when you transfer the product.
CAUTION:
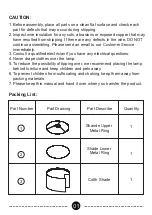
Packing List:
1
3
4
Part Number
Part Describe
Part Drawing
Quantity
1
2
3
1
1
1
Shande Upper
Metal Ring
Shade Lower
Metal Ring
Colth Shade
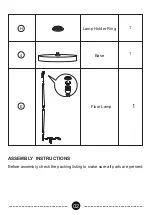
Содержание HLFL09B
Страница 4: ...3 1 2 ...