Outdoor Ice Maker
Owner’s Manual
For more information on other great EdgeStar products on the web, go to http://www.edgestar.com
OIM450SS
Страница 1: ...Outdoor Ice Maker Owner s Manual For more information on other great EdgeStar products on the web go to http www edgestar com OIM450SS...
Страница 2: ...er or a qualified technician x Never open the unit while it is plugged in x Immediately unplug the unit if it makes strange sounds emits smells or smoke comes out of it and contact customer service x...
Страница 3: ...IONS 7 DRAIN 8 OPERATION 9 FINAL CHECK LIST BEFORE OPERATION 9 OPERATING METHOD 9 HOW THE MACHINE MAKES ICE 10 HOW THE MACHINE USES THE WATER 10 NORMAL SOUNDS 11 PREPARING THE ICEMAKER FOR LONG STORAG...
Страница 4: ...it and are needed to obtain warranty service You may also want to staple your receipt to this manual as it is the proof of your purchase and is also needed for service under your warranty Model Number...
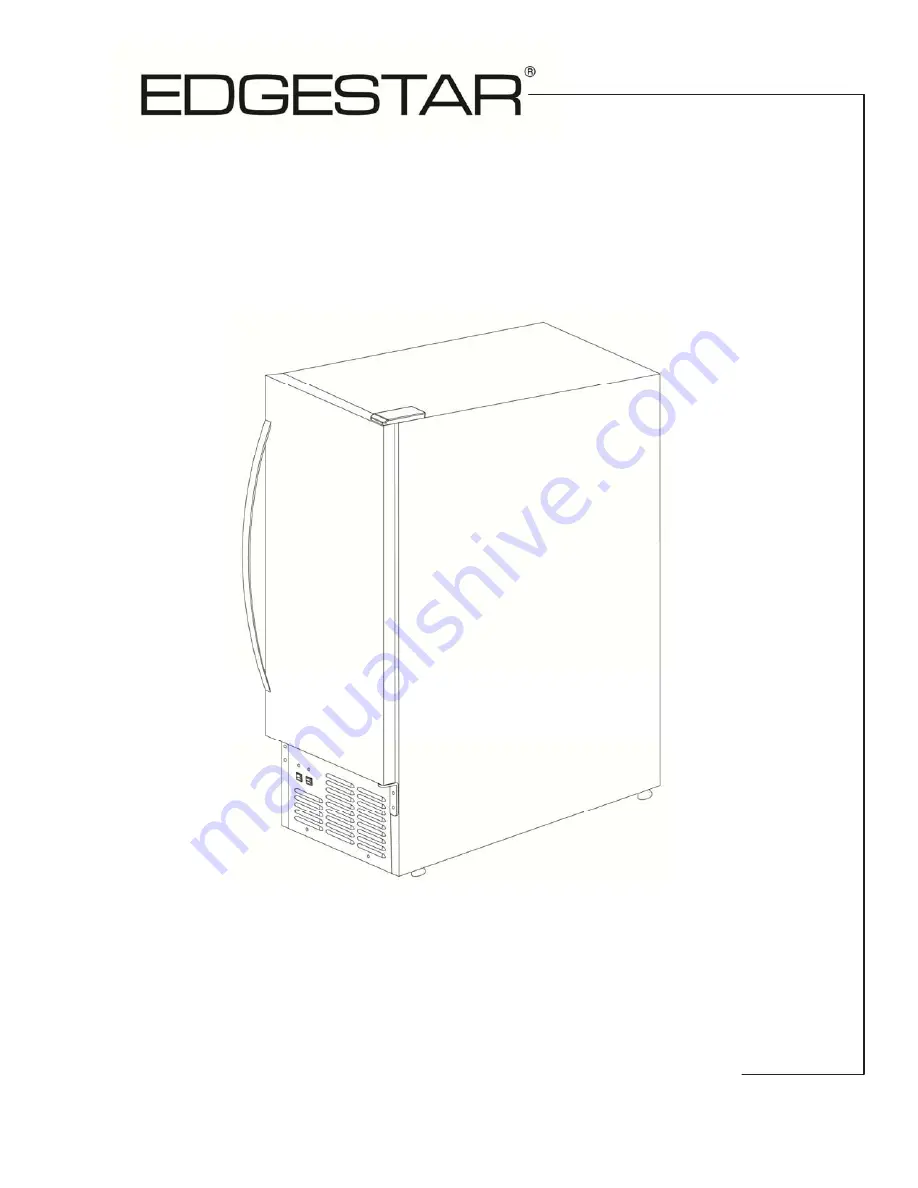
Страница 5: ...ew Control Panel Cover Ice Scoop Power Plug Water inlet Drain outlet Ice Mold Water Through Float Ice Storage Bin On Off Switch Leveling Foot Door Hinge Casters Set of four Power Indicator Light Clean...
Страница 6: ...you desire provided you have access to a water supply and a drain You must follow the stated instructions for electrical requirements water supply and drain and leveling the icemaker Recessed installa...
Страница 7: ...stallation should allow the icemaker to be pulled forward for servicing if necessary When installing the ice maker under a counter follow the recommended spacing dimensions shown Place electrical and...
Страница 8: ...nal safety this appliance must be grounded It is equipped with a power supply cord having a 3 prong grounding plug To minimize possible shock hazard the cord must be plugged into a mating 3 pronged an...
Страница 9: ...t on the bottom of the machine If you find that the surface is not level rotate the feet until the ice maker becomes level You may need to make several adjustments to level it We recommend using a car...
Страница 10: ...3 Lift door off bottom hinge and turn it upside down so that the handle is on the right Set door aside To replace door on hinges 1 Using a flathead screwdriver remove the plug buttons from the screw...
Страница 11: ...main water supply and tap Check for water supply connection leaks Tighten every connection including connections at the water inlet IMPORTANT When you connect the water supply hose pay attention to t...
Страница 12: ...ested against the nameplate rating And has proper grounding been installed for the ice maker 9 Is the ice maker plugged in 10 Have you turned on the main water supply and the tap 11 Have you checked f...
Страница 13: ...the fan motor is blowing air and the water pump is circulating water When the batch of ice has been fully formed the ice maker stops the freeze cycle and begins the harvest cycle Harvest During the ha...
Страница 14: ...hear air being forced over the condenser by the condenser fan x During the harvest cycle you may hear the of ice cubes falling into the ice storing bin Preparing the Icemaker for Long Storage If the i...
Страница 15: ...tion tube 5 The ice making system Exterior Cleaning The door and cabinet may be cleaned with a mild detergent and warm water solution such as 1 oz of dishwashing liquid mixed with 2 gallons of warm wa...
Страница 16: ...coop should be washed regularly Wash it just like any other utensil Condenser Cleaning A dirty or clogged condenser prevents proper airflow reduces ice making capacity and causes higher than recommend...
Страница 17: ...rn the machine OFF at the ICE OFF WASH selector switch 2 Remove all ice from the storage bin 3 Keep the ice maker connected to the water supply Pour 200g of Nickel Safe Ice Maker Cleaner Solution into...
Страница 18: ...and yellow LEDs are lit the unit is working in the cold preservation stage 4 Mode button Mainly for service When this button is pressed unit can change from Ice Making mode to Ice Harvest mode or fro...
Страница 19: ...is near with some heat source Check the installation Water is leaking out the unit A few water droplets are on the door Under some conditions humidity may condense on the door Consider moving the uni...
Страница 20: ...feet 14 6 x 23 6 x 33 5 with casters Weight 88 lbs Note Technical data and performance information provided for reference only Specifications are subject to change Check the rating label on the ice ma...
Страница 21: ...ility and EdgeStar will supply new rebuilt or refurbished parts free of charge EdgeStar may request a defective part be returned in exchange for the replacement part All replacement parts or products...
Страница 22: ...service edgestar com Register your product download owner s manuals access additional troubleshooting resources and obtain more information on other great EdgeStar products on the web at http www edge...