4)
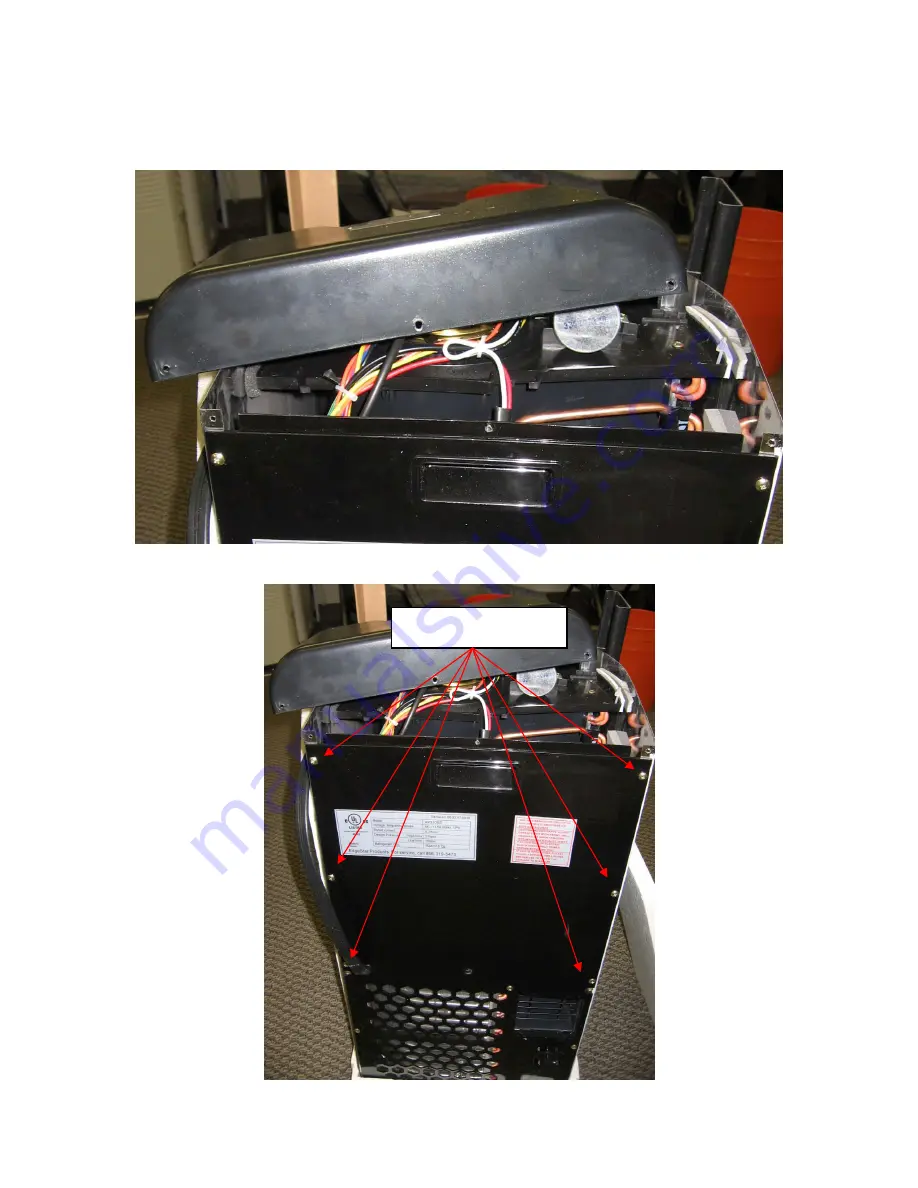
Push the cap over and to the side (it is connected with wires to internal parts, so it cannot be immediately removed). See fig. 2.
Fig. 2:
5)
Unscrew 6 more screws from the back panel. See fig. 3.
Fig. 3:
Screws to remove
Страница 1: ...ewdriver The repair 1 Make sure the appliance is unplugged from the electrical socket 2 Face the rear of the appliance 3 Remove three screws from the rear of the air conditioner and push up on the top...
Страница 2: ...h the cap over and to the side it is connected with wires to internal parts so it cannot be immediately removed See fig 2 Fig 2 5 Unscrew 6 more screws from the back panel See fig 3 Fig 3 Screws to re...
Страница 3: ...ce you have access to the control board look for loose clips The most common clip that is disconnected to the control board is attached to a red wire Grab this clip if it is unattached and plug it int...
Страница 4: ...k of the machine and rescrew the last 6 screws 9 To properly reinstall the cap for the unit slide the back of the cap fully onto the air conditioner Then apply pressure downward on the front of the ca...
Страница 5: ...10 Once the unit has been completely reassembled plug it in and test it...