background image

- 2 -

HEATER STAND AND LOCATION

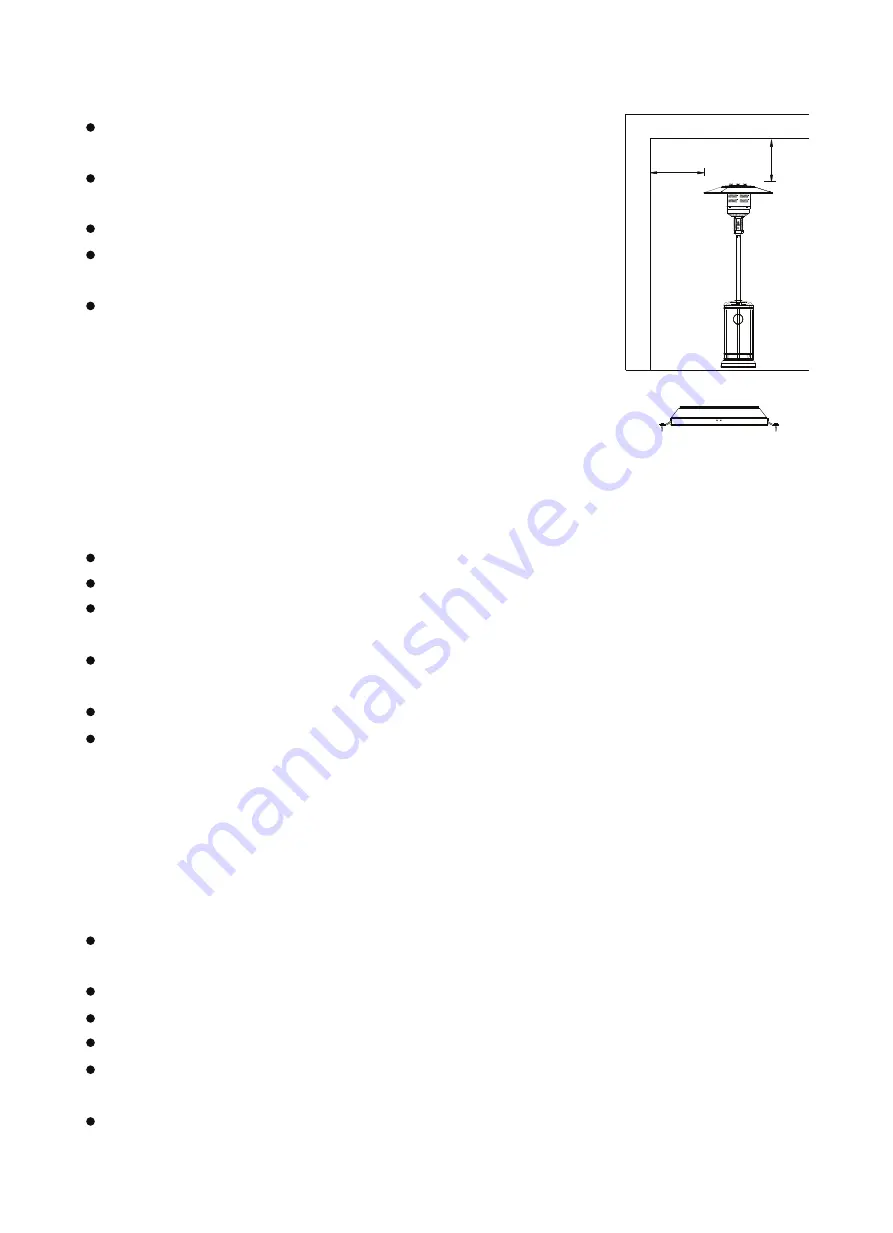
The heater is primarily for outdoor use only. Always ensure that
adequate fresh air ventilation is provided.
Always maintain proper clearance to combustible materials, i.e. top 100 cm
and sides 100 cm minimum.
Heater must be placed on level firm ground.
Never operate heater in an explosive atmosphere like in areas where
gasoline or other flammable liquids or vapors are stored.
To protect heater from strong wind, anchor the base securely to the
ground with screws.

GAS REQUIREMENTS

Use propane or butane gas only.
The pressure regulator and hose assembly to be used must conform to local standard codes.
The installation must conform to local codes, or in the absence of local codes, with the standard for the
storage and handling of liquid petroleum gases.
A dented, rusted or damaged propane tank may be hazardous and should be checked by your tank
supplier.  Never use a propane tank with a damaged valve connection.
The propane tank must be arranged to provide for vapor withdrawal from the operating cylinder.
Never connect an unregulated propane tank to the heater.

LEAKAGE TEST

Gas connections on the heater are leak tested at the factory prior to shipment. A complete gas tightness
check must be performed at the installation site due to possible mishandling in shipment or excessive
pressure being applied to the heater.

Make a soap solution of one part liquid detergent and one part water. The soap solution can be applied
with a spray bottle, brush or rag. Soap bubbles will appear in case of a leak.
The heater must be checked with a full cylinder.
Make sure the safety control valve is in the OFF position.
Turn the gas supply ON.
In case of a leak, turn off the gas supply. Tighten any leaking fittings, then turn the gas supply on and re-
check.
Never leak test while smoking.

CEILING

W

A

L

L

100 cm

100 cm

Fortification of base to the ground

LO

HI

Off

Igniter

Pi

lo

t

Содержание PHM-01/02

Страница 1: ...PATIO HEATER INSTRUCTION MANUAL Keep the instructions for future reference 0063 20 MODEL PHM 01 02...

Страница 2: ...icinity of this or any other appliance 2 An LP cylinder not connected for use shall not be stored in the vicinity of this or any other appliance WARNlNG 1 For use outdoors or in amply ventilated areas...

Страница 3: ...nd particular attention must be taken against tilting of the appliance Keep the appliance at least 1m from the gas cylinder The injector in this appliance is not removable and the injector is only ass...

Страница 4: ...F CONTENTS Caution 1 Heater Stand and Location 2 Gas Requirements 2 Leakage Test 2 Operation and Storage 3 Cleaning and Care 4 Parts and Specifications 4 Assembly Parts and Procedures 6 Problems Check...

Страница 5: ...off when the heater is not in use Check the heater immediately if any of the following occurs The heater does not reach temperature The burner makes popping noise during use a slight noise is normal w...

Страница 6: ...ould be checked by your tank supplier Never use a propane tank with a damaged valve connection The propane tank must be arranged to provide for vapor withdrawal from the operating cylinder Never conne...

Страница 7: ...Variable control knob Igniter IGNITER OFF P I L O T LO HI maximum OFF the heater stop work HI maximum temperature position LO minimum temperature position 90...

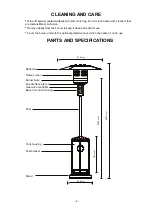
Страница 8: ...he burner to keep it clean and safe for use Cover the burner unit with the optional protective cover when the heater is not in use PARTS AND SPECIFICATIONS 4 2222 mm 2003 mm 765 mm 813 mm 460 mm Refle...

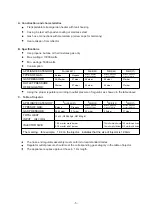
Страница 9: ...hose in 1 4m length APPLIANCE CATEGORY TYPES OF GAS Butane Propane GAS PRESSURE 28 30mbar 37 mbar 30 mbar 50mbar 37mbar 30mbar 37 mbar 30 mbar 50mbar 37mbar Butane propane or their mixtures Butane pro...

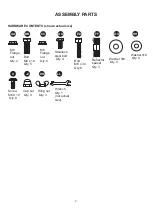
Страница 10: ...23 cm long Philips screwdriver w medium blade Spray bottle of soap solution for leakage test N O I T P I R C S E D T R A P Y T I T N A U Q A Reflector Panel 3 B Reflector Plate 1 FF Reflector Stud 3...

Страница 11: ...EE HH CC FF BB GG Reflector spacer Qty 3 Washer 8 Qty 9 Washer 6 Qty 9 Screw M6 X 10 Qty 9 Cap nut Qty 9 Wrench Qty 1 not actual size JJ KK Wing nut Qty 3 LL Stainless steel bolt Qty 4 Bolt M8 x 16 Qt...

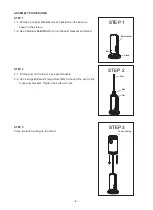
Страница 12: ...lts M8x16 to join the post brackets and stand STEP 2 2 1 Put the post on the top of 3 pcs post brackets 2 2 Use 6 Large Bolts and Flange Nuts M6 to connect the post to the 3 pcs post brackets Tighten...

Страница 13: ...STEP 5 5 1 Check whether the connection of vertical post and burner are assembled according to instructions and all bolts and nuts are tightened 5 2 Put 6 pcs Large Flat Washers on 3 Reflector Spacer...

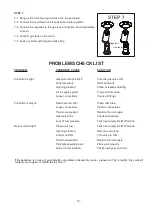
Страница 14: ...ose connections Check all fittings Pilot will not stay on Debris around pilot Clean dirty area Loose connections Tighten connections Thermocouple bad Replace thermocouple Gas leak in line Check connec...

Отзывы: