4- 3
1
Start Windows.
2
Close all open applications.
3
Insert
Installation Disk
into the D drive.
4
Open My Computer
5
Select the folder named “DustComm V2.3.1” and double click to
enter.
6
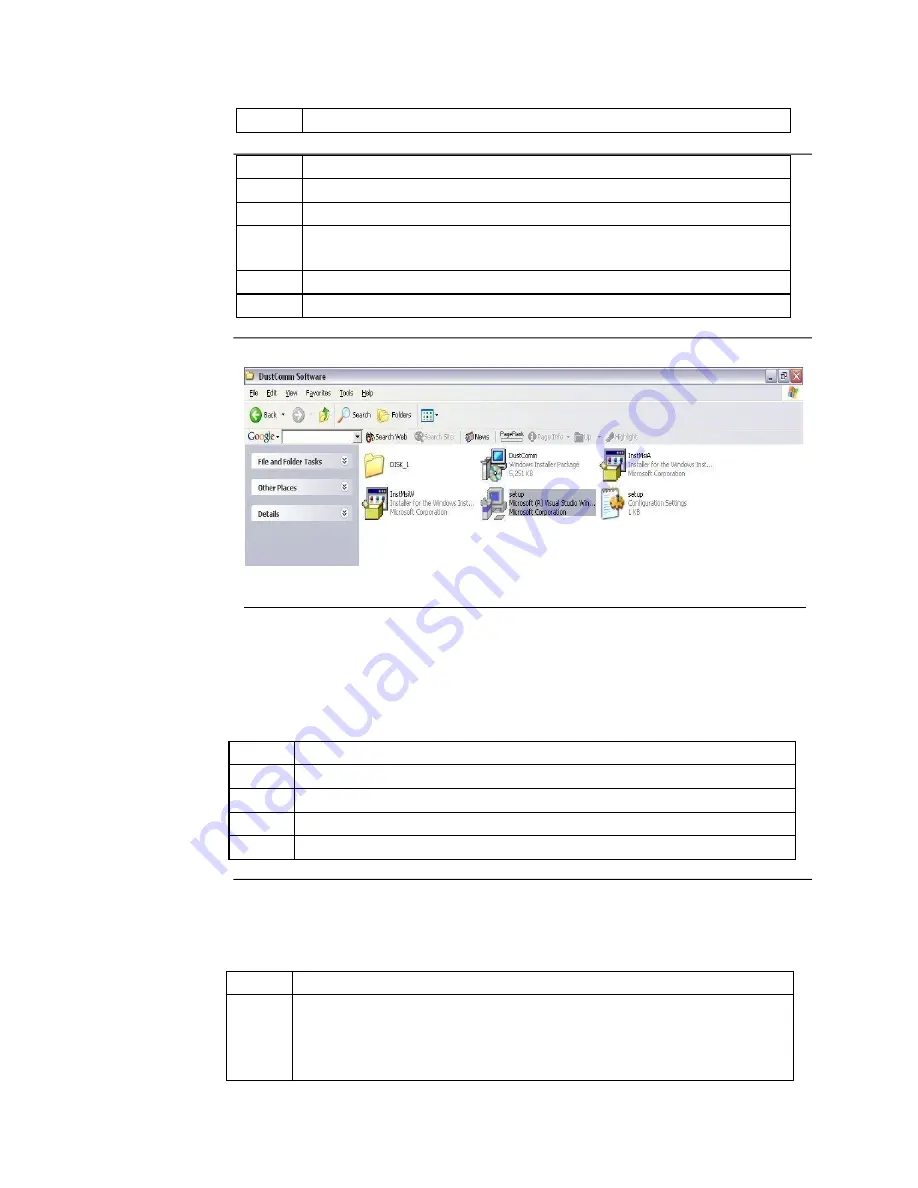
Select the icon named “Setup” and double click. See Figure 1.
7
Follow the installation wizard steps.
Figure 1: DustComm Software Folder with “Setup” Selected in Windows XP.
Loading the DustComm Software
Windows ME
Follow the steps in the table below to load the DustComm software if using Windows
ME.
Step
Action
1
Select the Start Menu.
2
Select Programs.
3
Select the folder EDC DustComm Pro 1.2
4
Select DustComm Pro 1.2
Windows NT,
Follow the steps in the table below to load the DustComm Software if using
2000 &
XP
Windows NT, 2000 & XP.
Step
Action
1
Double Click on the icon on your desktop.
NOTE: If shortcut icon does not appear on desktop follow the
steps for Windows ME.
Содержание Haz-Dust SM-4000
Страница 2: ...EDC SM 4000 User s Guide New technology for monitoring air quality E c...
Страница 3: ......
Страница 8: ...vi Chapter 1 Introduction to the SM 4000...
Страница 10: ...viii Figure 1 1 Picture of the Haz Dust SM 4000...
Страница 11: ......
Страница 19: ...Chapter 2 Operating Parameters of the Haz Dust SM 4000...
Страница 20: ......
Страница 24: ...2 4 Figure 2 3 The Main Menu of the Haz Dust SM 4000...
Страница 28: ...Chapter 3 Operating the Haz Dust SM 4000...
Страница 42: ......
Страница 43: ...Chapter 4 DustComm Pro V2 3 1...
Страница 62: ...Chapter 5 Maintenance...
Страница 72: ...5 10 Continued on next page Error No text of specified style in document Continued...
Страница 77: ...Appendix...
Страница 78: ......


