Quick Start Guide by Remote
Operation
NOTE:
LED Bulb (A) and the remote (B) in the pack are already paired at the factory.
5
1
NOTE:
The new mode will replace the last setting you executed, as the remote can only keep three
modes at most in its memory.
Three preferred settings can be stored by using the memory function.
To change the three default settings, change the LED bulb to the preferred dim setting and CCT, then hold
down the memory button (EE) for 3 seconds. The indicator light (AA) on the remote will blink once,
indicating that the settings have been stored into memory.
After 3 settings have been stored, the next setting will replace the first stored setting.
Press the memory button (EE) to execute the memory function.
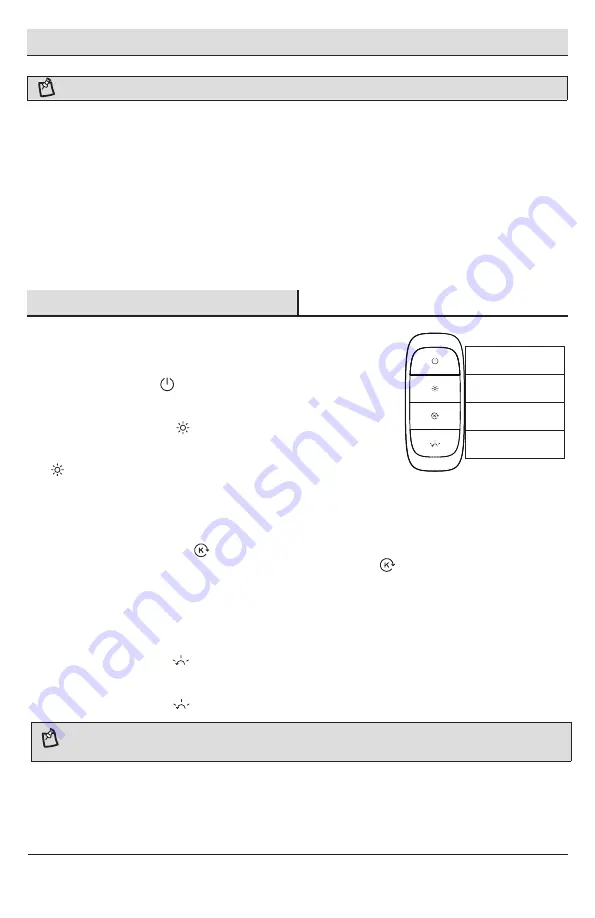
Press the CCT Tunable button
(DD) to change the color temperature from 2700K to 6500K.
There are two ways to change the CCT with the CCT Tunable button (DD):
Short presses on the button change the color temperature incrementally.
Holding down the button continuously changes the color temperature with a smooth transition.
□
□
□
□
□
□
□
□
□
□
□
□
□
Press the ON/OFF button
(BB) to turn the light ON or OFF.
Press the dimming button
(CC) to change the brightness from
5%-100%.
There are two ways to change the brightness with the dimming button
(CC):
Short presses on the button change the brightness in a step manner.
Holding down the button continuously, changes the brightness with a
smooth transition.
ON/OFF
Dimming
CCT Tunable
Memory
Remote On/Off
Dimmable Light
3 Custom Light
Memory Settings
Customize Your
White Light Temperature
One Remote Controls
up to 20 Lights
HOMEDEPOT.COM/ECOSMART
Please contact 1-877-527-0313 for further assistance.
Touch-Link
If you want to add an additional LED Bulb apart from the existing LED Bulb to the remote and this additional
LED Bulb hasn't paired with any remote before, Please follow the steps below, which is called "Touch-Link".
Screw the LED Bulb (A) into a standard E26 socket and make sure
it is powered on.
2
Prepare the Remote (B) and remove the Plastic Battery Strip (FF)
beneath the Battery Covering (JJ), Indicator Light (AA) will begin to
blink indicating the power is on.
3
You are good to go now! Follow the instructions below to control
your lights.


