Names of controls and parts
19
III
Switching Rotary Modes
The [VOL] button can be switched to other
functions. When the rotary mode is set to ON,
you can switch from the volume adjustment
function to the following functions by pressing the
[VOL] button.
For detailed information on the above functions,
see the operation instructions for each related
audio source.
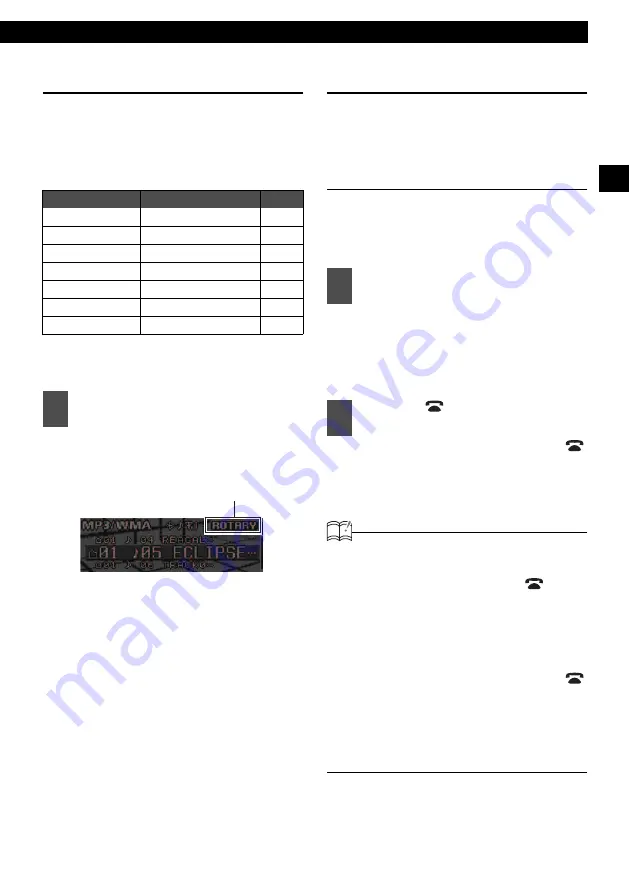
Rotary mode will switch ON. When
rotary mode is set to ON, the rotary
indicator will be displayed as follows.
If the [MODE] button is pressed again,
or if no operations are performed for
more than 10 seconds, the rotary
mode will be cancelled.
About a shortcut
Create a shortcut for frequently-used functions
so that they can be recalled with a single
operation.
Creating a shortcut
A shortcut can be created for one of the
following MENU mode adjustment functions:
sound adjustment mode, display adjustment
mode, or function mode.
See the explanation for each adjustment
mode for more information on switching them.
• Sound Adjustment Mode: Page 71
• Display Adjustment Mode: Page 80
• Function Mode: Page 84
A shortcut will be created. If the [
/
MENU] button is held for less than one
second, the previously set adjustment
function will be restored.
ATTENTION
• If you attempt to create a shortcut for a
hierarchy where this is not possible, the
system will beep twice when [
/MENU]
button is pressed for more than one
second.
• Depending on the audio mode and the
system setting, it may not be possible to
operate the shortcut function. In this case,
the system will beep twice when the [
/
MENU] button is pressed.
• Only one shortcut function can be
registered. If a shortcut has already been
registered, its key will be deleted when a
new shortcut is created.
Source
Function
Page
FM/AM
TUNE UP/DOWN
XM
TRACK UP/DOWN
SIRIUS
TRACK UP/DOWN
CDP/CDC
Track search
MP3/WMA
FILE search
USB
FILE search
iPod
Track search
1
Press the [MODE] button while the
main unit is set to any audio mode.
rotary indicator
1
Switch to the mode that you want
to create a shortcut for.
2
Press the [
/MENU] button for
more than one second.
Содержание E-iSERV CD7200 mkII
Страница 6: ...6 For your safety in using the CD7200 mkII...
Страница 15: ...15...
Страница 31: ...31...
Страница 41: ...41...
Страница 45: ...45...
Страница 63: ...63...
Страница 79: ...79...
Страница 91: ...91...
Страница 99: ...99...
Страница 103: ...103...
Страница 107: ...107...
Страница 119: ...How to contact customer service 119 XXIII...


