background image

3

6 INCH CHIPPER

ENGLISH

SAFETY

Improper use and care of the battery on electric start 

models can result in serious personal injury or property 

damage. Always observe the following safety precautions.


Poison/Danger – Causes Severe Burns.

 The 

battery contains sulfuric acid. Avoid contact with skin, 

eyes or clothing. Keep out of reach of children.


ANTIDOTE – External Contact:

 Flush immediately 

with water.


ANTIDOTE – Internal:

 Drink a large amount of water 

or milk. Follow with milk of magnesia, beaten egg or 

vegetable oil. Call a physician immediately. 


ANTIDOTE – Eye Contact:

 Flush with water for 15 

minutes. Get prompt medical attention.

1.  The battery produces explosive gases. Keep sparks, 

flame  or  cigarettes  away.  Ventilate  area  when 

charging battery. Always wear safety goggles when 

working near battery.

2.  The battery contains toxic materials. Do not damage 

battery case. If case is broken or damaged, avoid 

contact with battery contents.

3.  Neutralize acid spills with a baking soda and water 

solution. Properly dispose of a damaged or worn-

out battery. Check with local authorities for proper 

disposal methods.

4. 

Do not short circuit battery. Severe fumes and fire can 

result.

5.  Before working with electrical wires or components, 

disconnect  battery  ground  (negative)  cable  first. 

Disconnect positive cable second. Reverse this order 

when reconnecting battery cables.

1.  Before inspecting, servicing, storing, or changing 

an  accessory,  shut  off  the  machine  and  make  sure 

all moving parts have come to a complete stop. 

Disconnect the battery and remove the ignition key 

where applicable.

2.  Replace any missing or unreadable safety decals. 

Refer to the safety decal section for part numbers.

3.  Allow machine to cool before storing in an enclosure.
4.  Store the machine out of reach of children and where 

fuel vapors will not reach an open flame or spark.

5.  Never store this machine with fuel in the fuel tank 

inside a building where fumes may be ignited by 

an open flame or spark. Ignition sources can be hot 

water and space heaters, furnaces, clothes dryers, 

stoves, electric motors, etc.

6.  Drain the fuel and dispose of it in a safe manner for 

storage periods of three months or more.
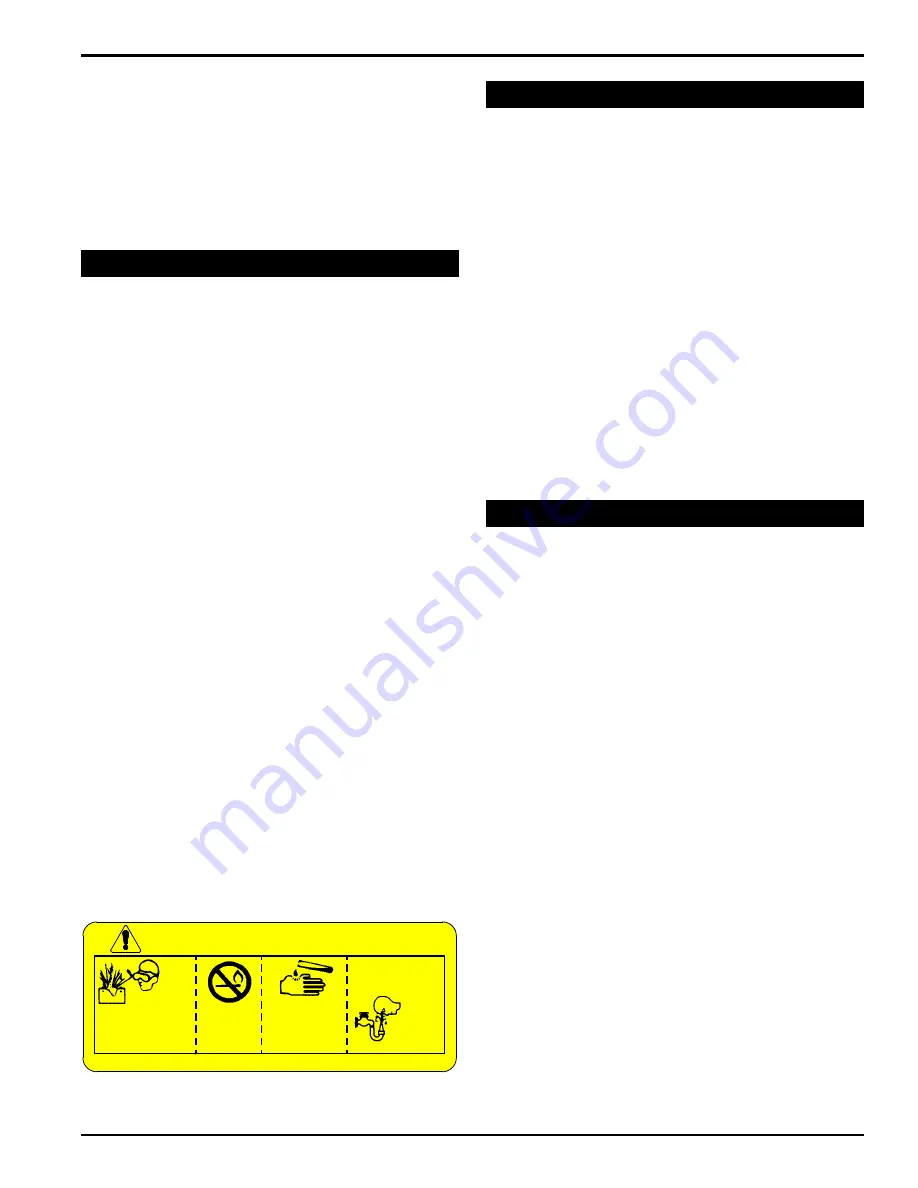
DANGER / POISON

FLUSH EYES

IMMEDIATELY

WITH WATER

GET

MEDICAL

HELP

FAST 

KEEP OUT OF THE REACH OF CHILDREN. DO NOT TIP.  KEEP VENT CAPS TIGHT AND LEVEL.

SULFURIC

ACID CAN

CAUSE

BLINDNESS OR

SEVERE BURNS

NO

• SPARKS

• FLAMES

• SMOKING

SHIELD EYES

EXPLOSIVE

GASES CAN

CAUSE BLINDNESS

OR INJURY

1.  Position and lock the discharge tube to face the 

opposite direction of the towing vehicle prior to towing.

2.  Connect hitch safety chains. Tighten trailer hitch 

bolts. Do not attempt to tow the trailer if the vehicle is 

not equipped with a 2" (50mm) ball.

3.  Do not exceed the maximum towing speed indicated 

on  tire  sidewall.  Inflate  tires  to  manufacturer's 

specifications as stated on the tire sidewall.

4.  Optimum towing performance can be achieved by 

maintaining a horizontal trailer hitch.

5.  Check wheel lug bolts periodically to ensure they are 

tight and secure.

6. 

Make  sure  the  jack  stand  and  the  rear  stabilizer 

(where applicable) on the trailer are in the UP position 

during towing. Place the jack stand on a level surface 

and secure it in the DOWN position before using.

7.  Never allow passengers to ride on the machine.
8. 

If applicable, shut off fuel supply when towing.

9. 

Towing laws may vary in different countries/regions/

states. It is recommended that you contact your local 

motor vehicle department for any special regulations 

that pertain to towing and know the laws of any 

country/region/state you travel through.

5.  When feeding material into the feed roller wear eye, 

face and hearing protection.

6.  Stand to side of feed chute when feeding material 

and release material quickly.

7.  When inspecting or servicing the feed roller, secure 

the feed roller in the raised position using the lock pin, 

if applicable.

1.6 BATTERY SAFETY

1.7 MAINTENANCE/STORAGE SAFETY

1.8 TOWING SAFETY

Содержание Bear Cat CH6627H

Страница 1: ...OWNER S MANUAL ENGLISH PN 73423 00 Rev 081617 Companion to 73426 00 Range 5VJAA0414HW005579 Current 6 INCH CHIPPER www bearcatproducts com CH6627H 627cc BRIGGS STRATTON...

Страница 2: ...IN THE U S A IDENTIFICATION NUMBER LOCATION Your machine will have either a serial number or vehicle identification number VIN VINs are located on the left side of the trailer frame near the hitch The...

Страница 3: ...authorized ECHO Bear Cat dealer as well as subsequent failure or damage that may occur as a result of that work will not be paid under this warranty Crary Industries Inc does not warrant replacement c...

Страница 4: ...THE CHIPPER 12 4 3 CHIPPER OPERATION GUIDELINES 13 4 4 SLOWING AND STOPPING THE CHIPPER ROTOR AND ENGINE 14 4 5 FEED ROLLER SPEED CONTROL 14 4 6 CHIPPER FEED CONTROLLER 14 4 7 USING THE DIGITAL DISPLA...

Страница 5: ...l medications or substances that can affect your vision balance or judgement Do not operate if tired or ill You must be in good health to operate this machine safely Federal state and local laws may p...

Страница 6: ...t climb on machine when operating Keep proper balance and footing at all times 5 Check cutting chamber to verify it is empty before starting the machine 6 Therotorwillcontinuetorotateafterbeingdisenga...

Страница 7: ...fuel in the fuel tank inside a building where fumes may be ignited by an open flame or spark Ignition sources can be hot water and space heaters furnaces clothes dryers stoves electric motors etc 6 D...

Страница 8: ...contact the engine manufacturer for engine safety instructions and decals Keep hands and feet out of inlet and discharge openings while machine is operating to avoid serious personal injury Stop and...

Страница 9: ...12 15 not for CE compliant machines 1 10 SAFETY DECAL LOCATIONS The numbers below correspond to the decals in Section 1 9 Make certain that all safety and operating decals on this machine are kept cl...

Страница 10: ...ount using two 1 2 x 4 bolts 6 and nylock nuts Torque to 75 ft lbs 3 Attach the two safety plates 7 to the hitch pole using the front two holes 1 2 x 4 1 2 hex bolts 8 and nylock nuts Keep the bolts l...

Страница 11: ...resistance NOTE 2 3 INSTALL REAR STABILIZER 2 4 ATTACH LICENSE PLATE LIGHT 2 5 ATTACH CHIPPER CHUTE 1 Attach the license plate light to the chute support which is located under the feed chute with tw...

Страница 12: ...he chipper frame The discharge clamp 1 should slide underneath the lip of the flange Tighten the bolts to secure it 3 Install the second half of the spacer 2 and clamp ring 1 on the discharge tube wit...

Страница 13: ...ine Figure 2 8 Attach Discharge Deflector 7 8 9 10 11 12 13 Hydraulic fluid drives the feed roller The machine was shipped with fluid as it was tested at the factory However check the fluid levels bef...

Страница 14: ...2 14 6 7 9 13 17 18 19 20 Understanding how your machine works will help you achieve the best results when using your chipper The following descriptions define the features and controls of your machin...

Страница 15: ...the knob counterclockwise will increase the speed of the feed roller 11 HITCH JACK Used to adjust the height of the hitch Always have in UP position and clear from ground when transporting the chippe...

Страница 16: ...e CHOKE position 3 Place the chipper engagement lever in the START position 4 2 OPERATING THE CHIPPER After the engine has been started and properly allowed to warm to an operating temperature you can...

Страница 17: ...8 Alternate green or fresh cut material with dry material to lubricate the chipping blades for longer life and better performance Chipping dead dry material will create heat and dull the chipping bla...

Страница 18: ...sensors must be set to the correct clearance or the chipper will not operate Set the clearance to 1 32 the width of a credit card The sensor will flash with every rotation of the chipper rotor when th...

Страница 19: ...ayed on the controller Choices are English French Spanish and Portuguese 4 7 2 CHIPPING SCREEN To begin chipping the user needs to enter the Chipping Screen see Figure 4 2 This can be done in one of t...

Страница 20: ...vated carefully check that the infeed chute and feed roller are clear and it is safe to continue chipping before resetting the Knee Bar safety system 4 7 3 HOURS SERVICE REMINDERS The Hours Service Re...

Страница 21: ...ler fully engages the hitch ball 7 Close the coupler latch securing the coupler to the hitch ball 8 Install the hitch pin through the coupler latch 9 Cross the safety chains under the hitch and connec...

Страница 22: ...l internal and external nuts and bolts Check tightness Tire pressure Check Battery connections Check Chipper anvil Check clearance and re torque to 75 ft lbs 2 Chipper blades Check sharpness and re to...

Страница 23: ...EVERY 5 15 HOURS OF OPERATION AND SHARPEN AS NEEDED The controller will indicate a blade anvil service reminder every eight hours as a reminder to check the chipper blades To reset the service remind...

Страница 24: ...arance proceed as follows 1 Remove the two 3 8 retaining bolts securing the access cover to the main frame Open access cover to allow access to anvil See Figure 5 4 for anvil location 2 Loosen the thr...

Страница 25: ...olding the access cover to the chipper frame and lift up access cover 3 Remove the lock pin from storage position see Figure 5 6 If the machine becomes plugged lift the engagement handle shut off the...

Страница 26: ...not easily install turn the two belt tension bolts counterclockwise an equal number of turns and slide engine closer to chipper until belt can be installed NOTE 4 Turn check valve clockwise to engage...

Страница 27: ...en bolt to proper torque LOOSEN BOLTS HYDRAULIC BELT Figure 5 8 Replacing Hydraulic Belt 1 Remove the two 3 8 retaining bolts holding the access cover to the main frame assembly 2 Open access cover to...

Страница 28: ...in the fluid Refill the reservoir as necessary 5 Run the feed roller in both directions for several minutes until any remaining air purges from the unit Refill the reservoir as necessary 6 Shut down...

Страница 29: ...not over grease bearings Overfilling can lead to excessive heat and or unseating of the seals Add grease slowly and under light pressure Whenever possible rotate bearing slowly while lubricating NOTE...

Страница 30: ...as not reached chipping RPM upon initial startup Slowly increase RPM 1 2 second on 1 2 second off Chipper RPM dropped while chipping Feed roller will automatically reverse to bring RPM back up RED Sol...

Страница 31: ...too loose Adjust tensioner Replace belt if needed Machine chips poorly Dull chipper blades Flip sharpen or replace Drive belts loose or worn Inspect drive belts adjust or replace if needed Feeding mat...

Страница 32: ...nnot achieve solid green for forward feed Drive belts loose or worn Inspect drive belts adjust or replace if needed Engine Tractor is not achieving full RPM Confirm that engine is achieving full RPM C...

Страница 33: ...1 3 cm Chipping anvil 4 edge adjustable Rotor speed 1 650 RPM Rotor size 26 dia 66 cm dia Rotor weight 165 lbs 75 kg Discharge tube size 6 0 15 3 cm Discharge tube height 104 2 6 m Drive type Belt Dri...

Страница 34: ...ied in this manual When using locking elements increase torque values by 5 BOLT DIAMETER A BOLT TORQUE SAE 2 SAE 5 SAE 8 NM FT LB NM FT LB NM FT LB 1 4 7 5 5 5 11 8 16 12 5 16 15 11 23 17 34 25 3 8 27...

Страница 35: ...ions call 1 800 662 4525 60 40 20 0 20 40 60 80 100 120 Mobil DTE 10 Excel 15 Mobil DTE 10 Excel 22 Mobil DTE 10 Excel 32 Mobil DTE 10 Excel 46 Mobil DTE 10 Excel 68 Mobil DTE 10 Excel 100 Mobil DTE 1...

Страница 36: ...H PINTLE RING 20 000 LB 70135 00 KIT CH6720H CH6627H ENGINE SHIELD 71930 00 KIT 6 ORCHARD CHUTE 75291 00 KIT SPARE TIRE 76293 00 KIT CHIPPER BLADE 1 2 INCH 76721 00 KIT BATTERY DISCONNECT 76945 00 KIT...

Страница 37: ...CHO BEAR CAT www bearcatproducts com 237 NW 12th Street West Fargo ND 58078 0849 Phone 701 282 5520 Toll Free 888 645 4520 Fax 701 282 9522 E mail service bearcatproducts com sales bearcatproducts com...

Отзывы: