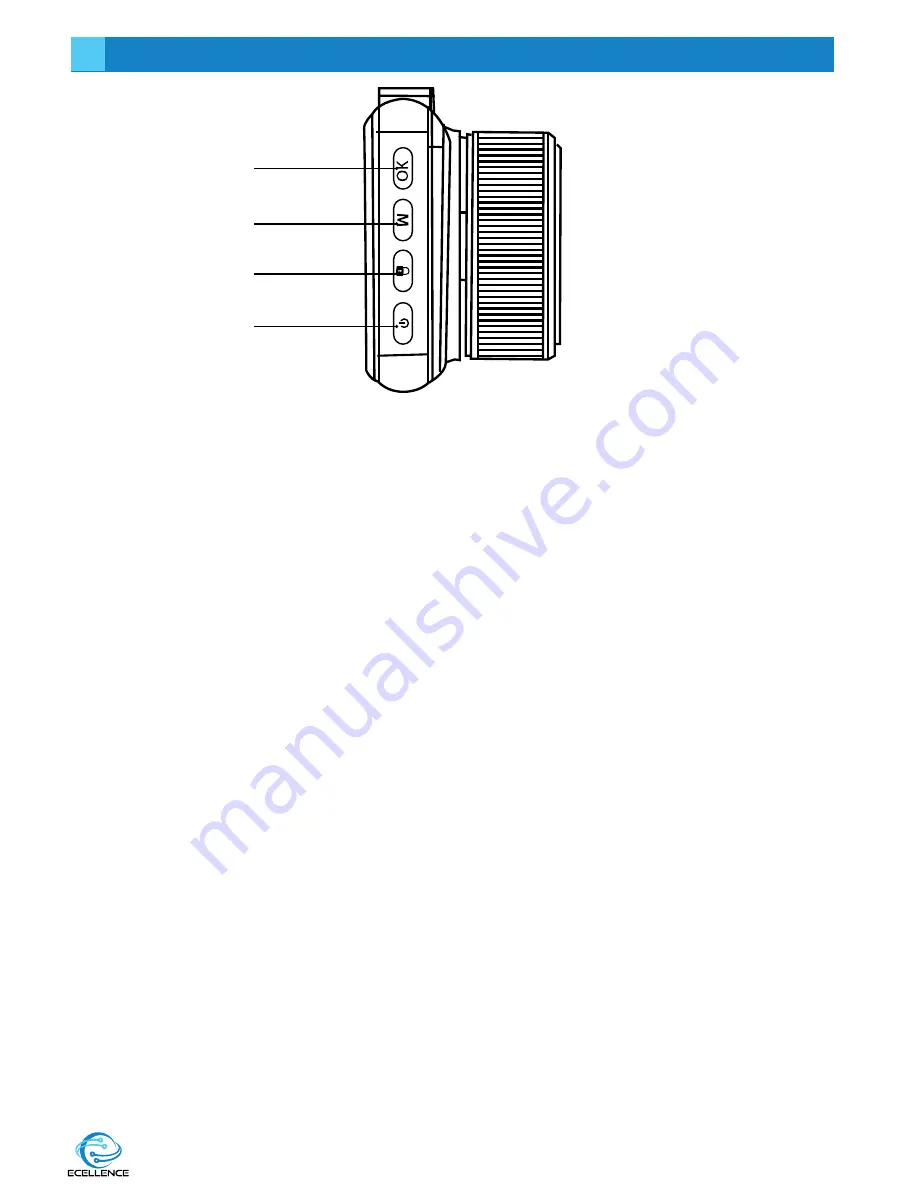
CAMERA - PARTS & CONTROLS
1
2
3
4
1. OK BUTTON
Short press the “OK" button to start and stop the recording, to take photos in camera mode
and to confirm any selection.
2. MODE SELECTION
Press the “MODE” button to switch between the camera mode, video camera mode and
playback mode.
Camera mode: Press the “Mode selection” button until you get to the camera mode, where
the camera icon displays on the top right corner of the screen, then press the “OK” button to
take a photo, the screen flashes once to indicate that the photo has been taken successfully.
Video camera mode: Short press the “Mode selection” button to switch to video mode,
video icon will display at the upper left corner of the screen; Short press the “OK” button to
start recording video, the video icon will appear flashing red dot to indicate the video is
recording.
Playback mode: Short press “Mode selection” button to switch to playback mode, playback
icon will display at the upper-left corner of the screen, Short press “Up” button or “Down”
button to browse through the files and select a file, then short press the “OK” button to play
the selected video files. Press the Menu button to make a selection on a specific
image/video.
3. LOCK BUTTON
Short press the “LOCK" button to lock and protect the current file while the camera is record-
ing. This feature will come in handy when you have just experienced an accident or an event
that you wish to save. To switch back to unprotect mode, press OK.
4. POWER BUTTON
Long press the “POWER” button once to turn the dashcam on, the blue LED indicator light will
light up and it will begin recording automatically. To turn it off, long press the “POWER” and
the LED indicator light will turn off. The Power button is also used to switch between daylight
(sun icon) and night (star and crescent moon icon) vision, short press the “POWER BUTTON” to
switch.
6
6


